

hammer hoodoo Canyon, AZ
Location: Sedona, Arizona
Rating: 3A/B-II
Longest Rappel: ≈ 150'
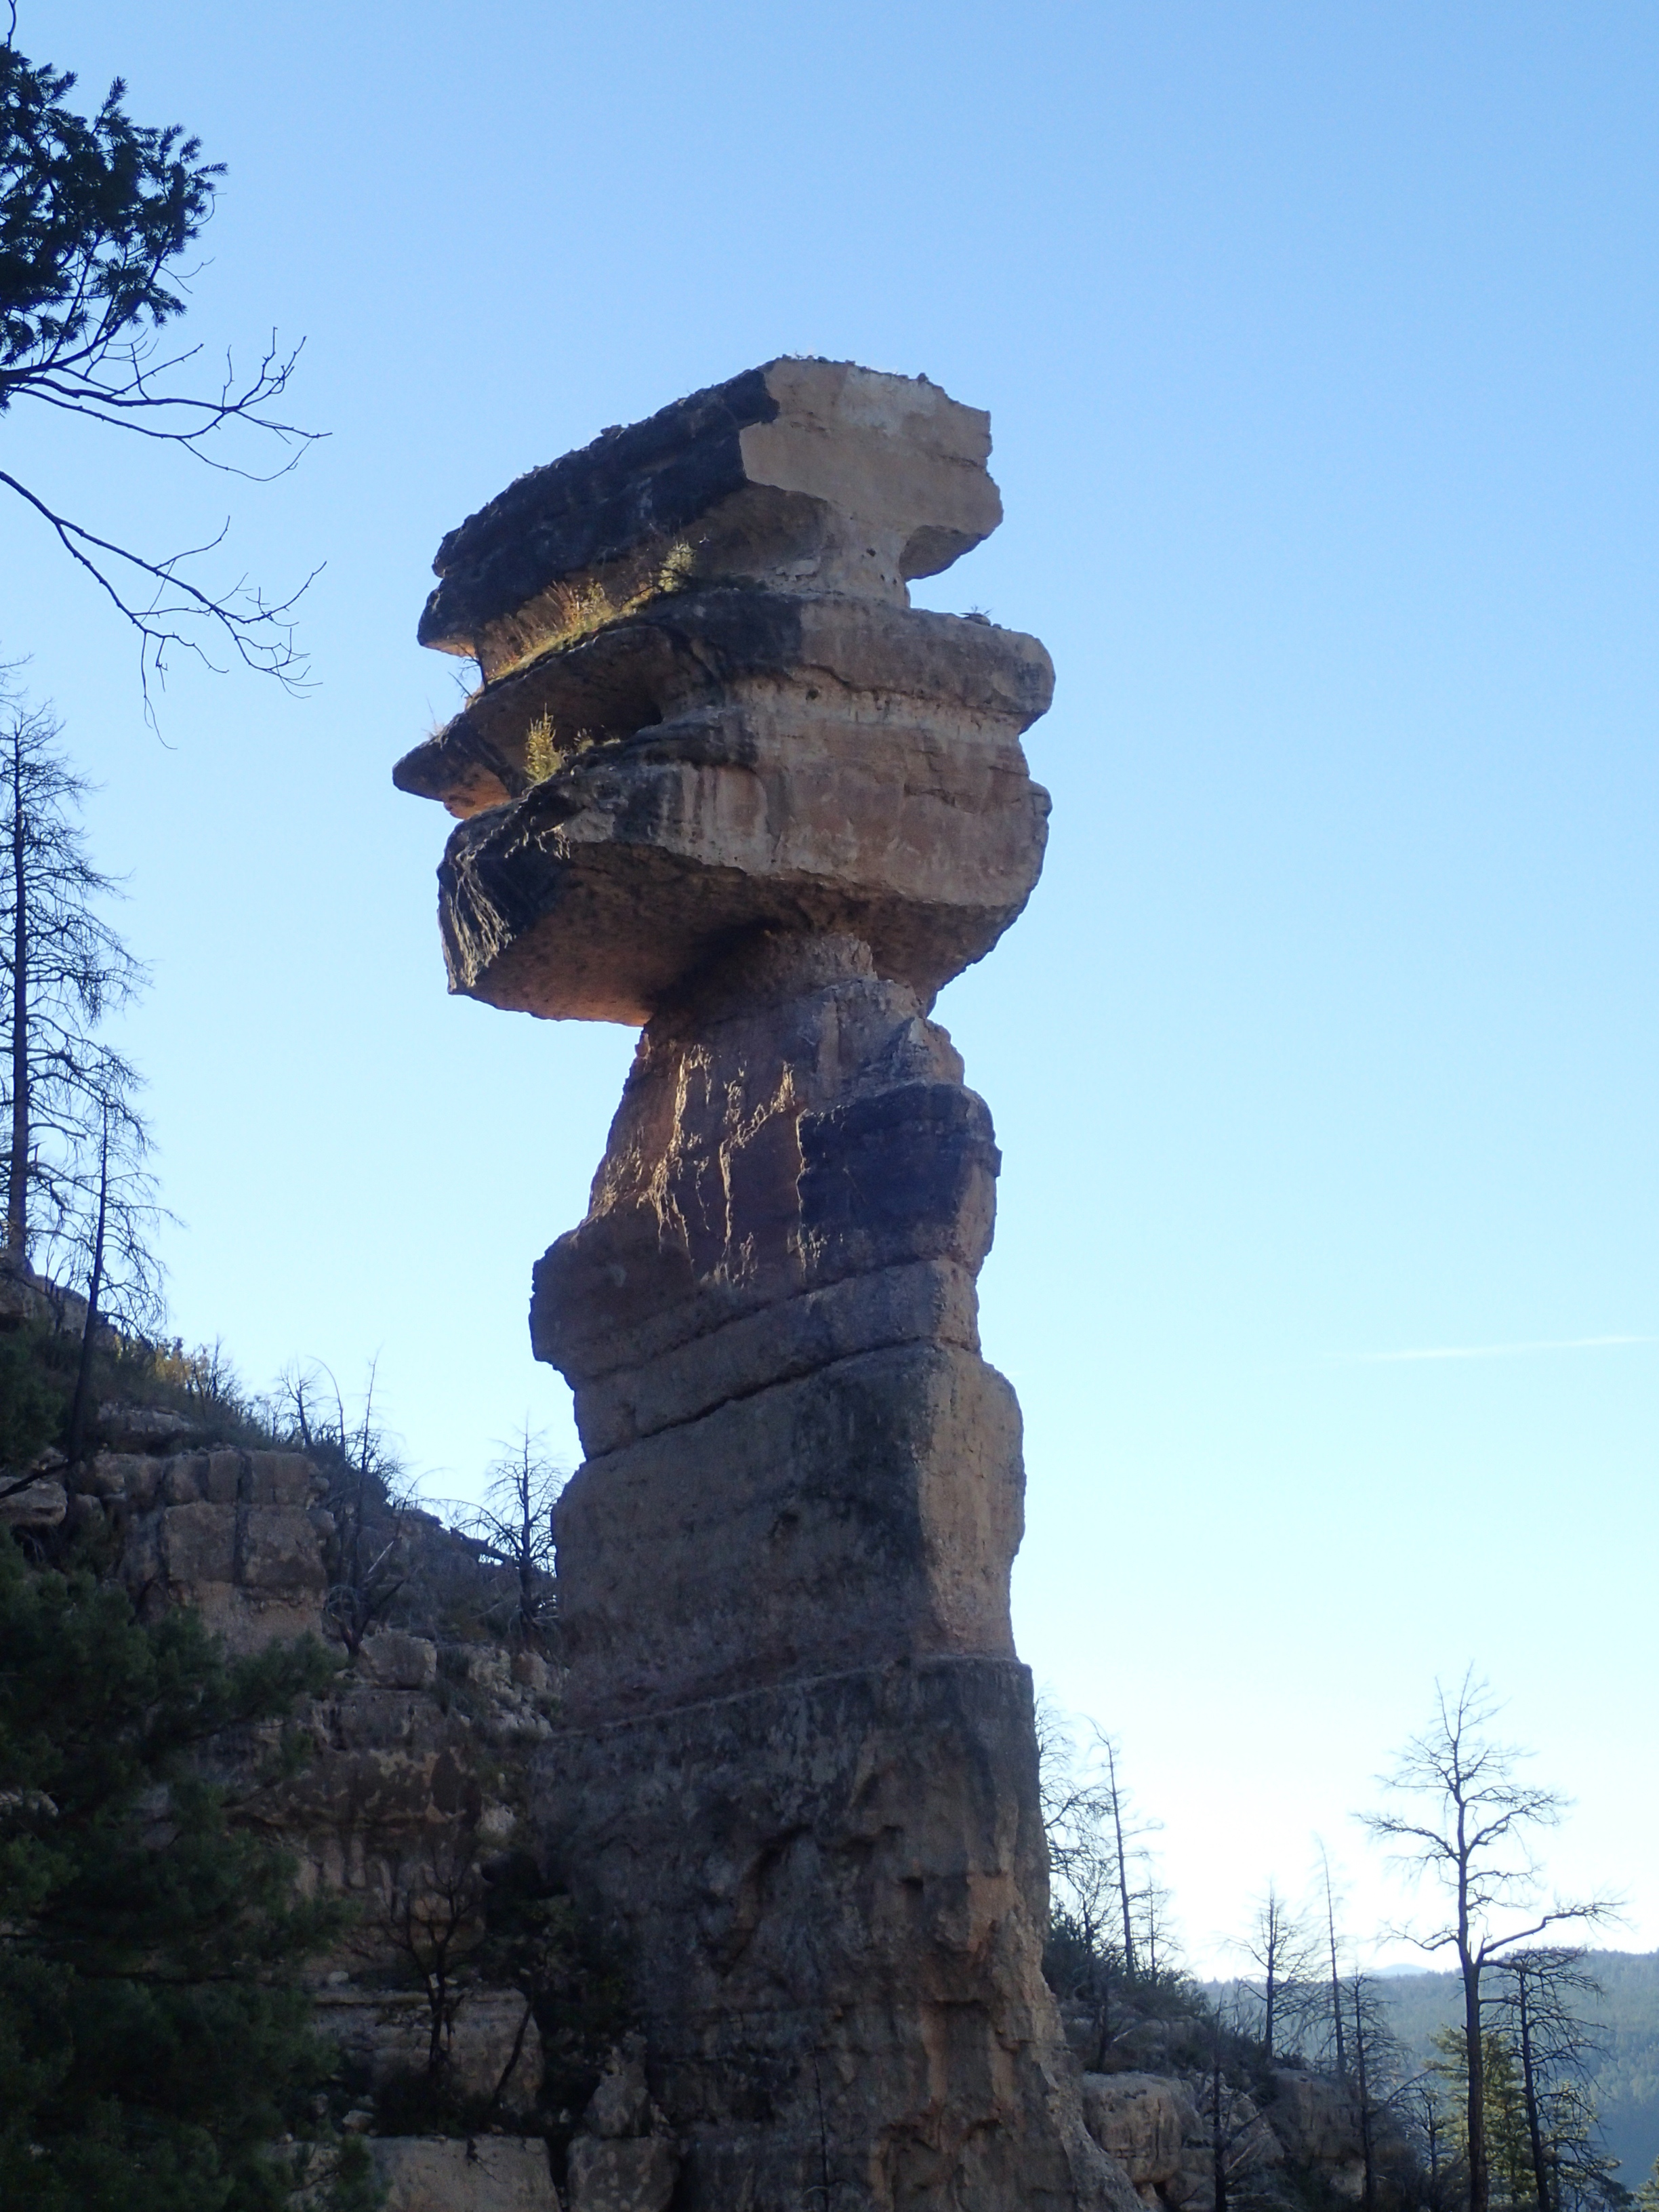
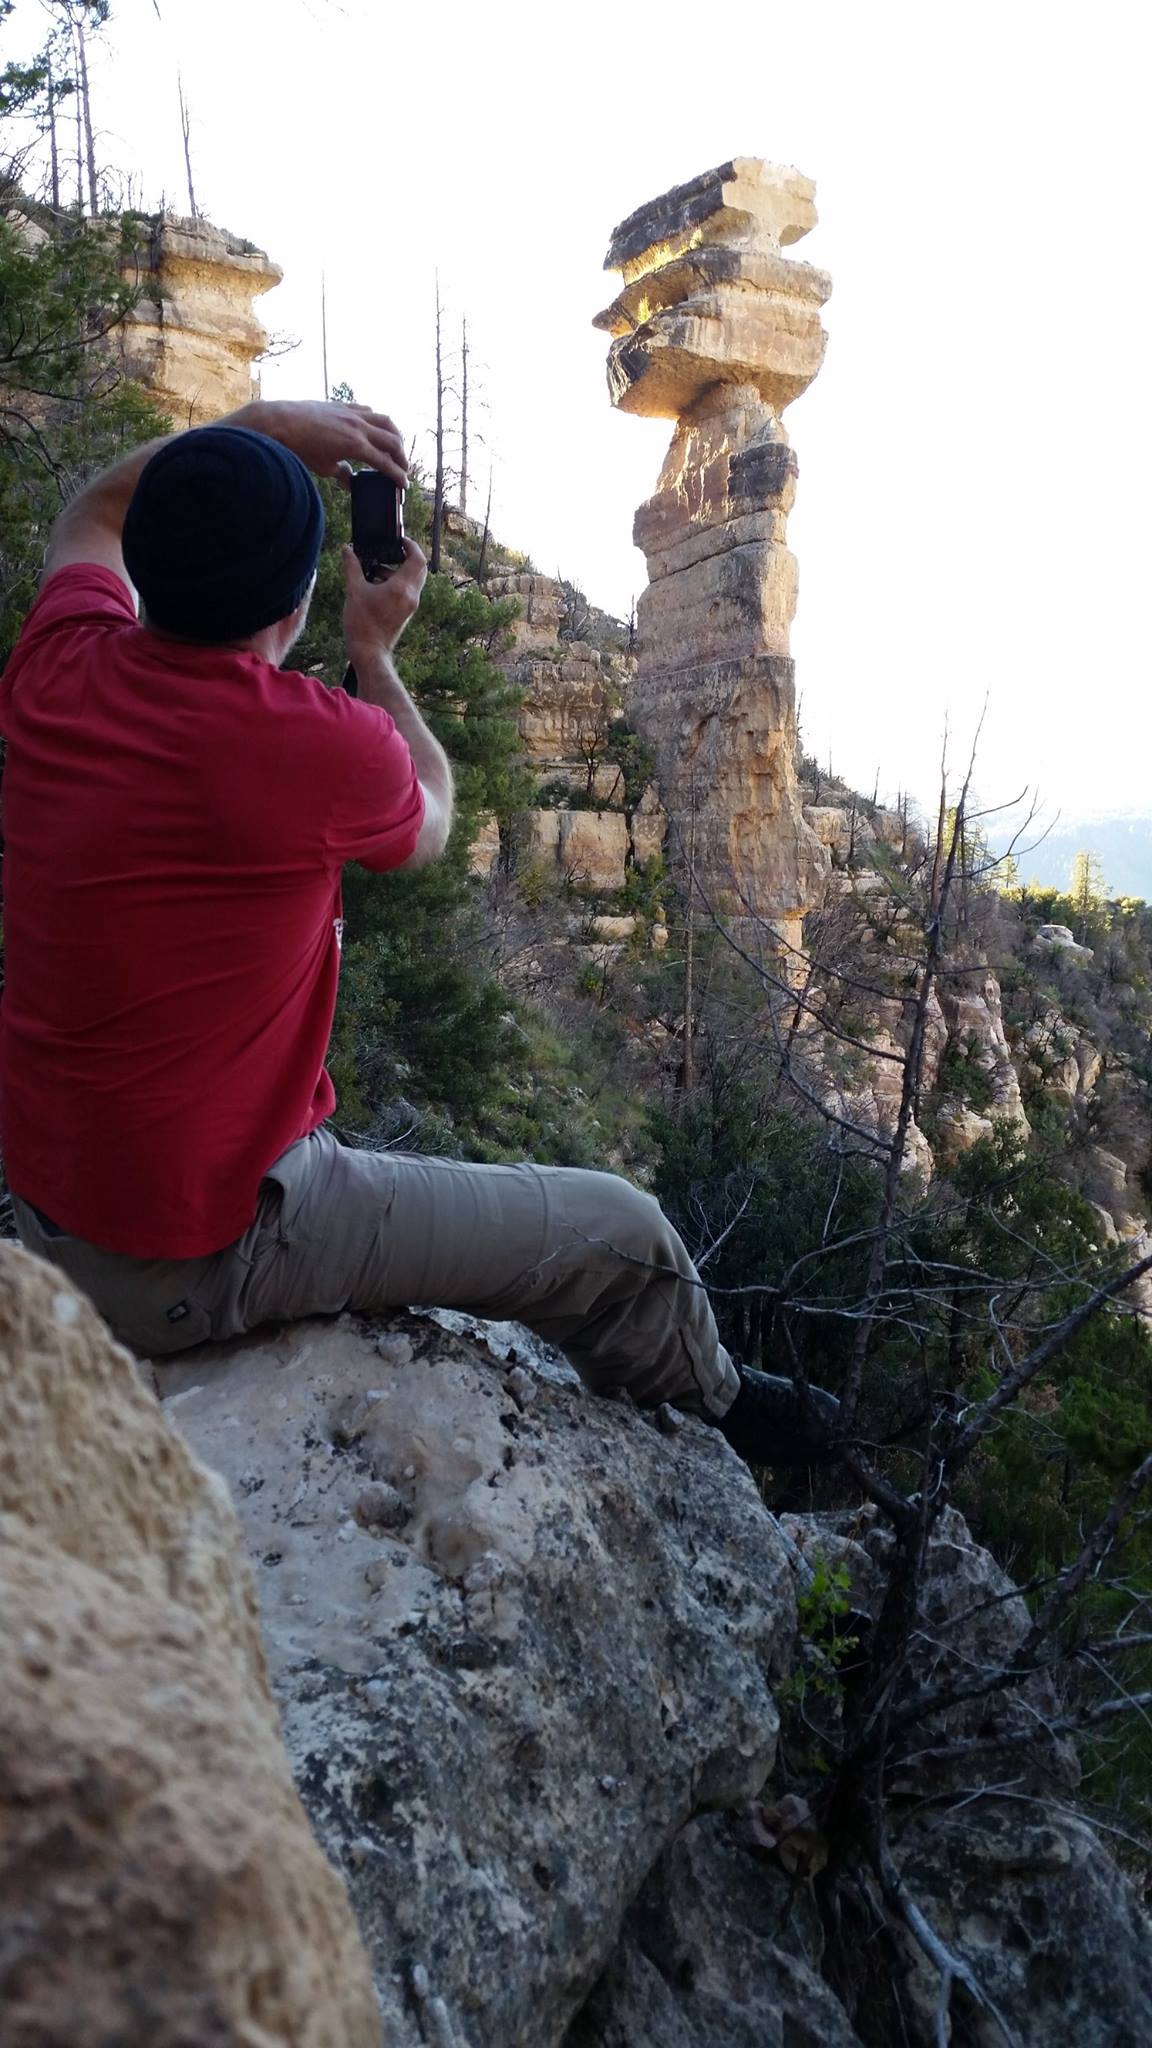
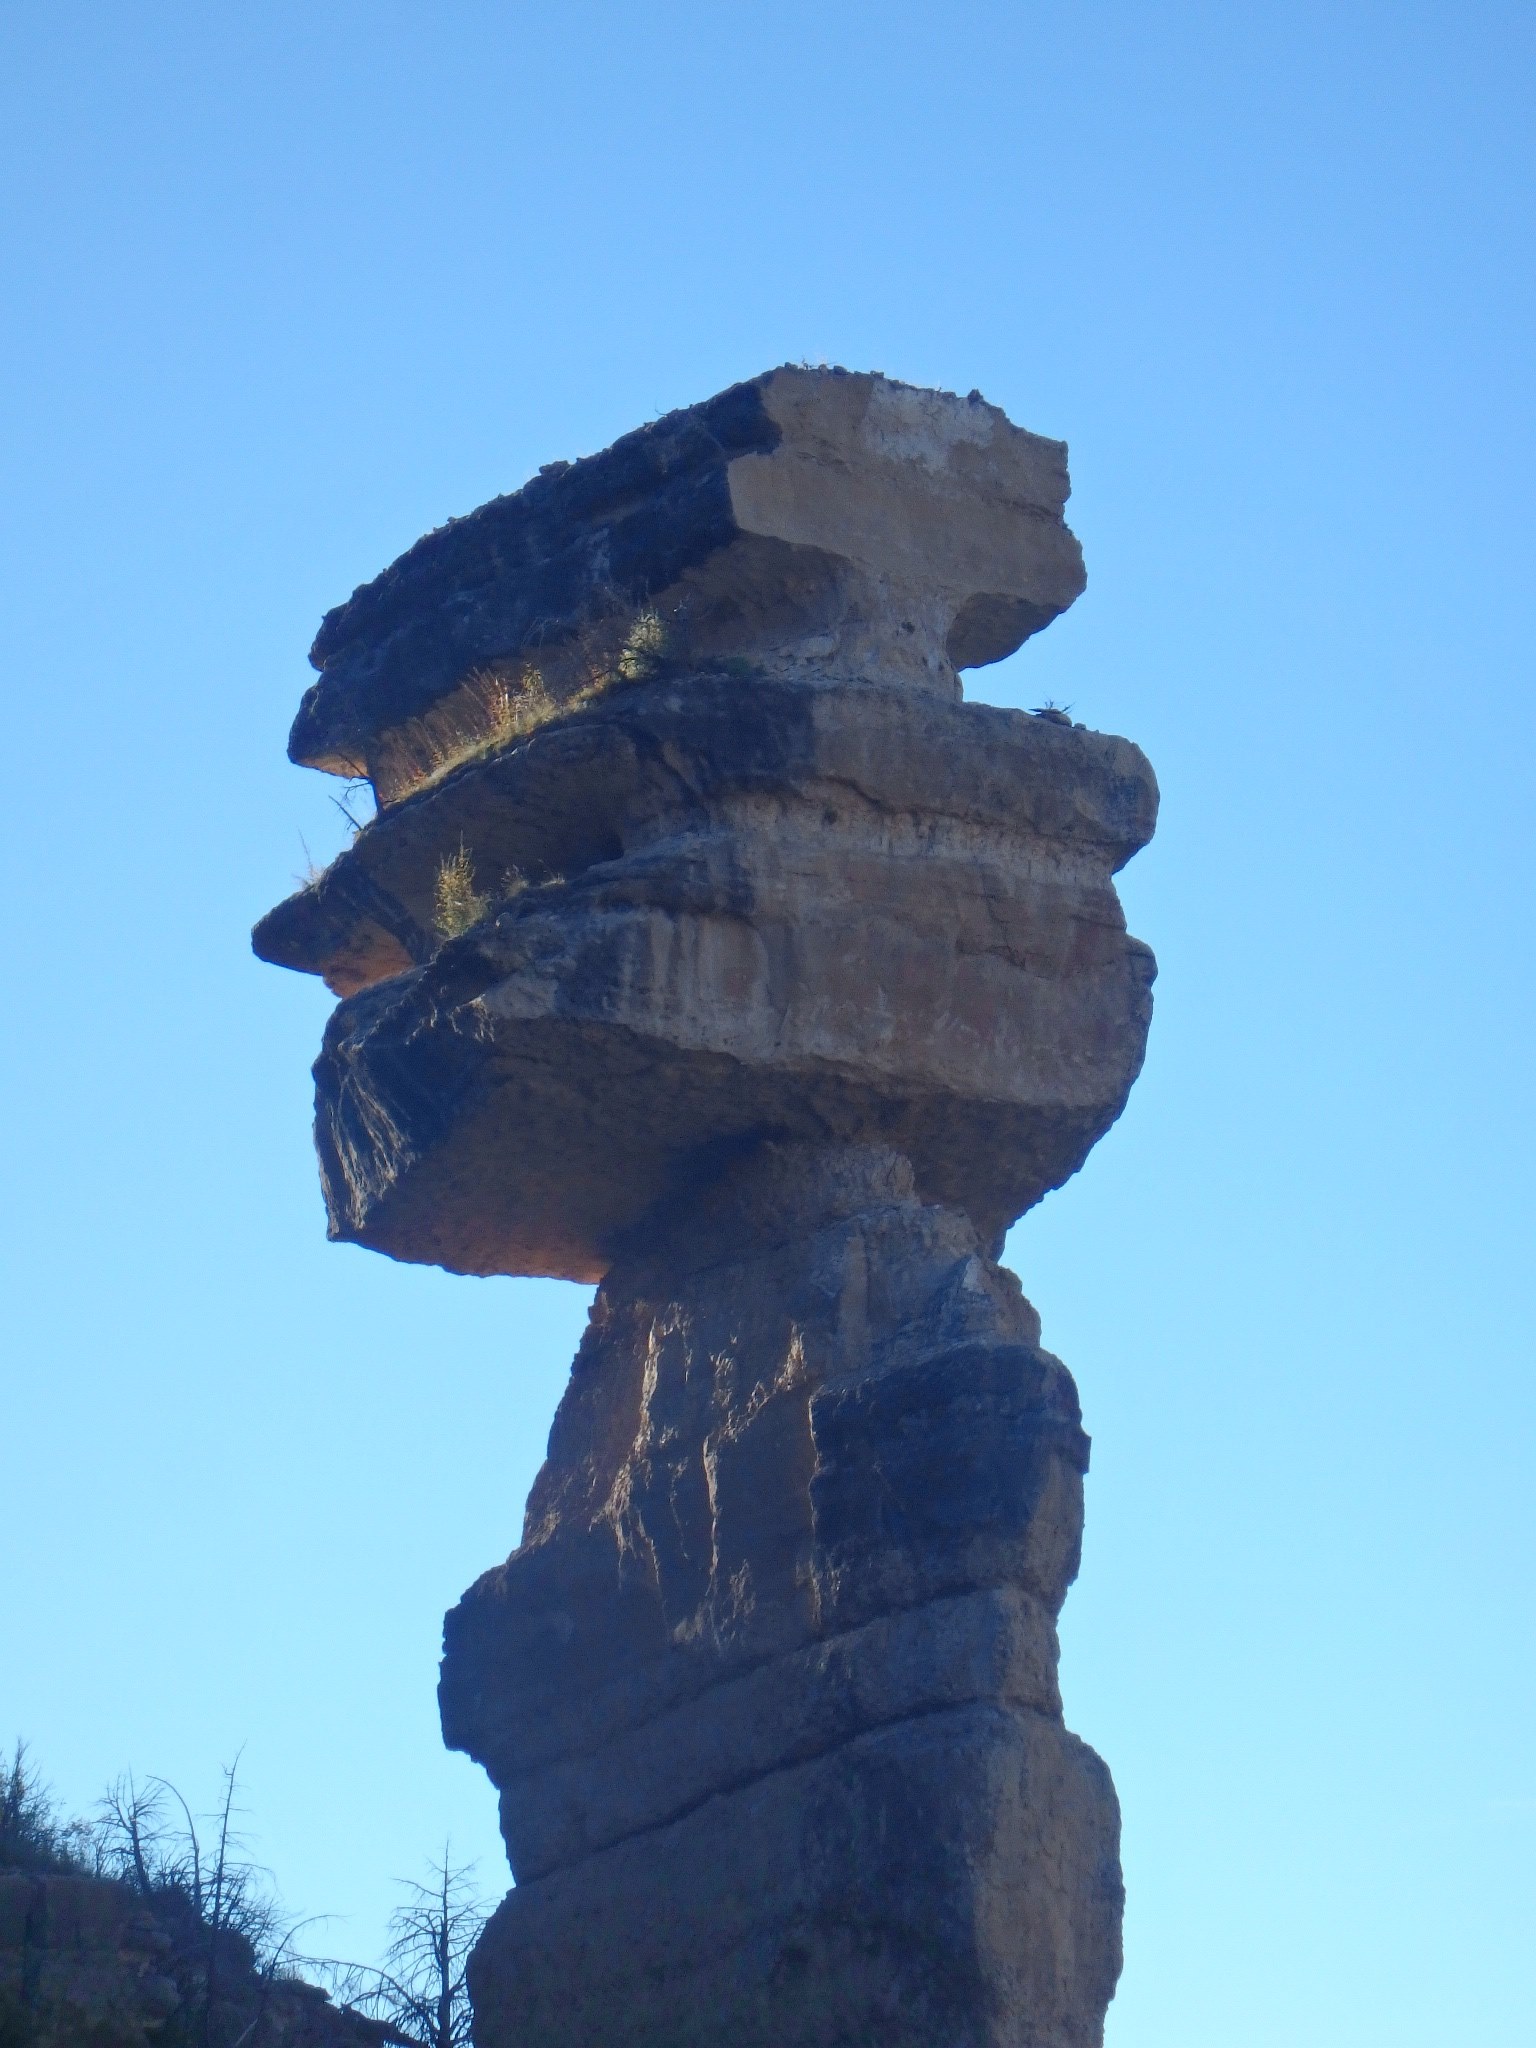
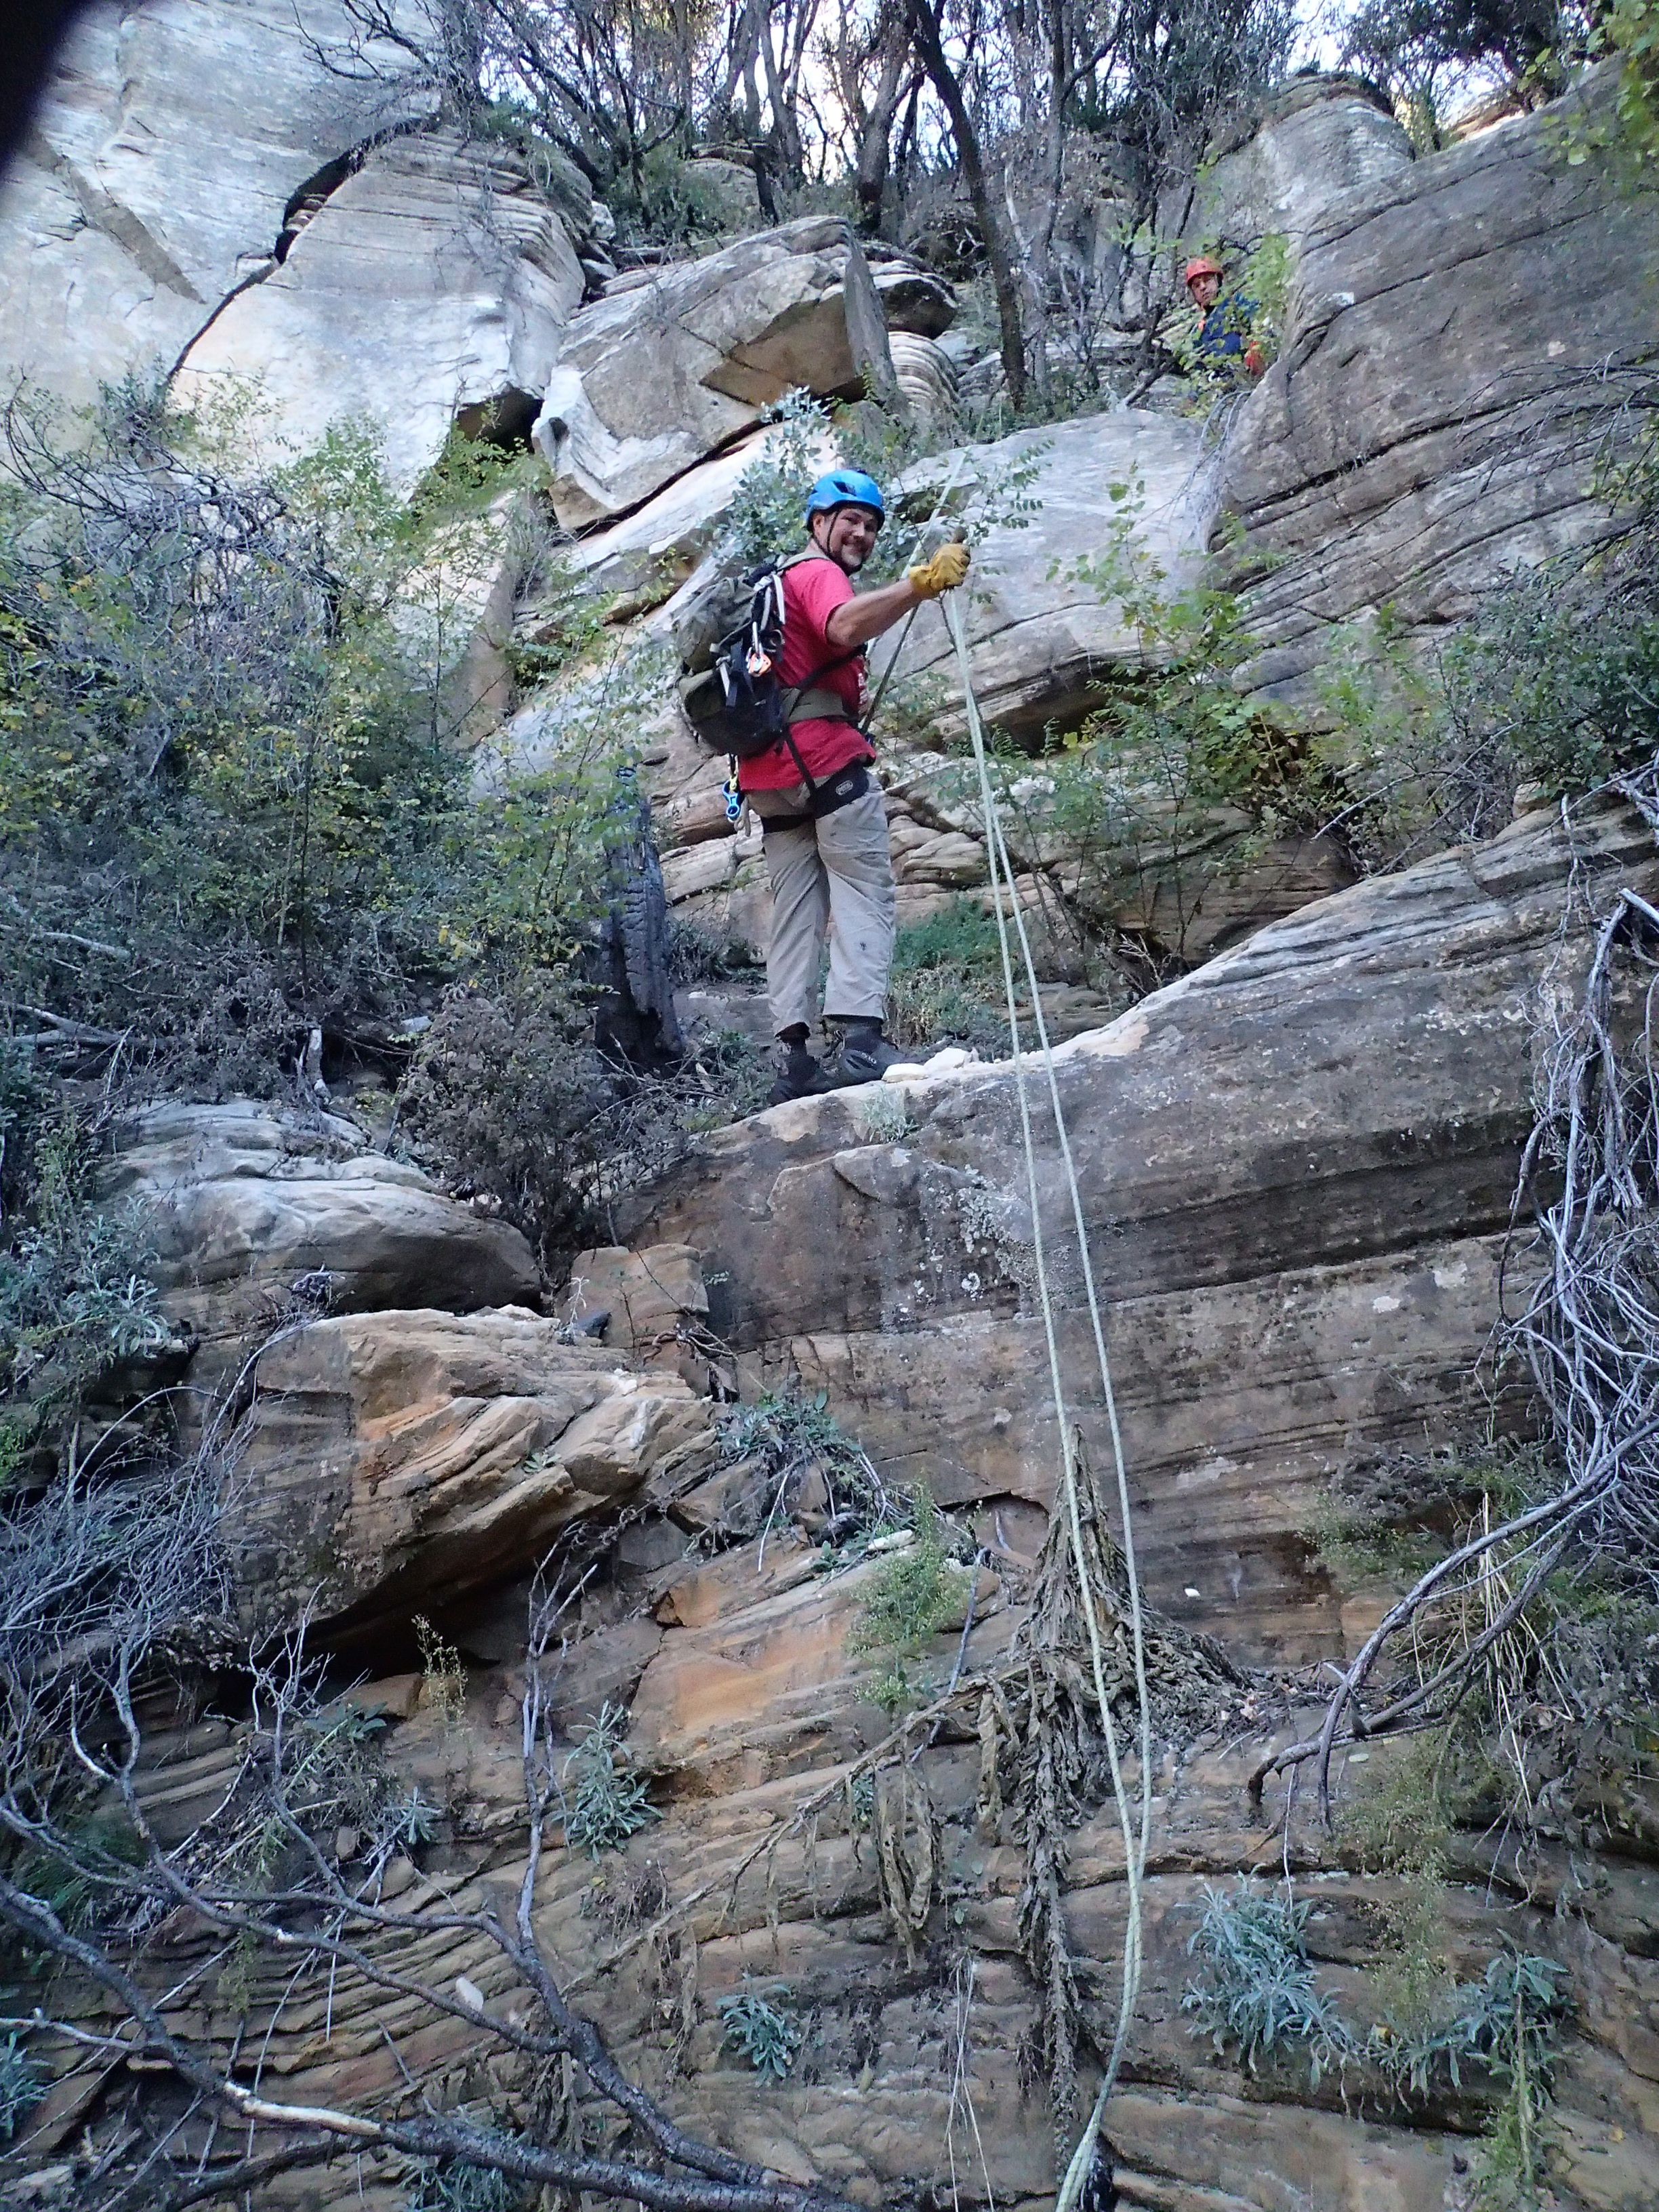
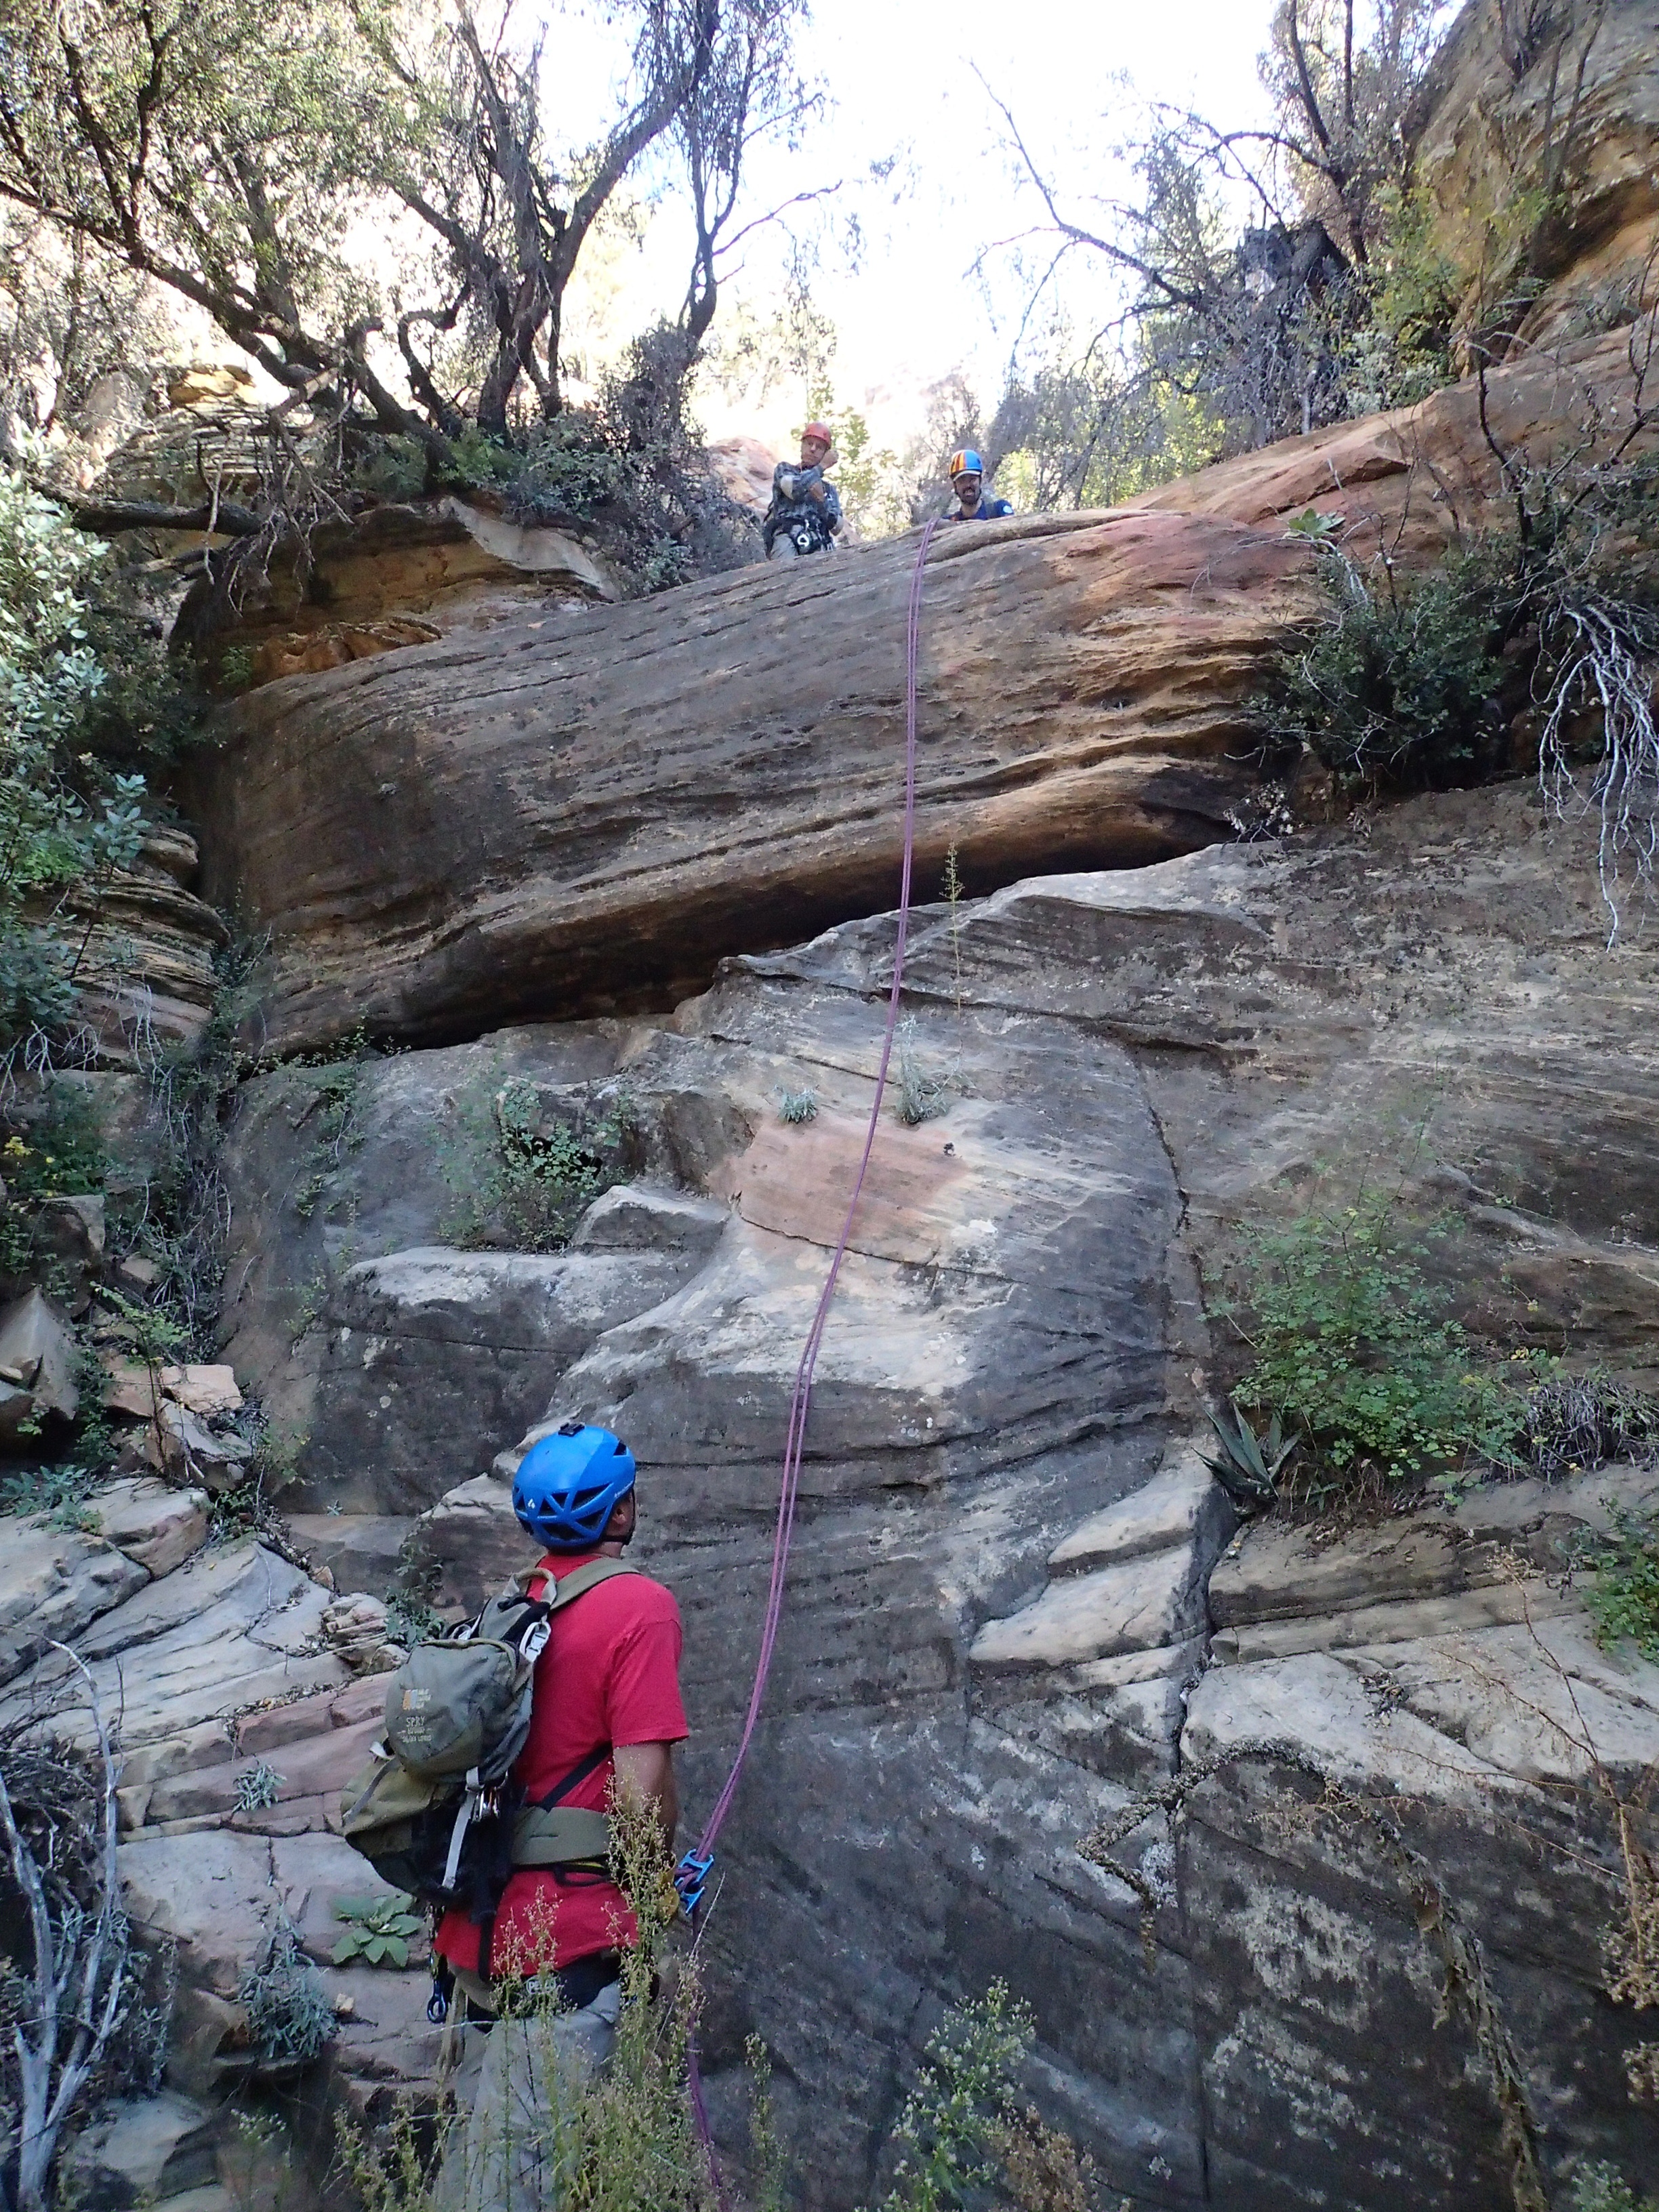
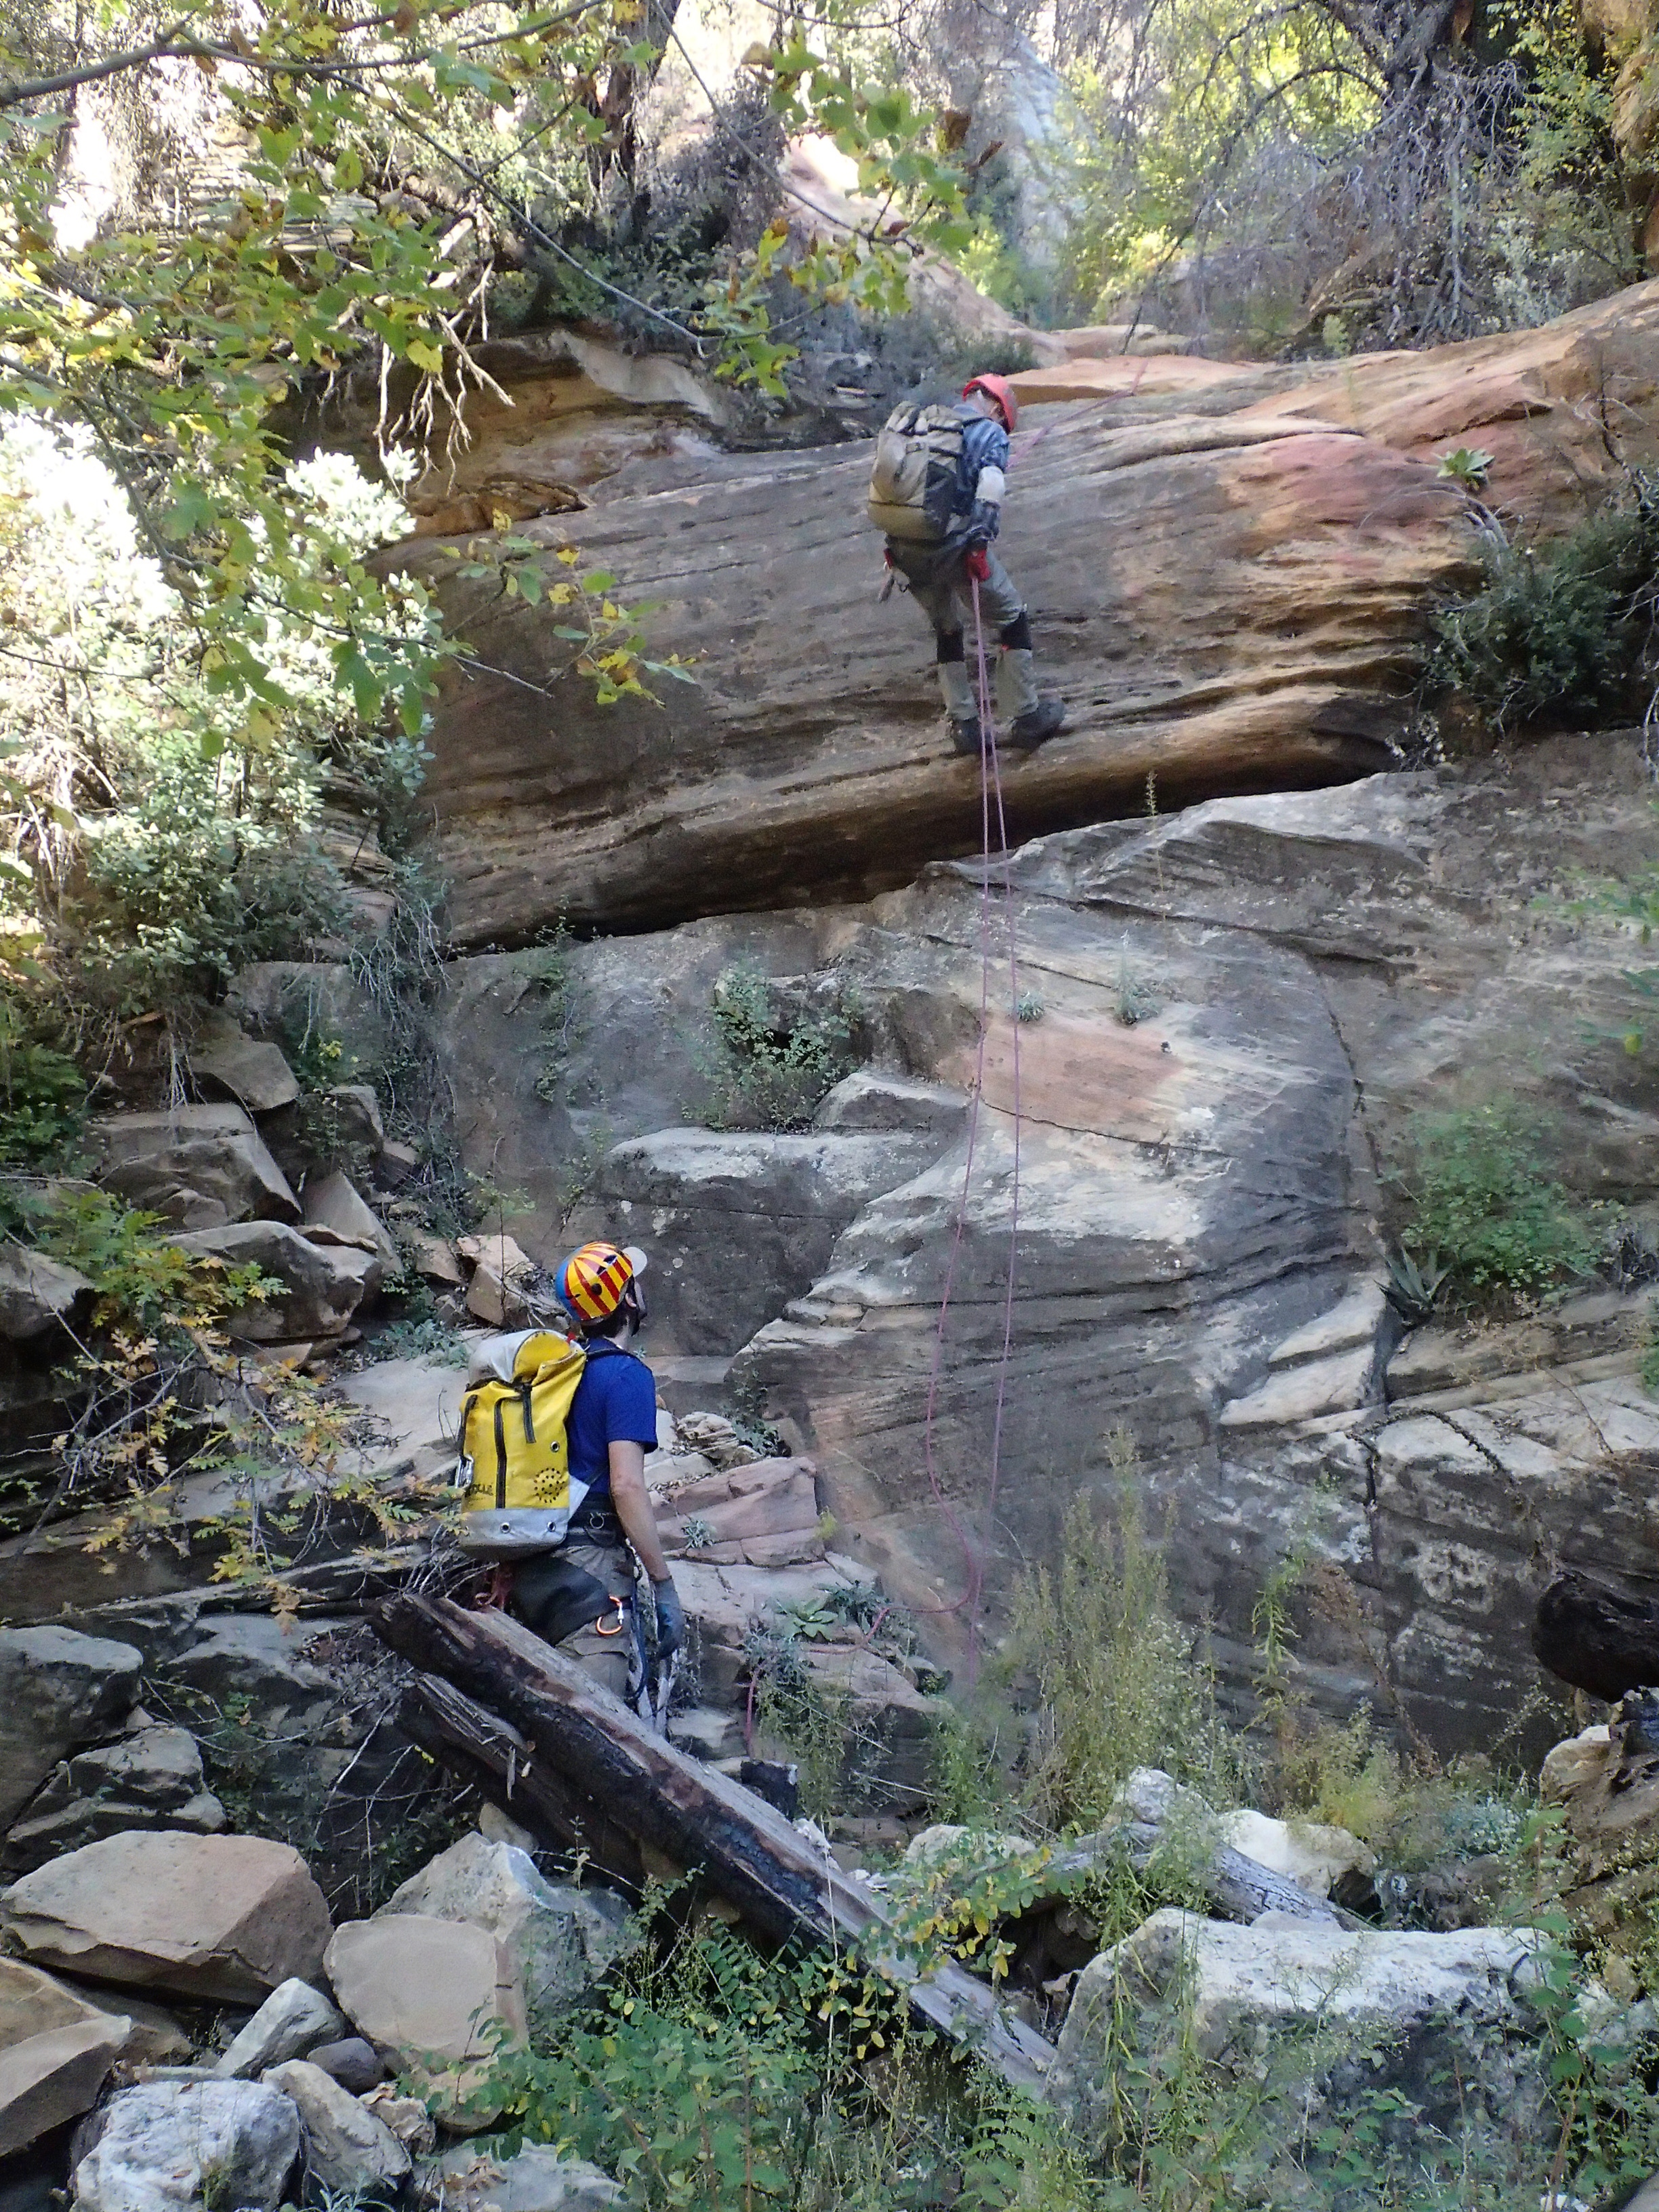
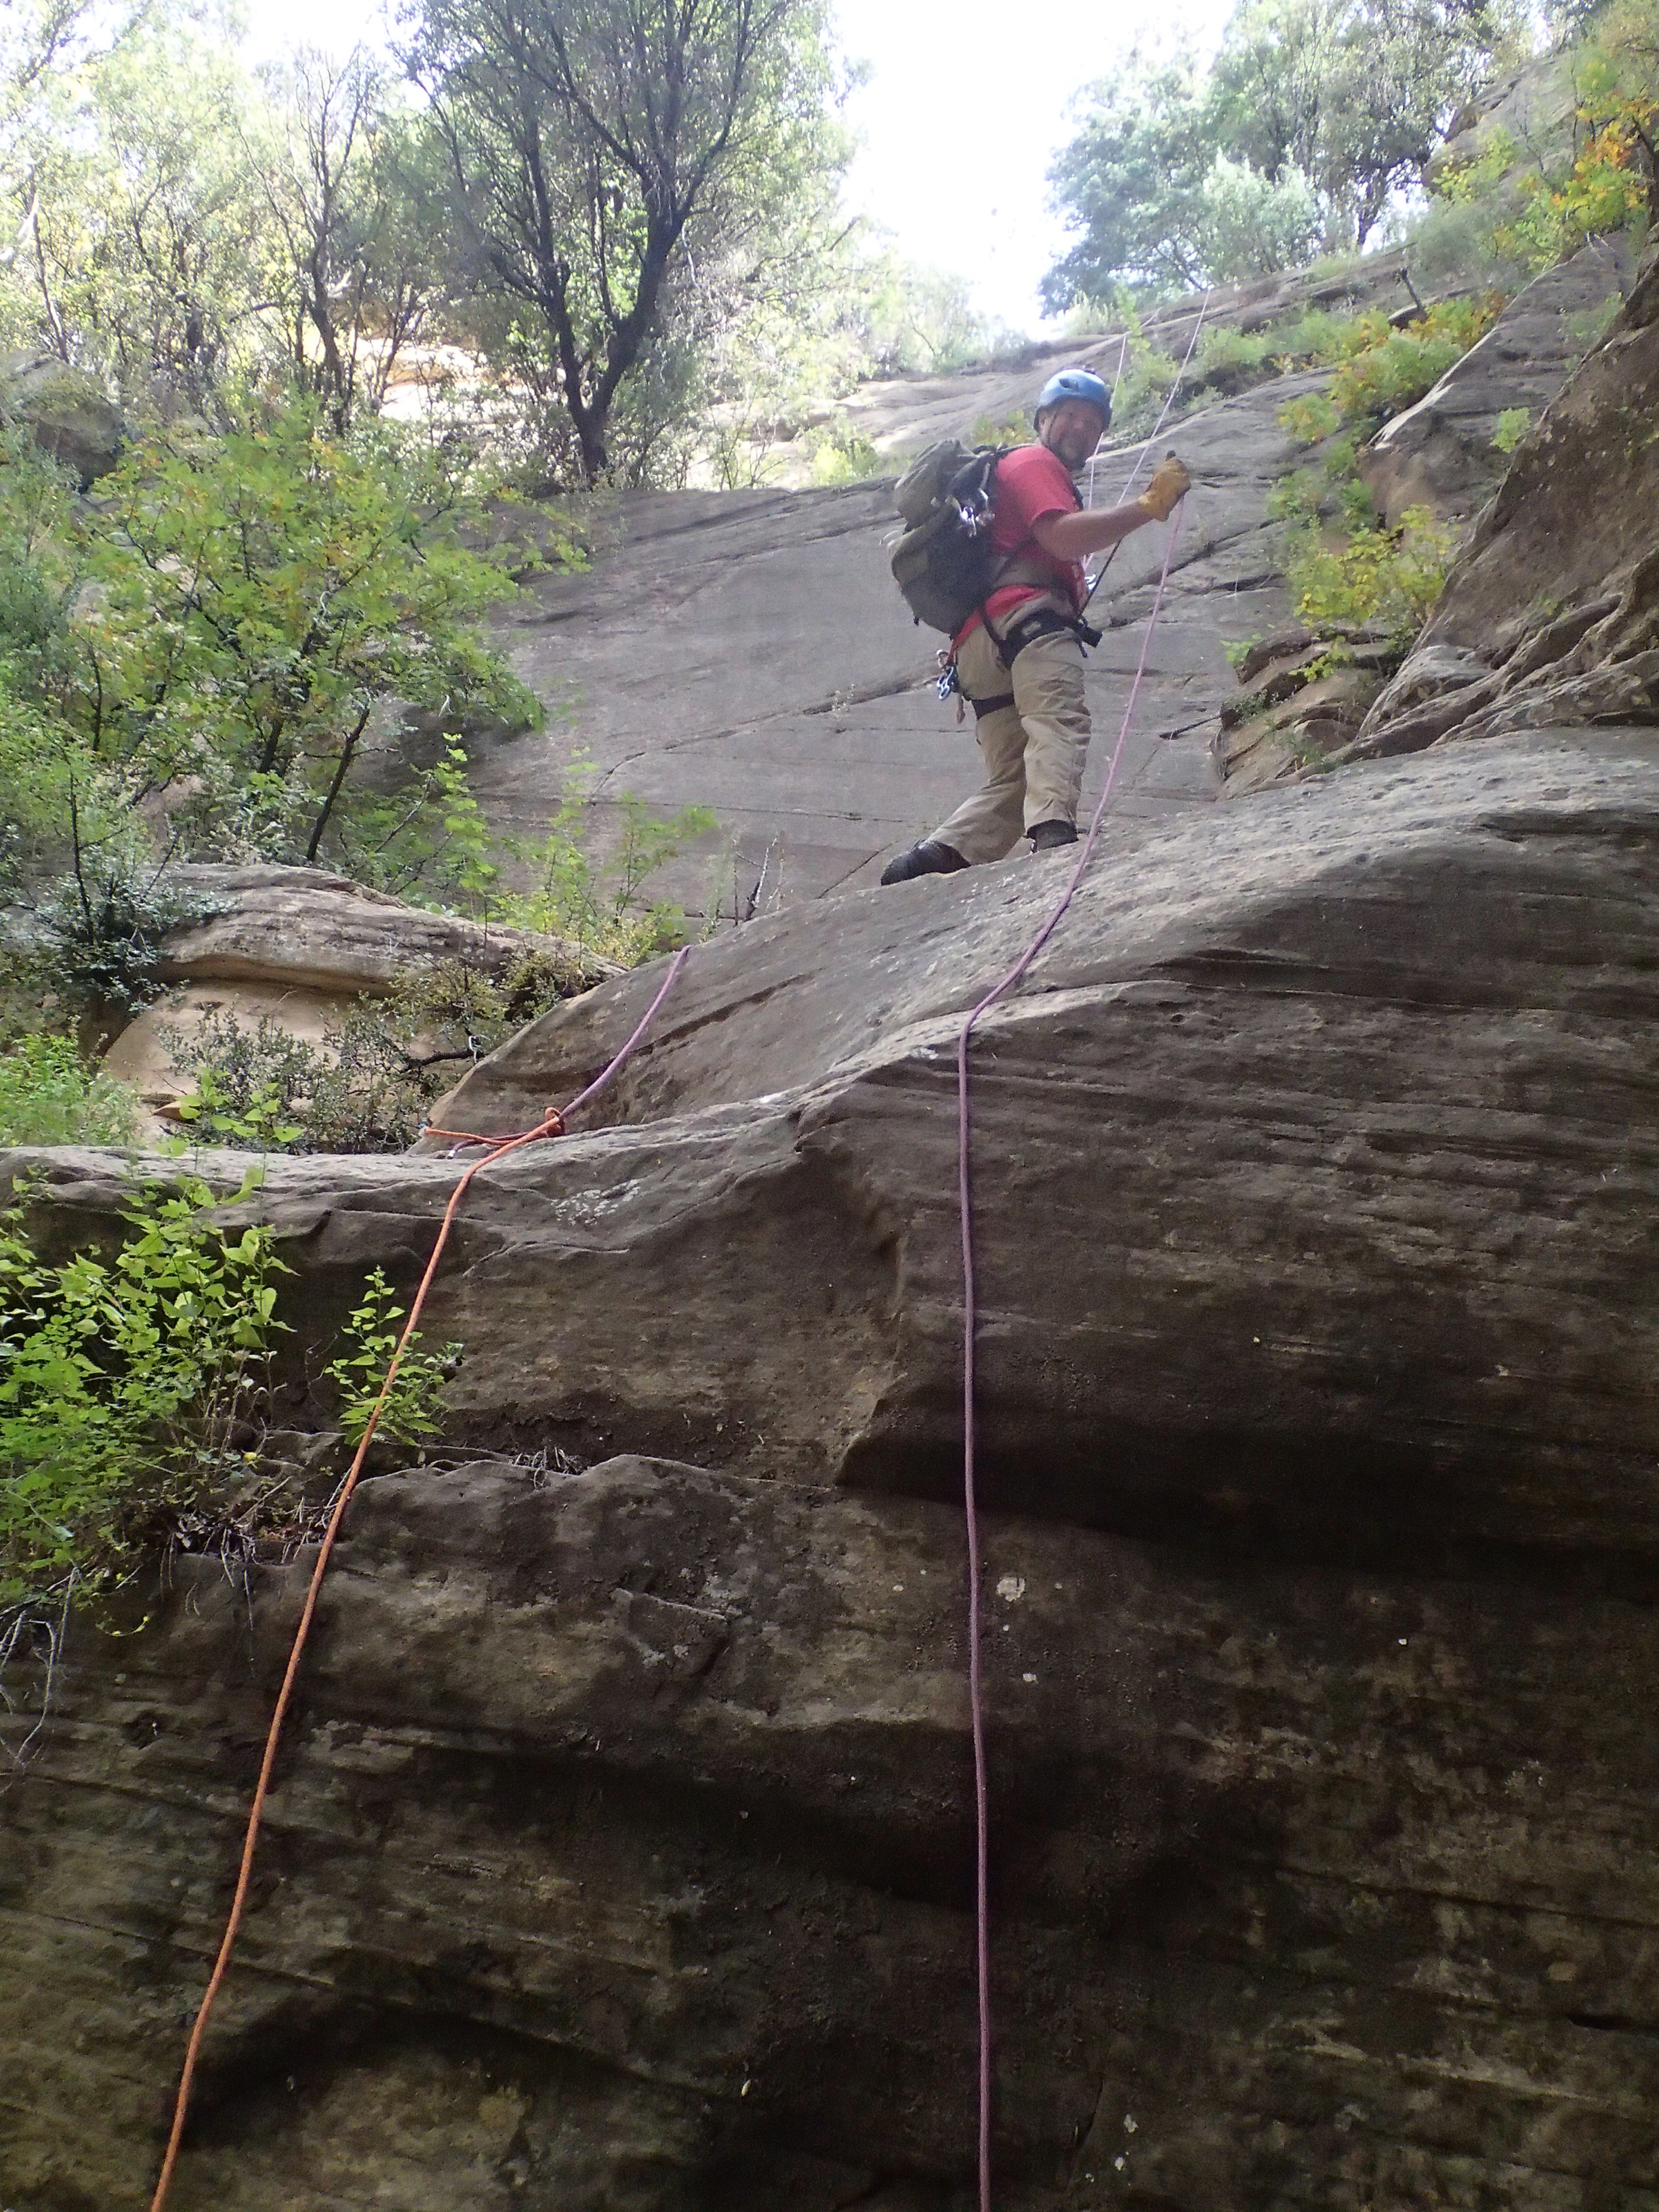
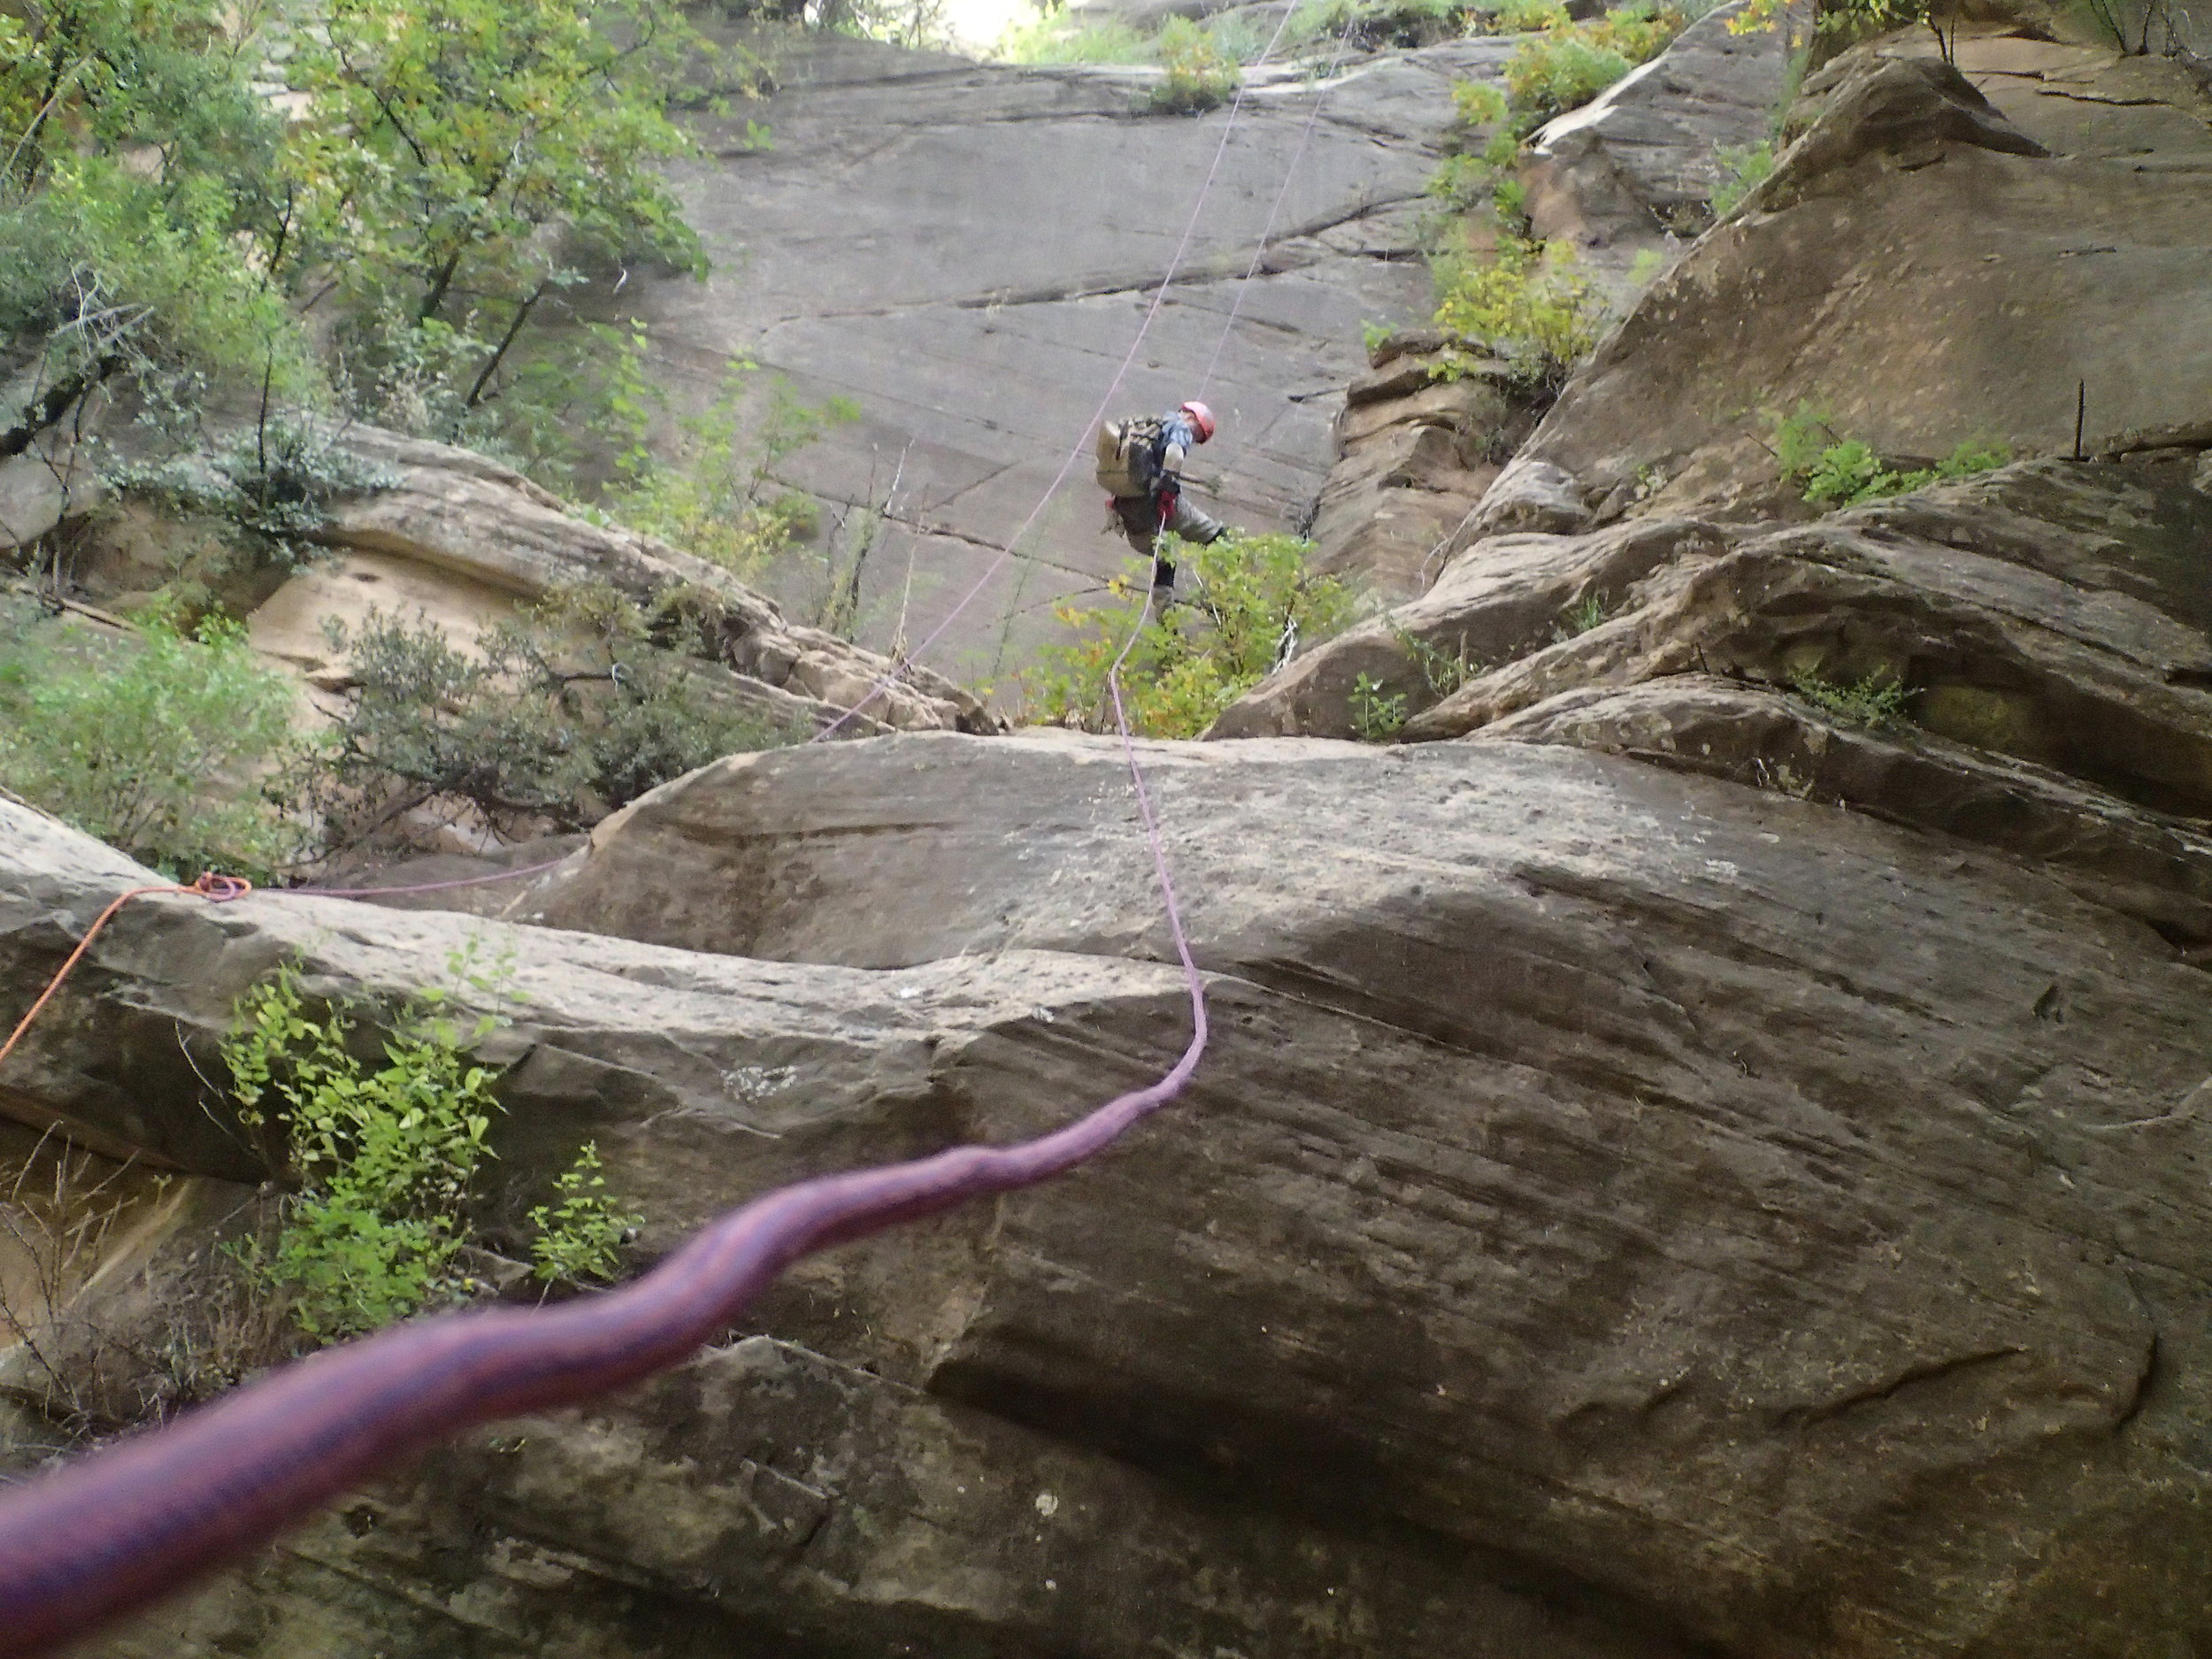
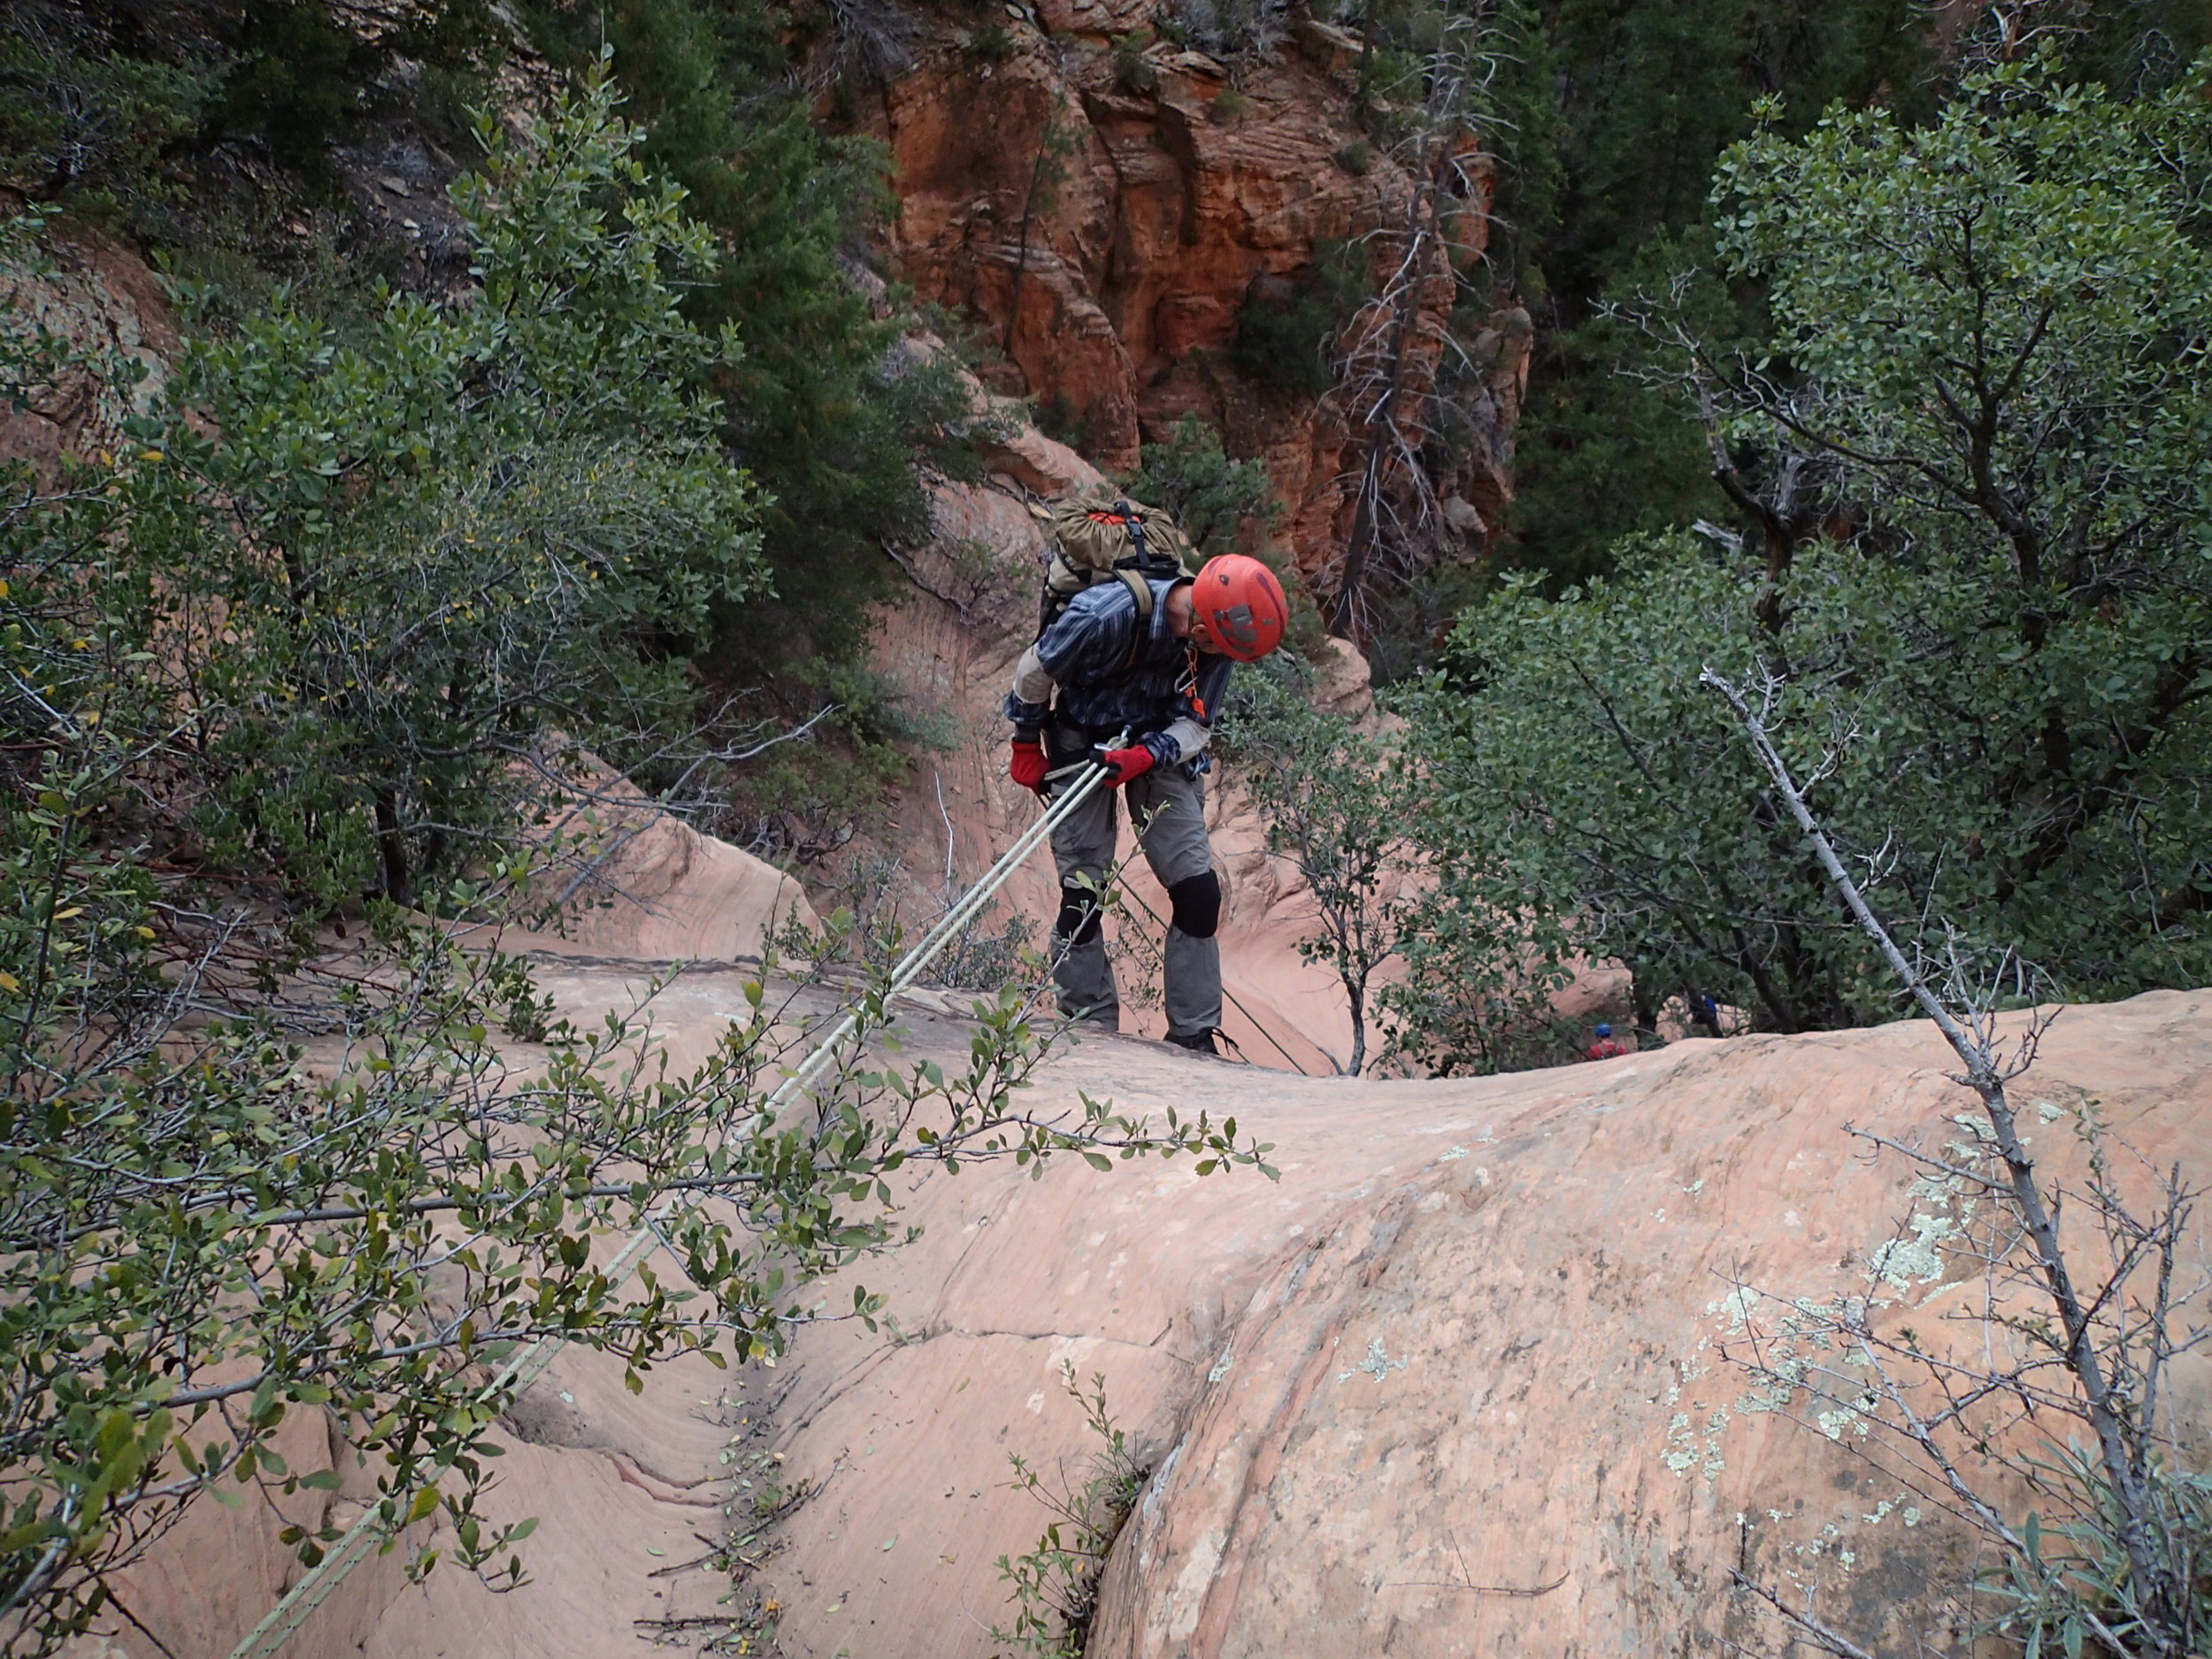
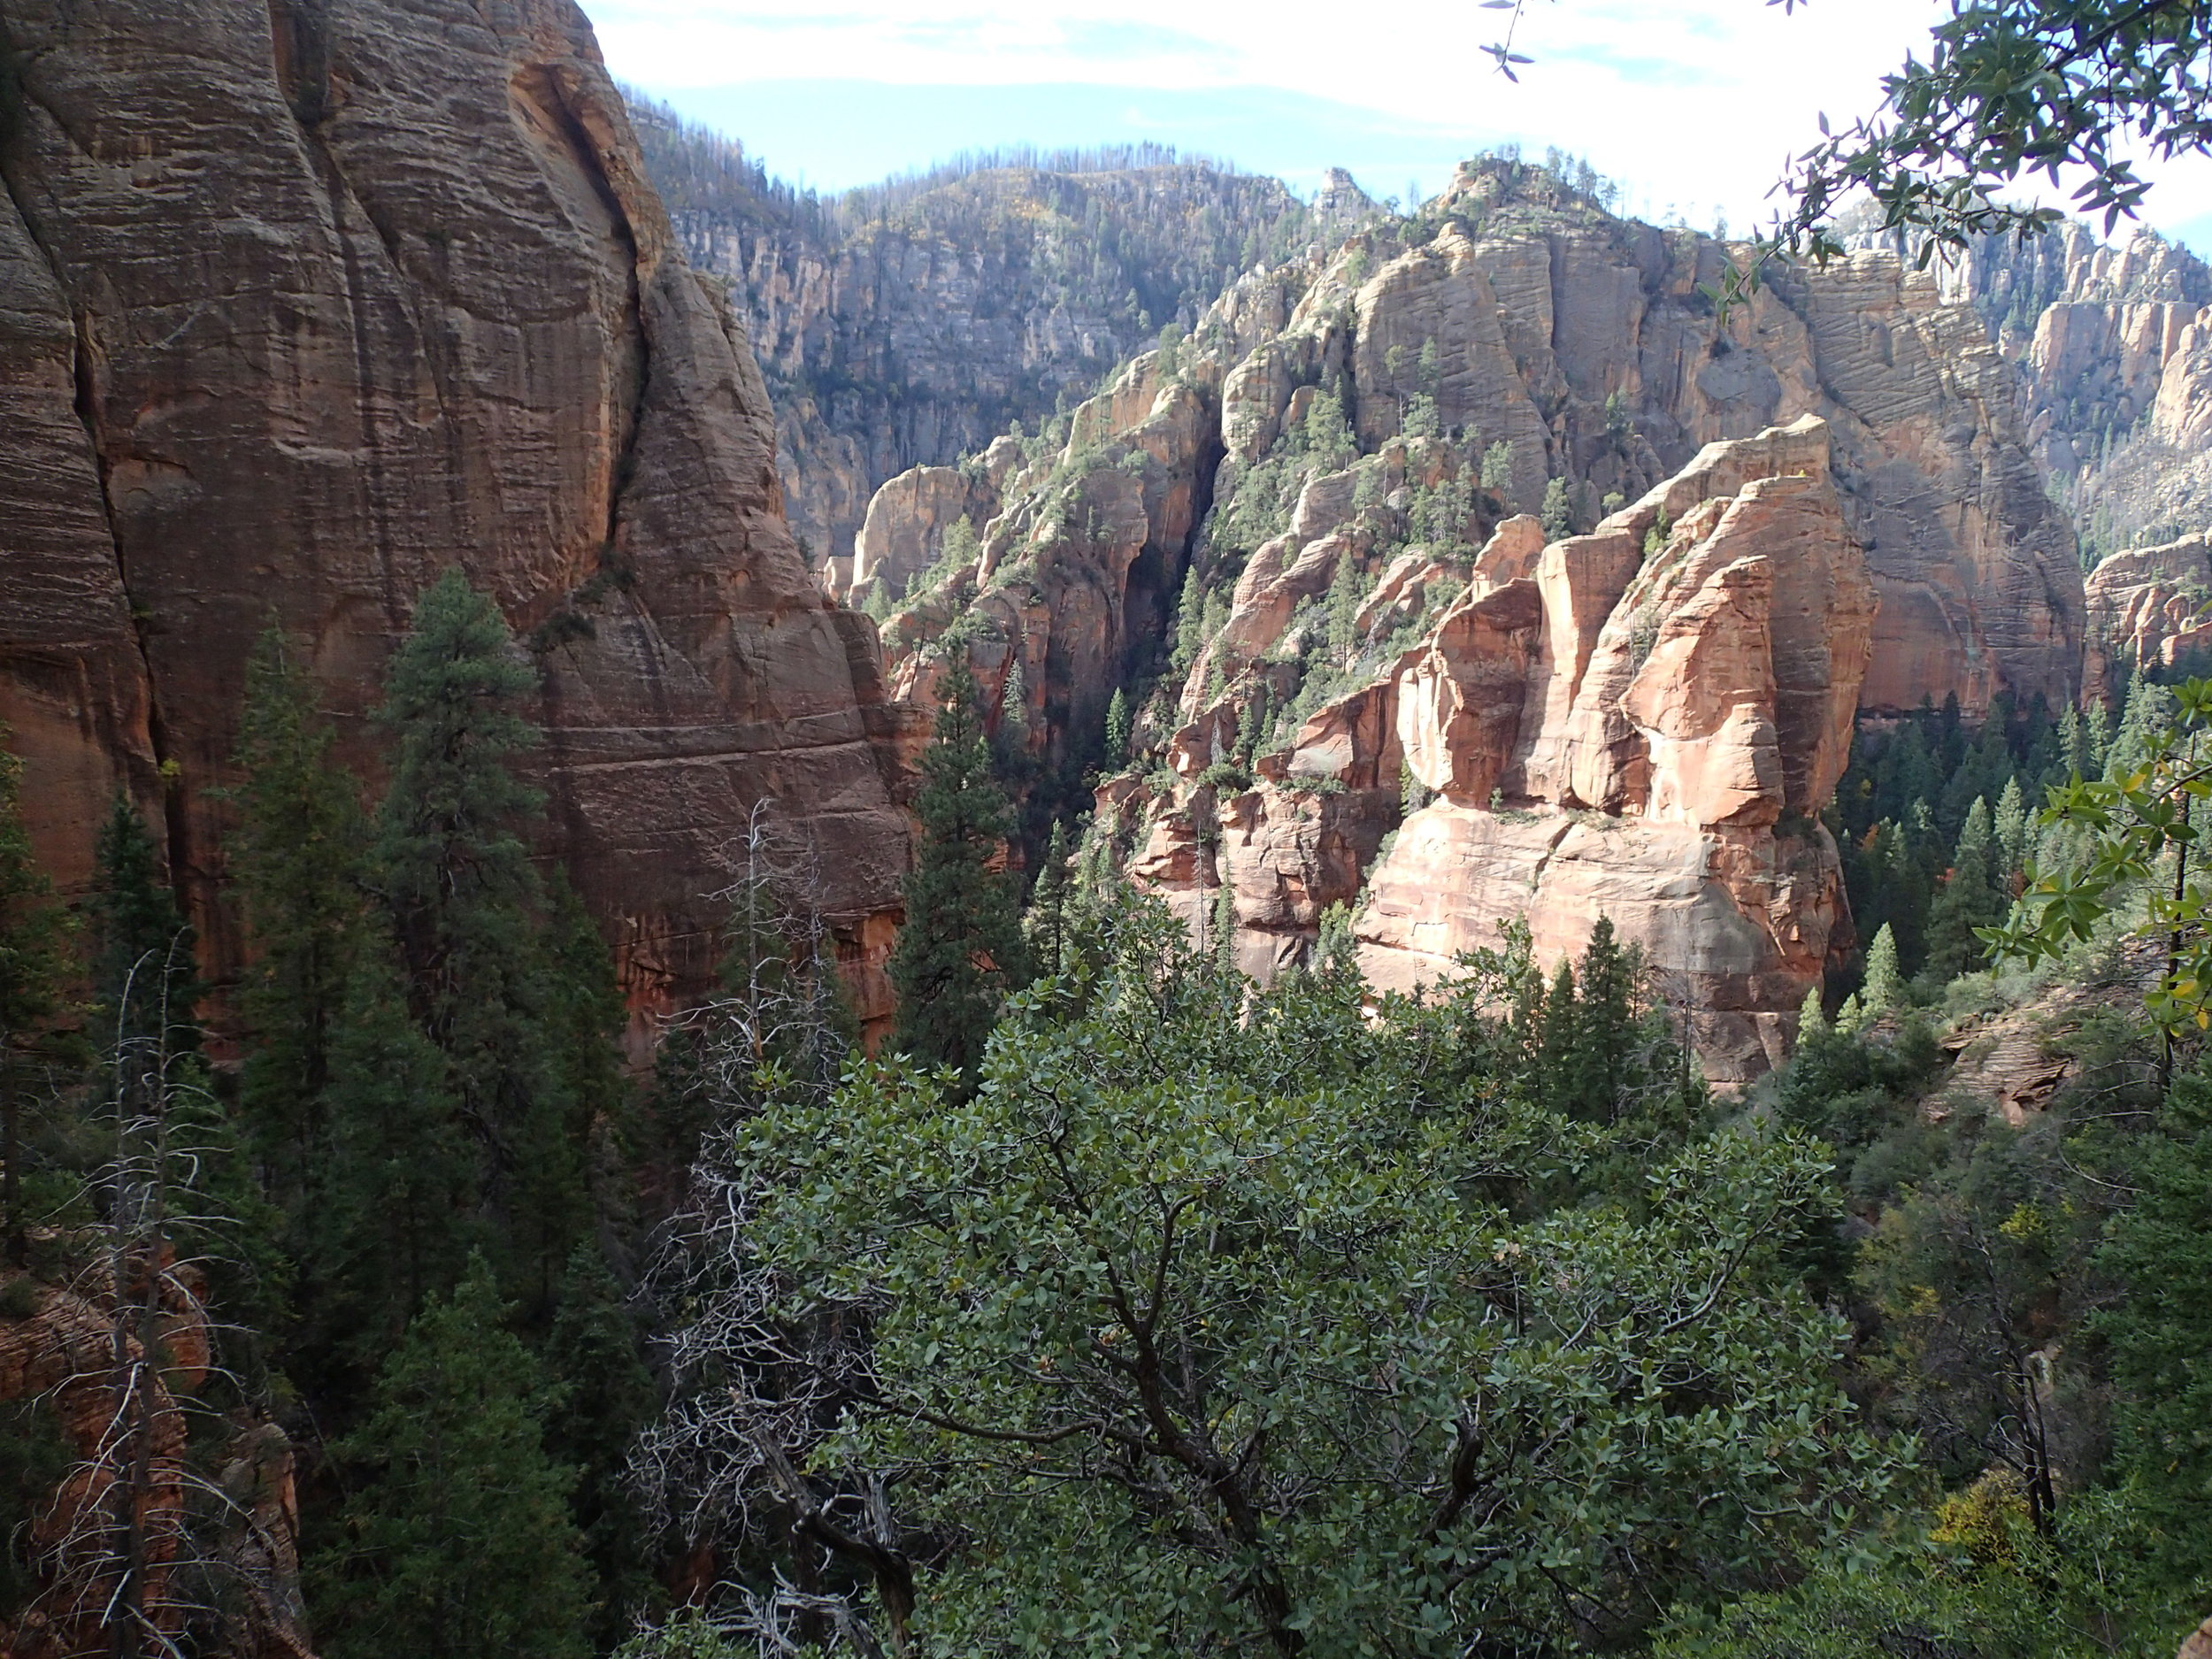
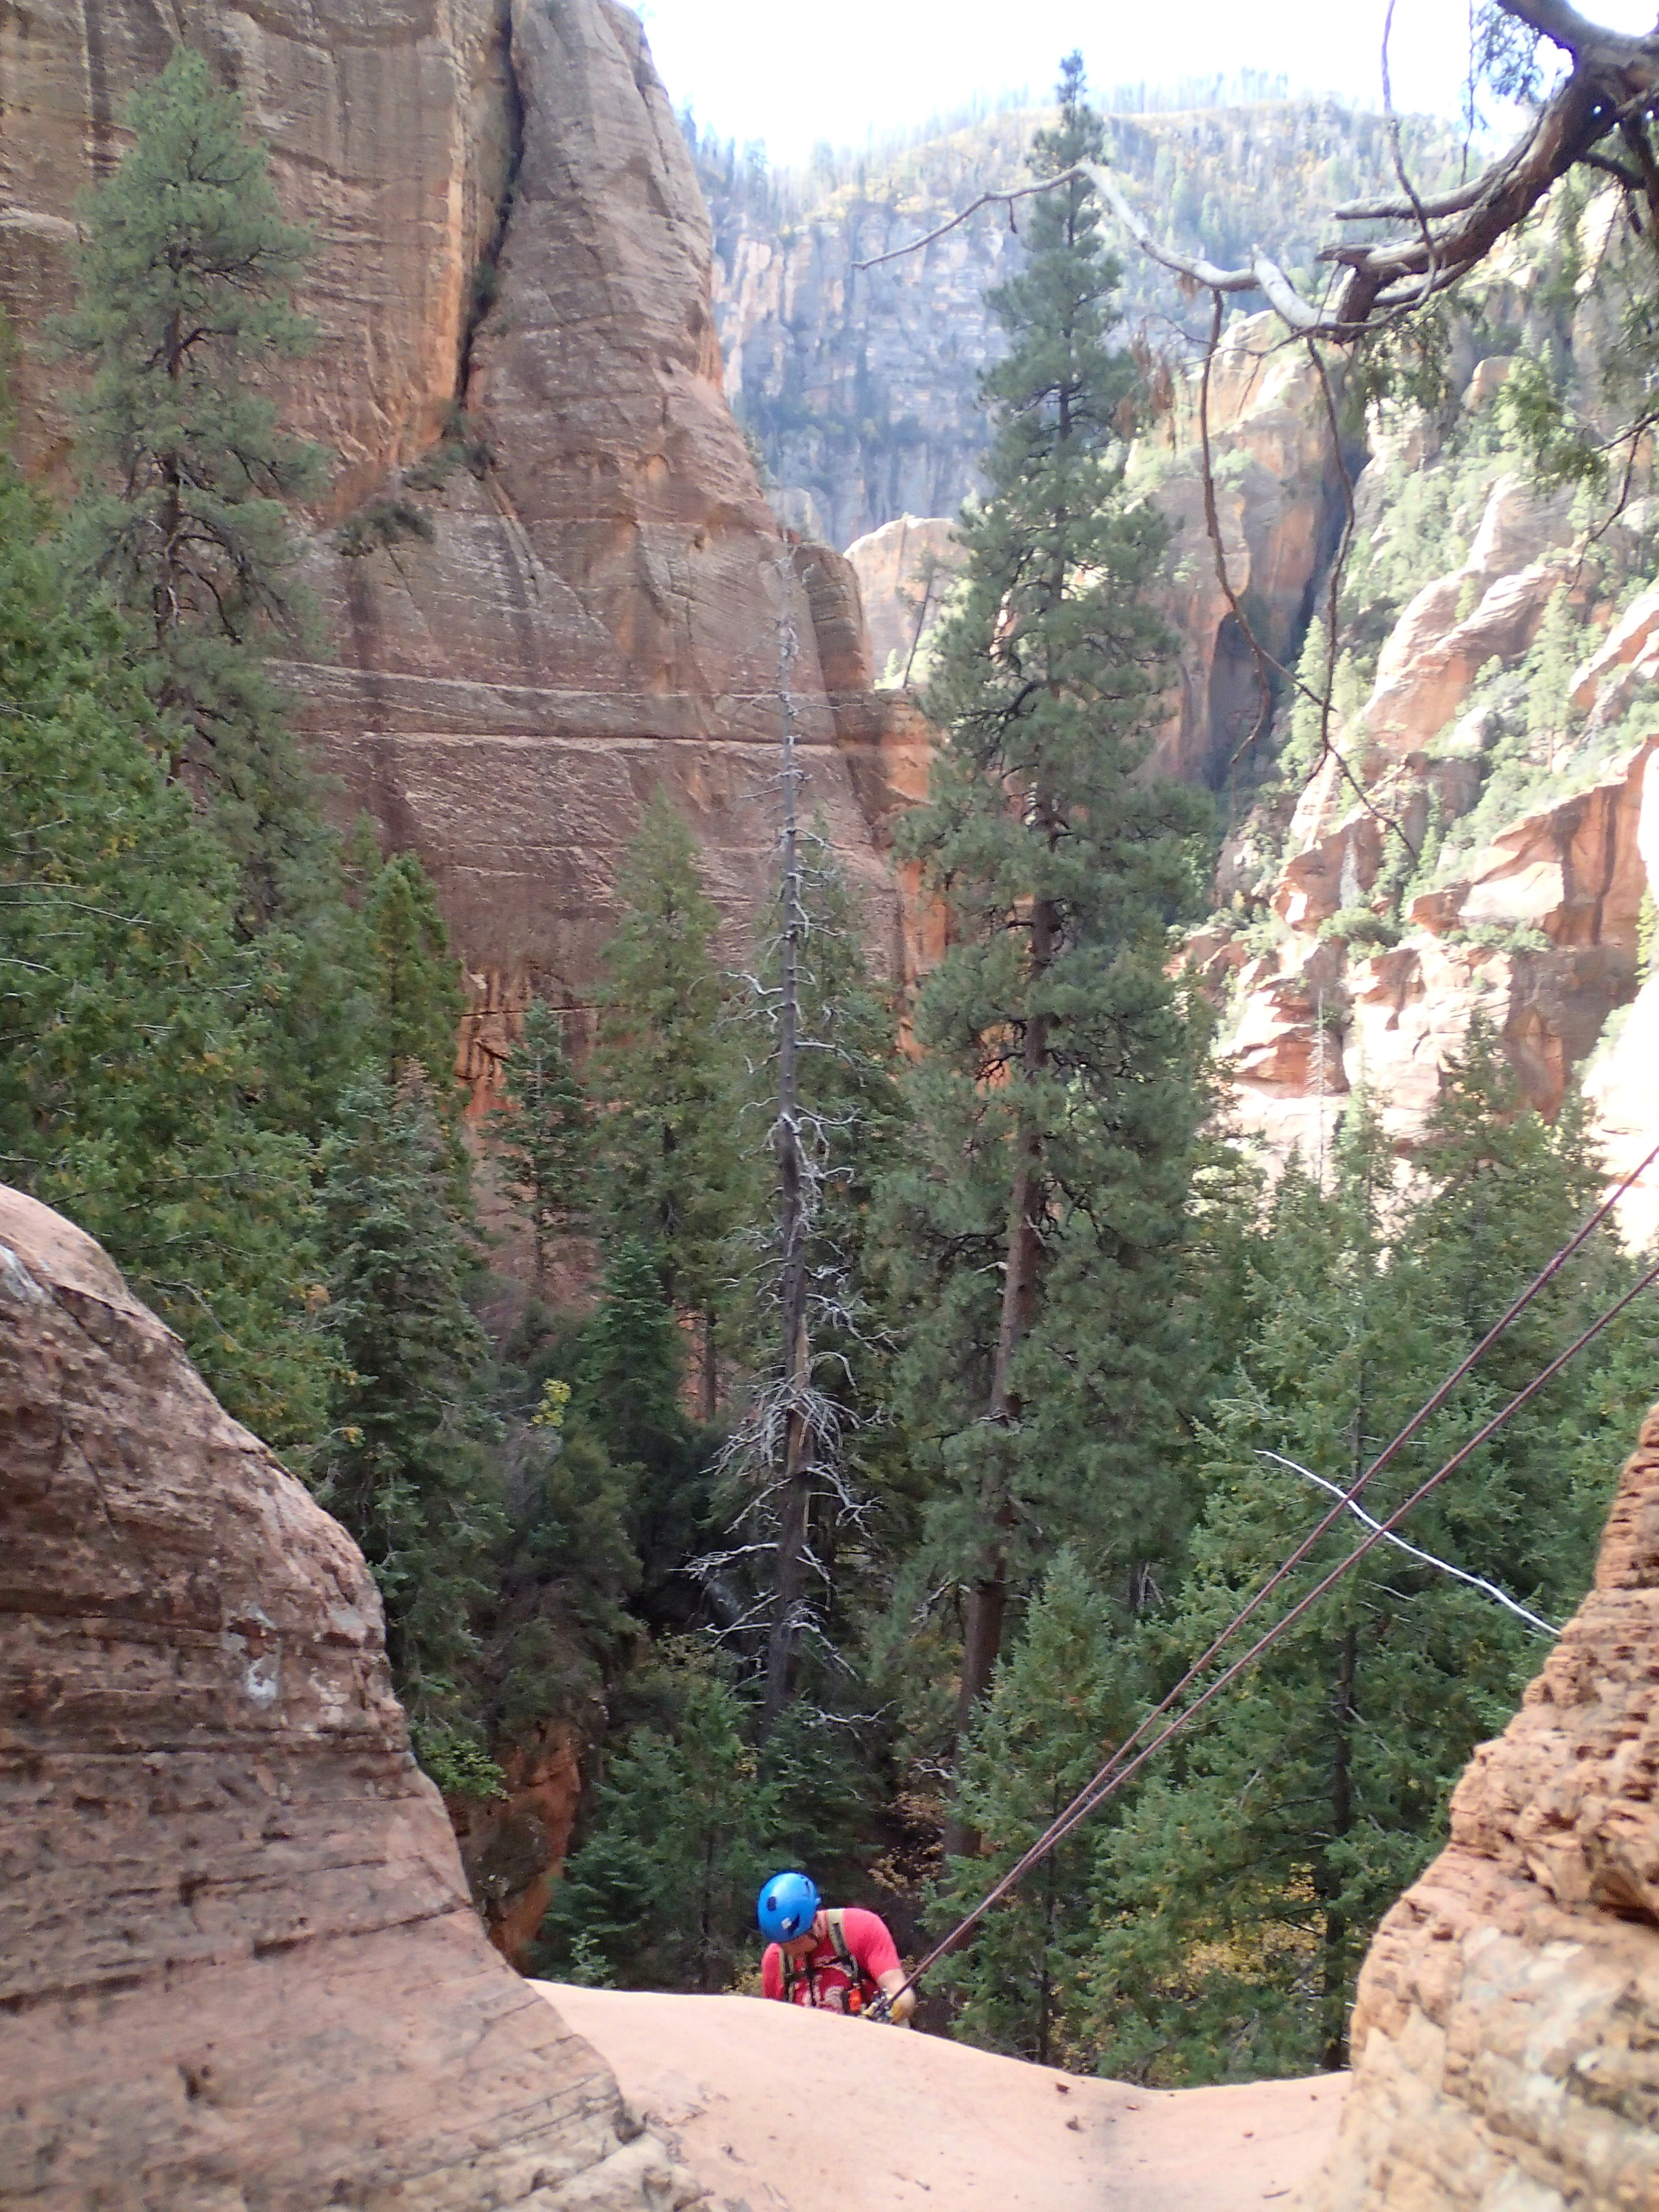
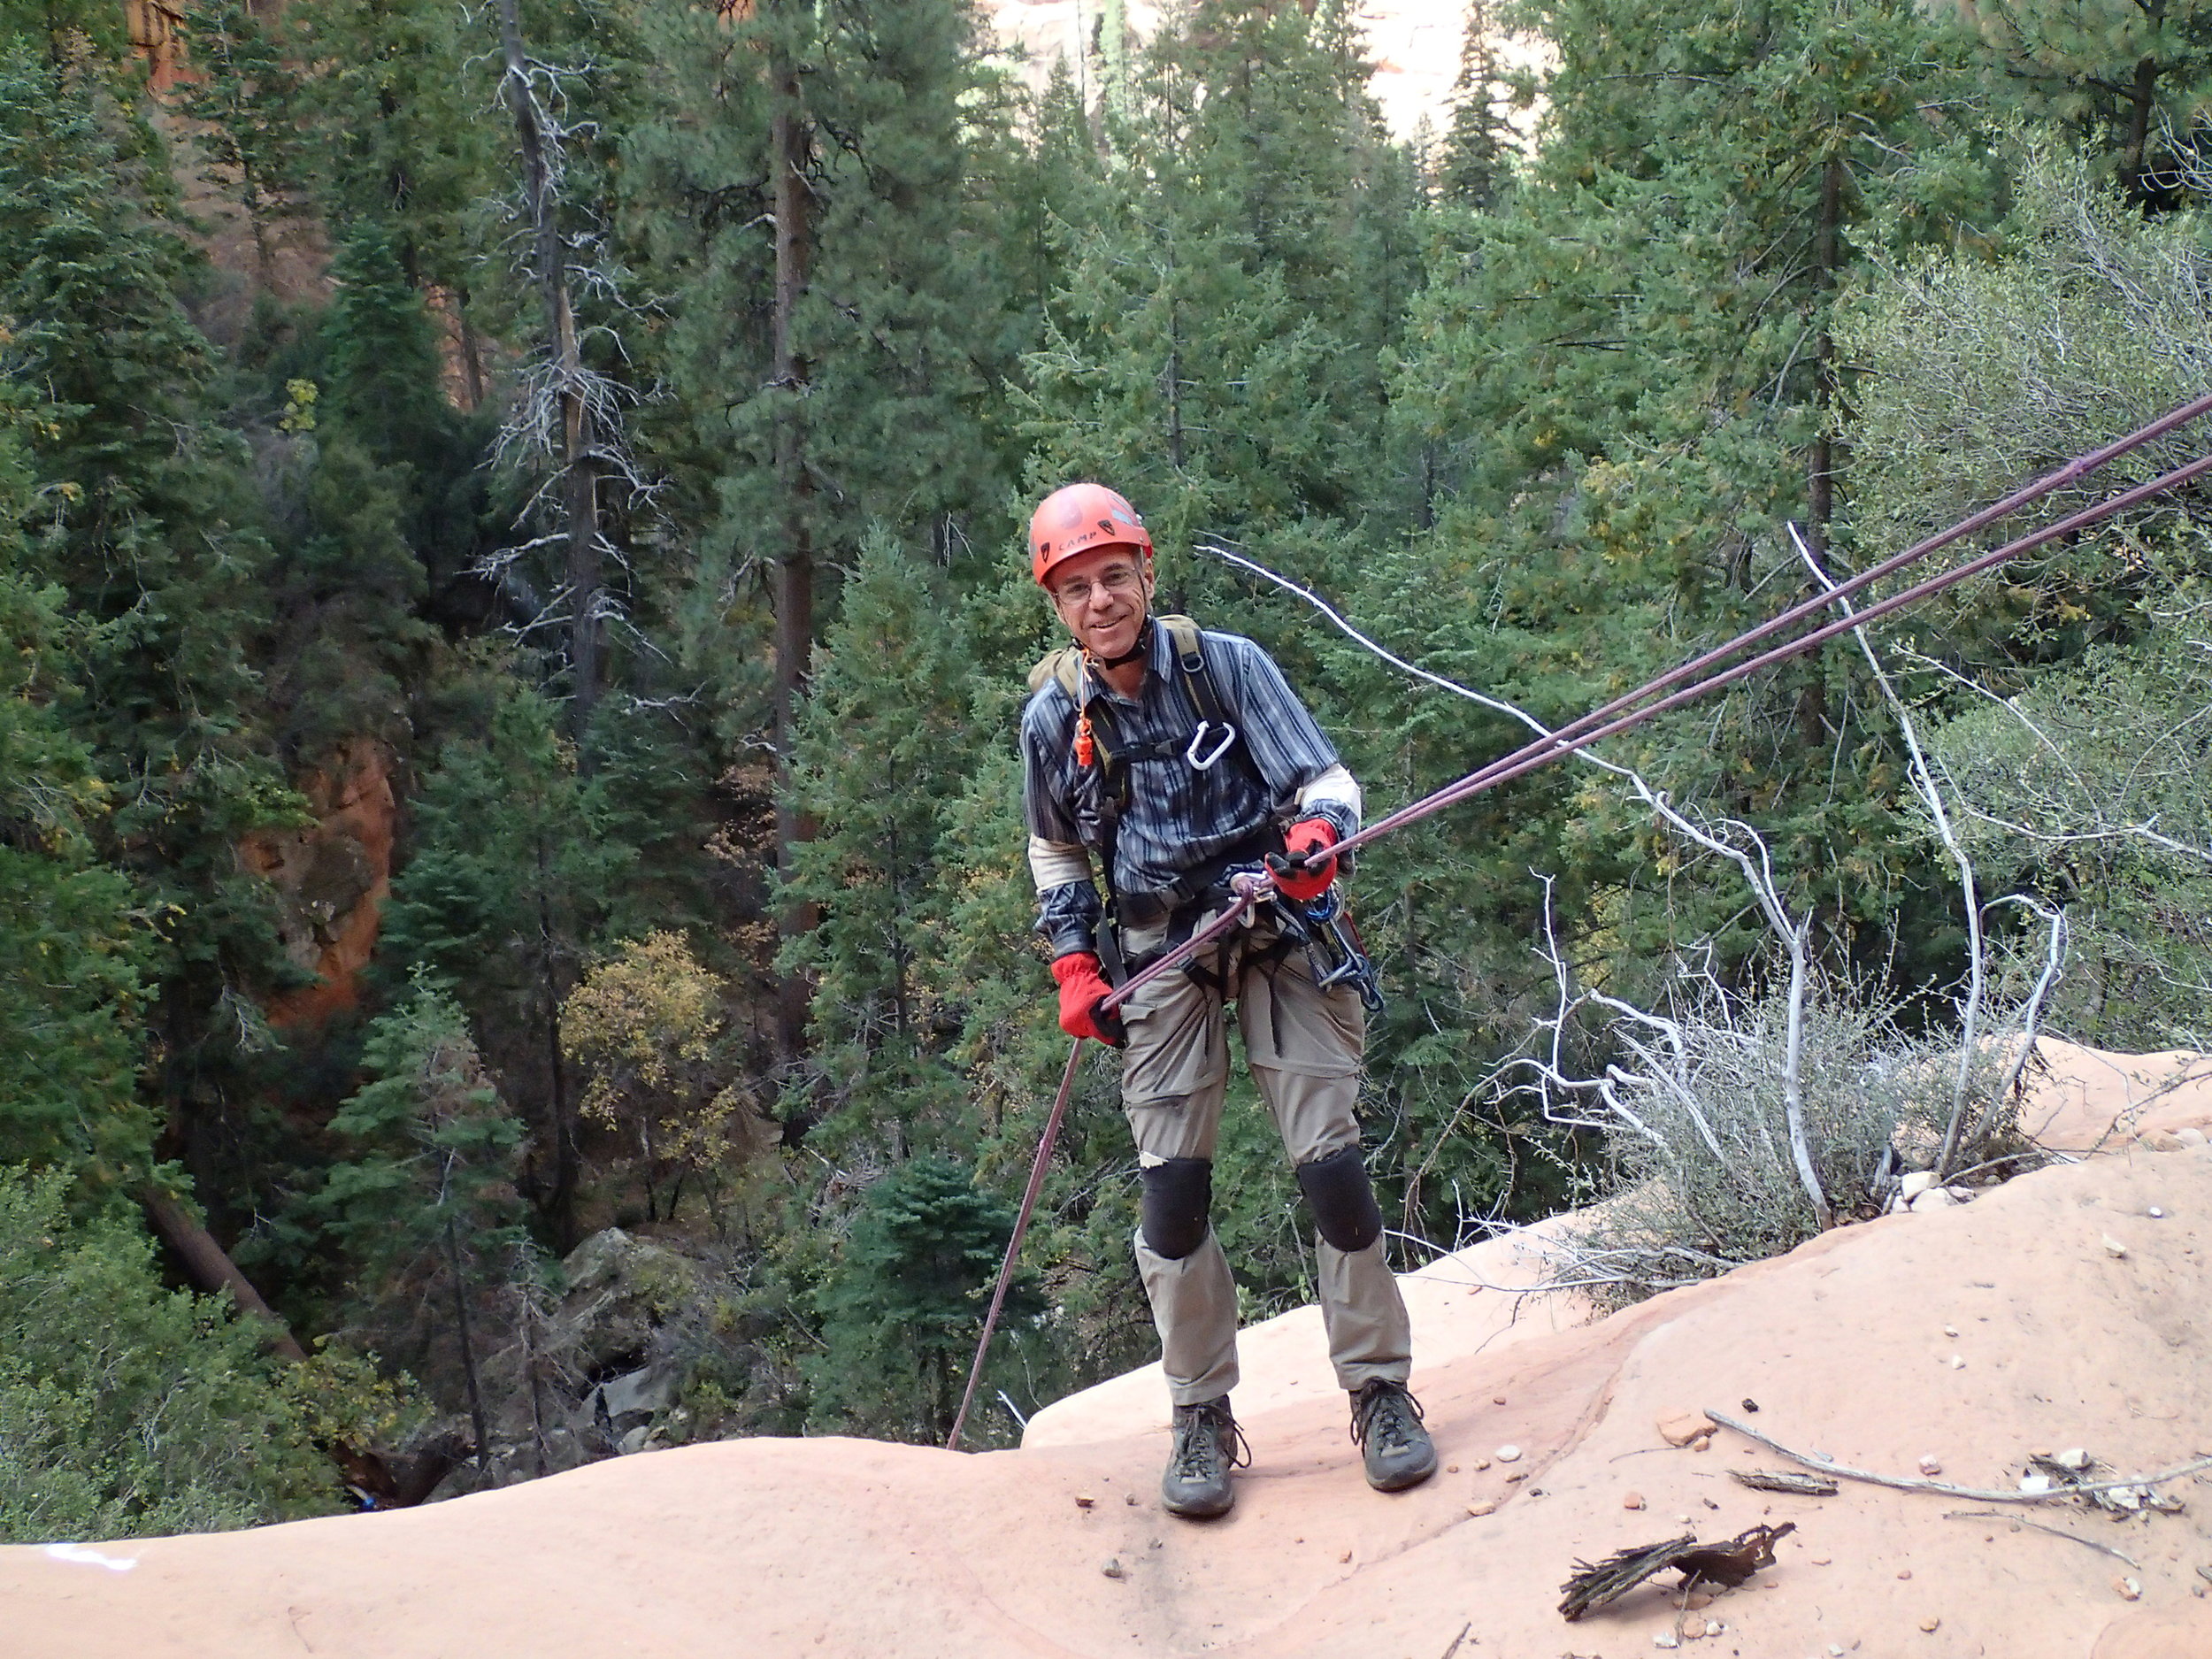
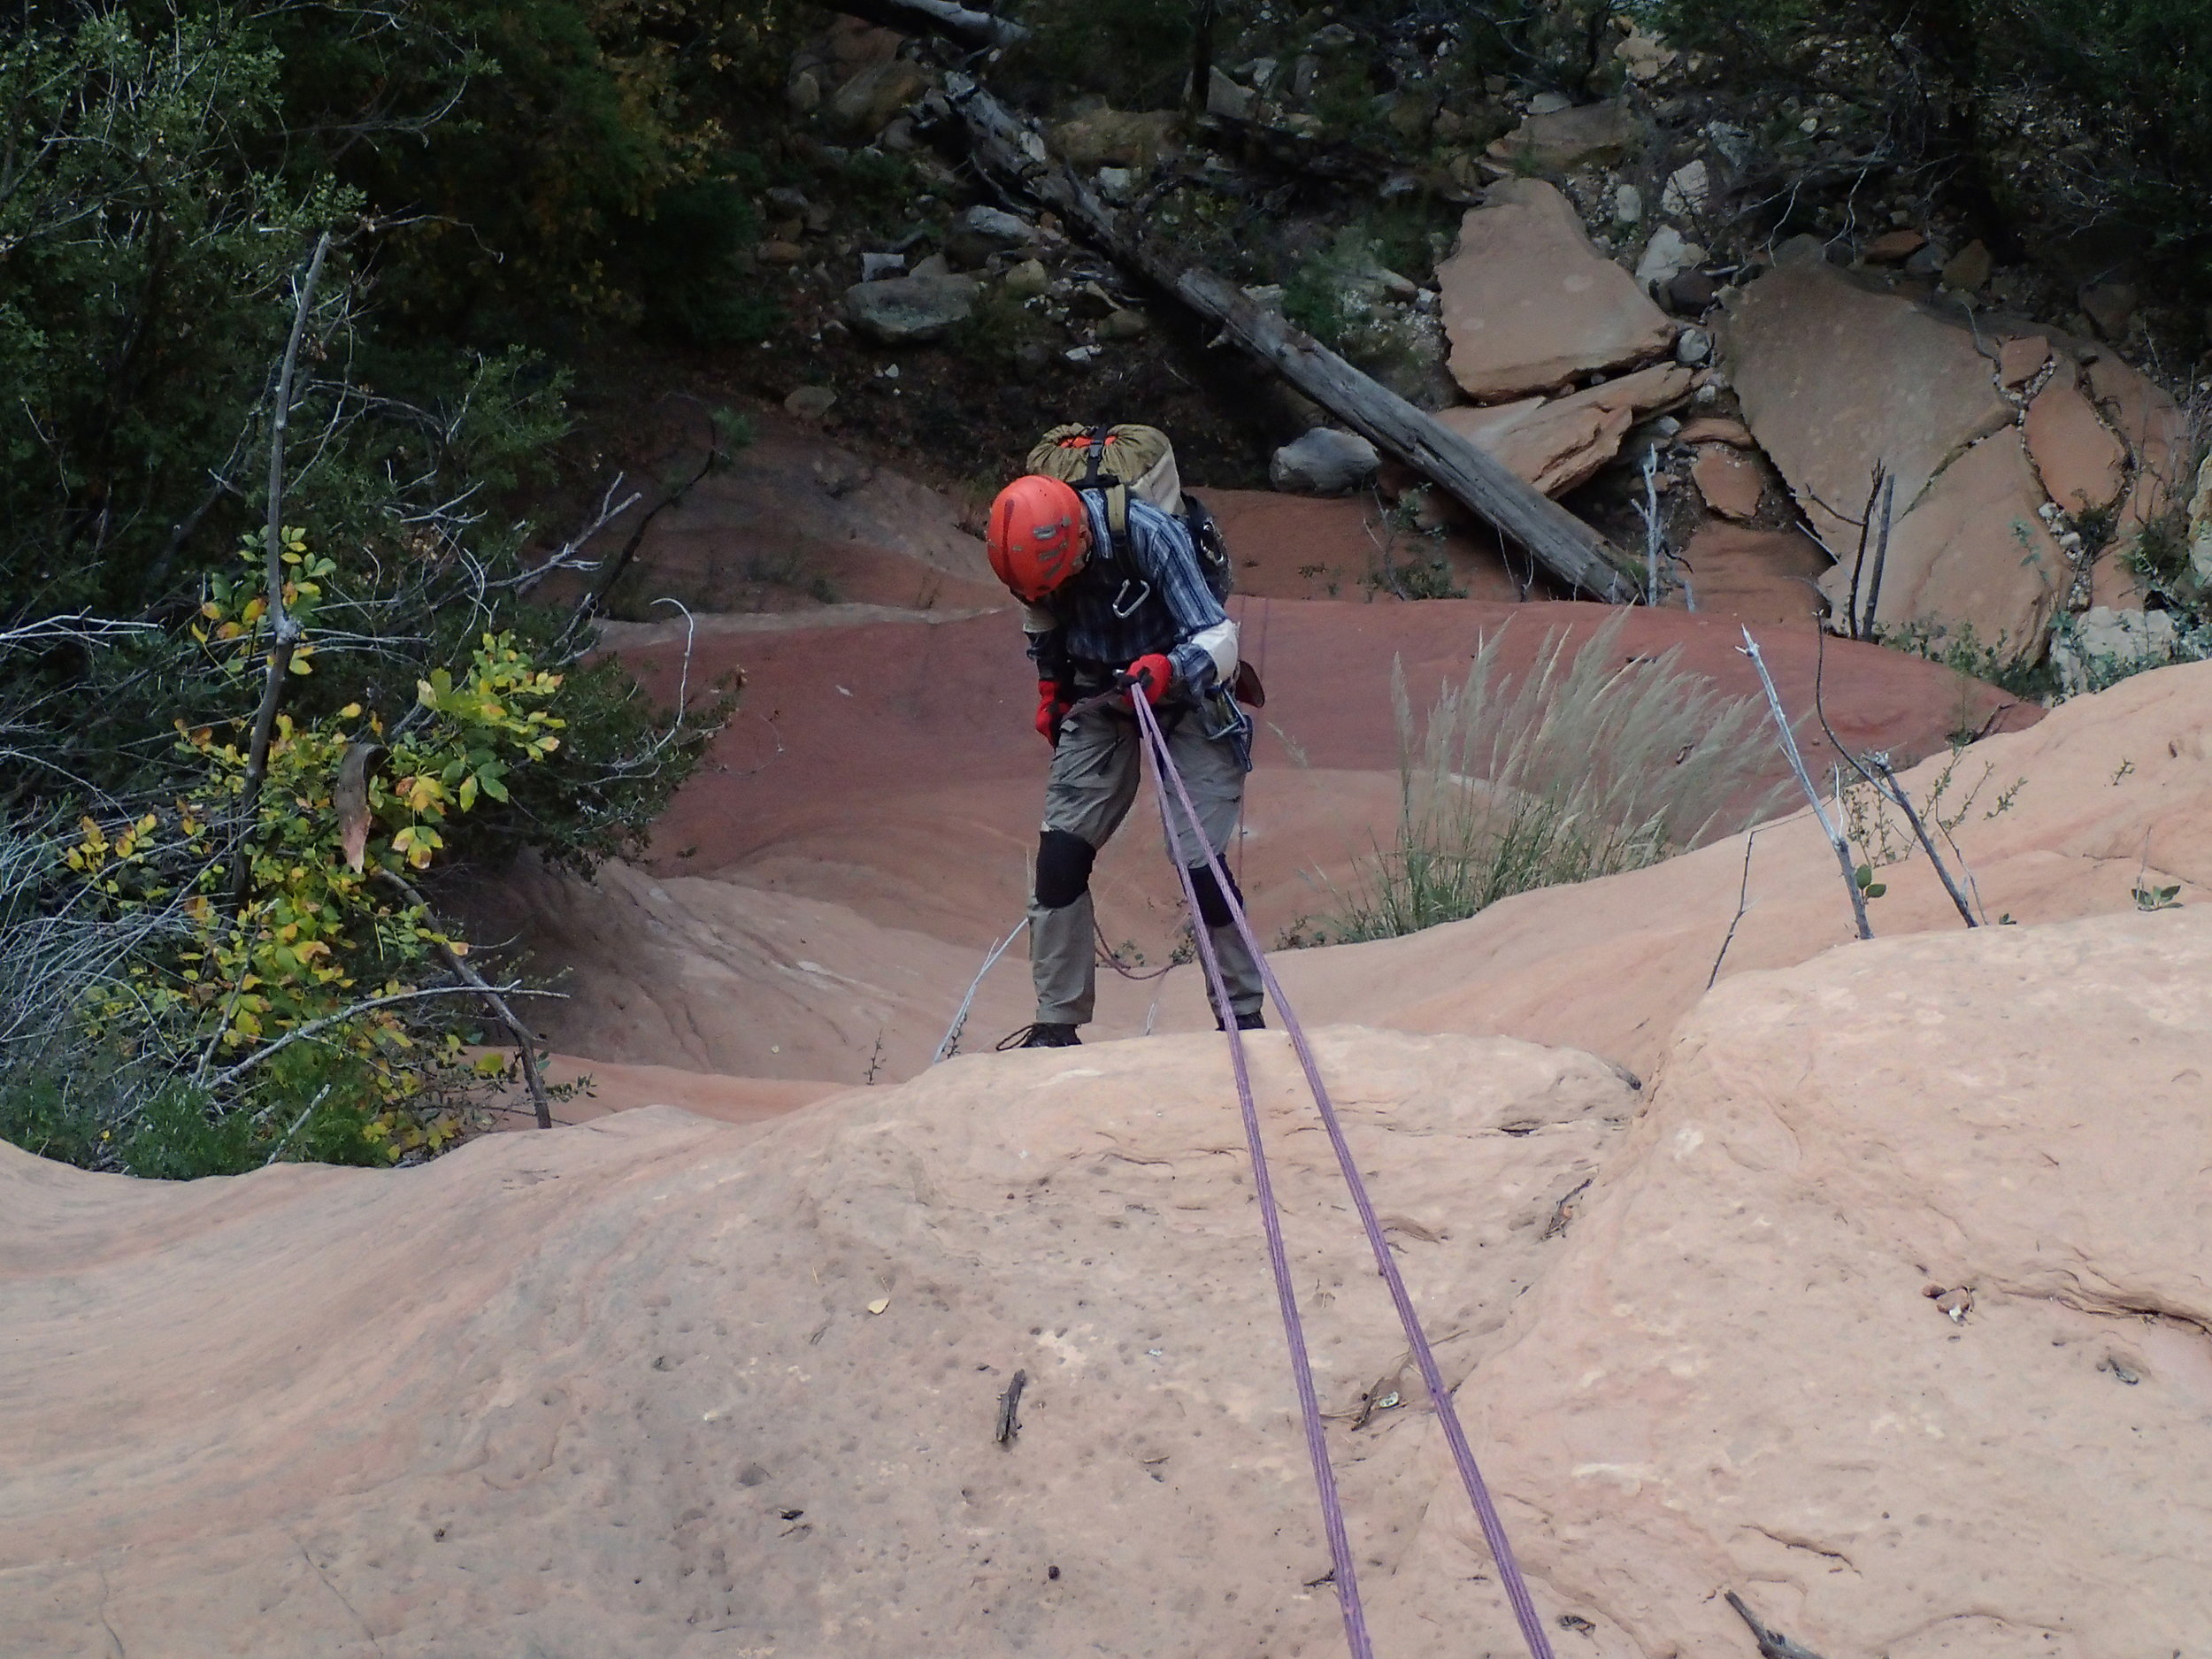
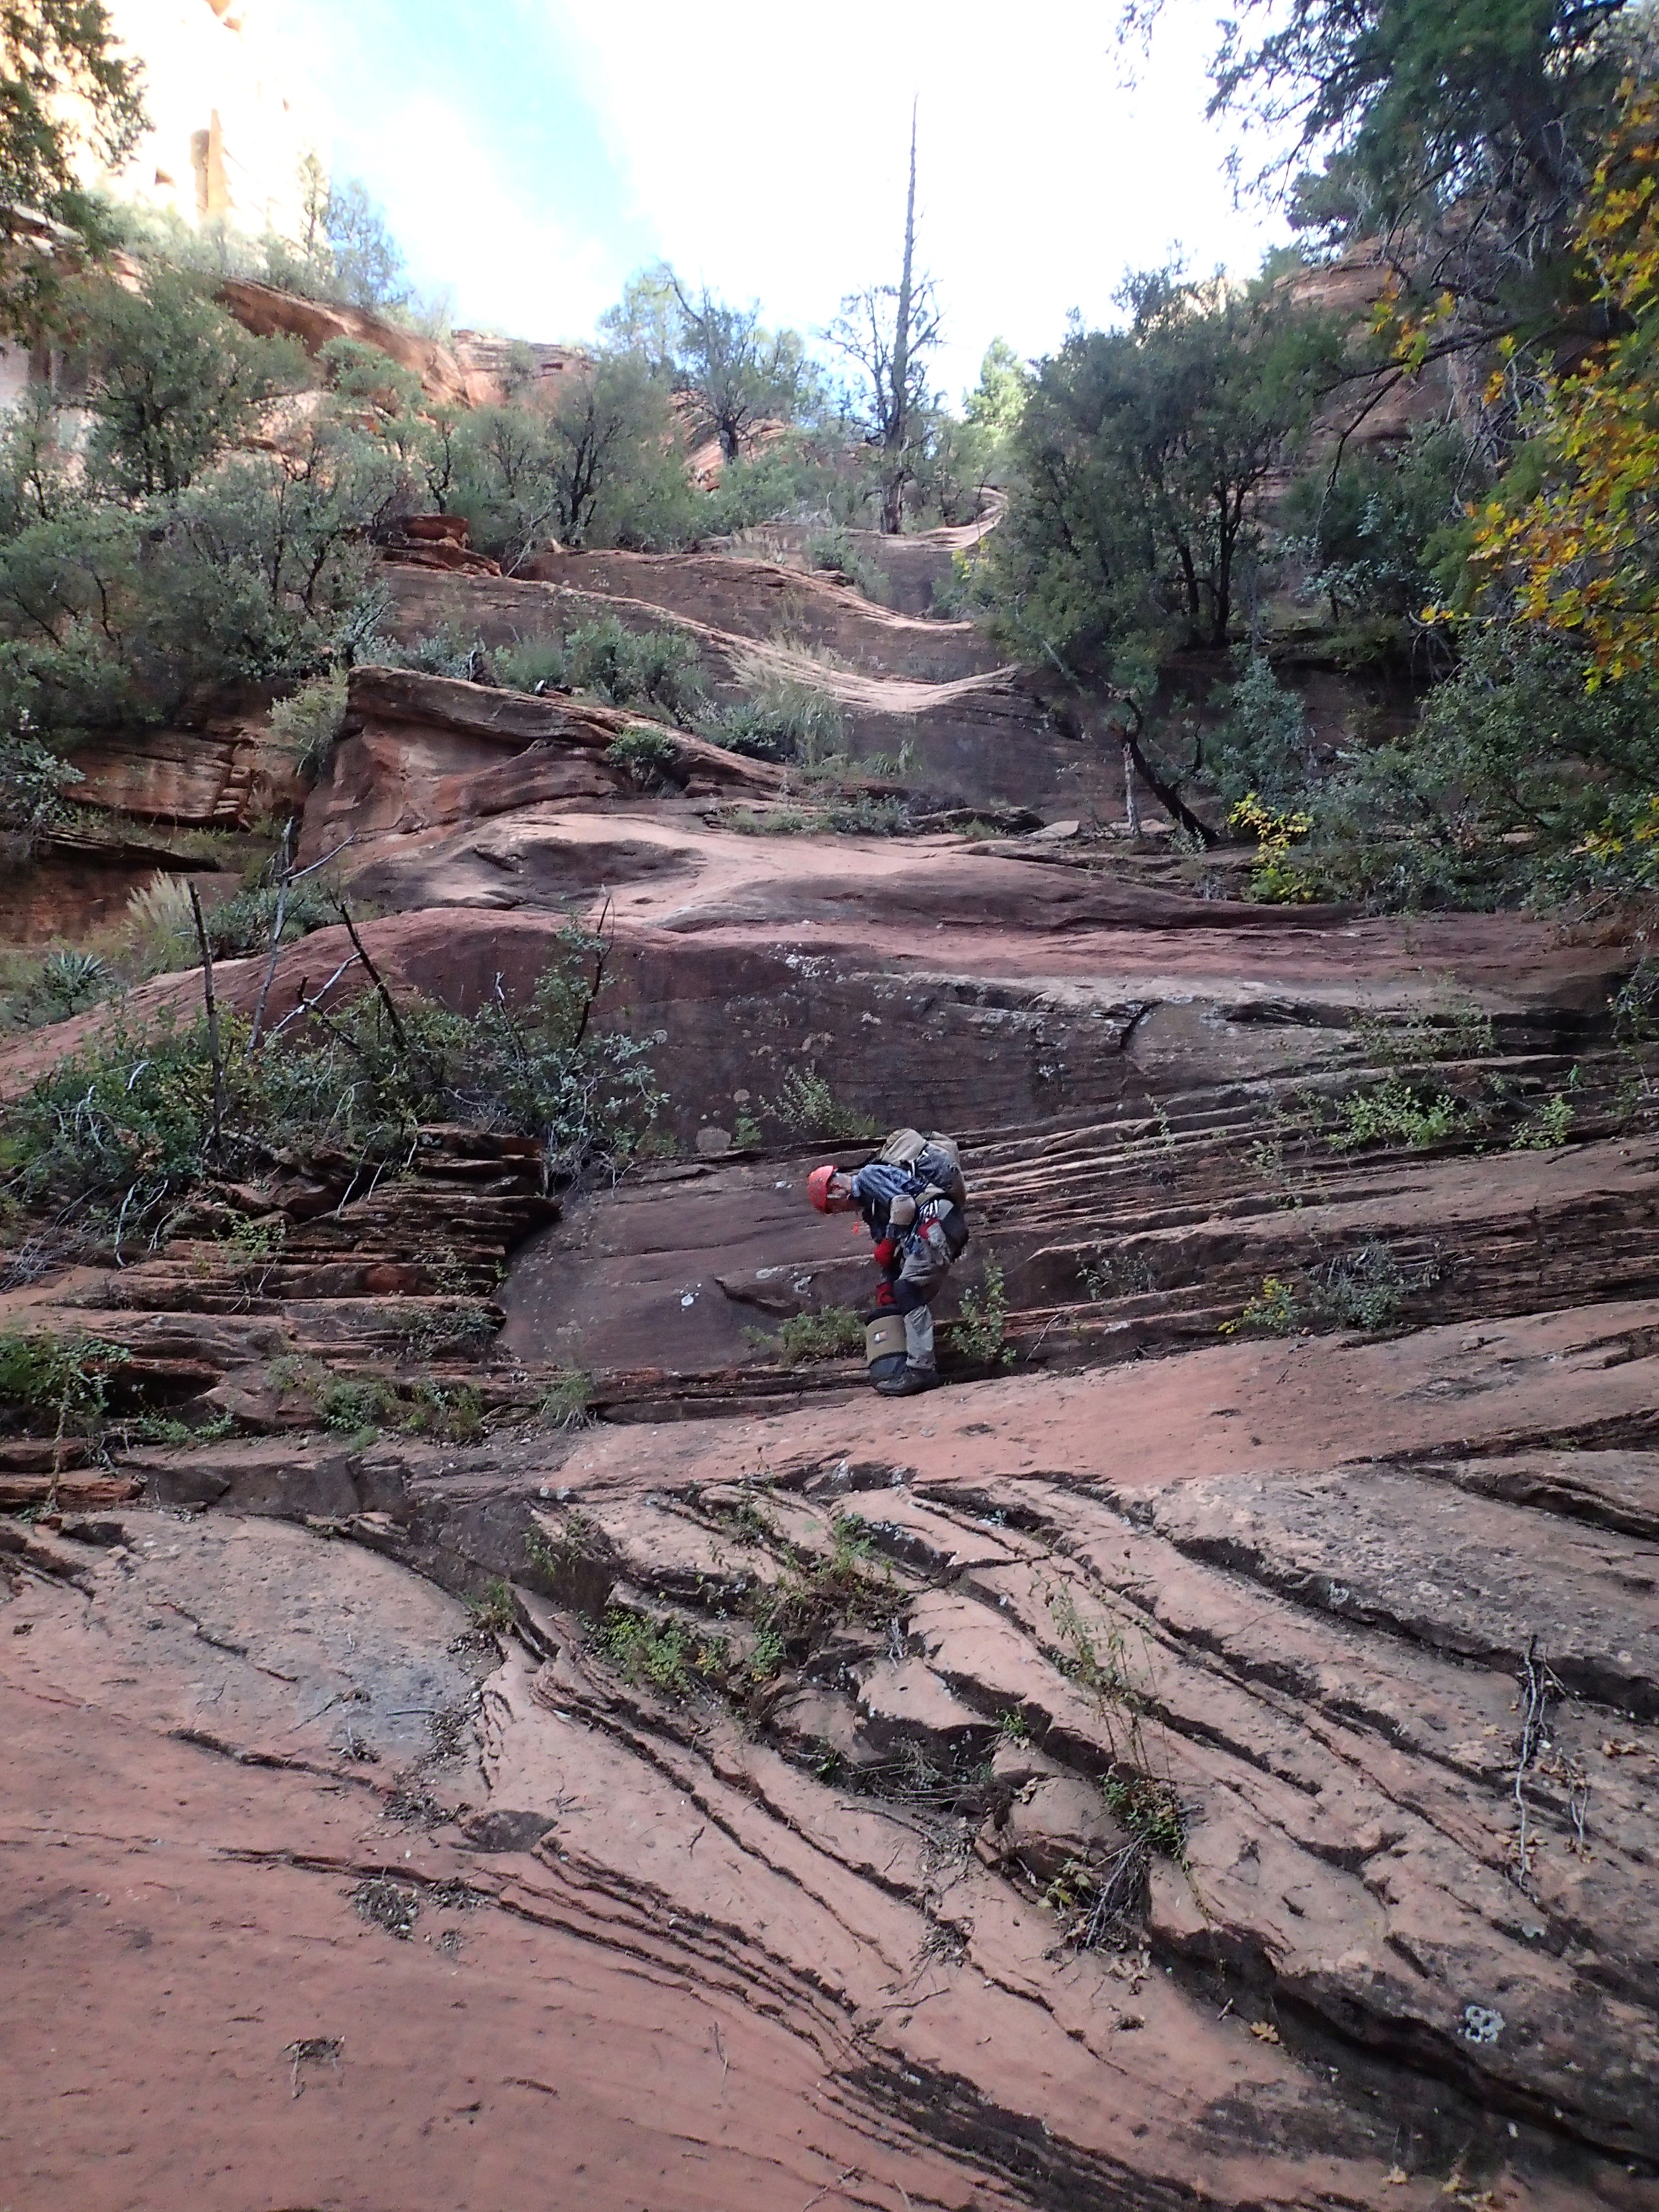
Hammer Hoodoo Canyon is a great trip through the Secret Mountain Wilderness area down to the west fork of Oak Creek offering spectacular views along the way. With the canyon being dry and no noticeable large pools, Hammer Hoodoo can most likely be ran throughout the year as long as the road in is not closed off due to snow. The canyon in general makes for a nice short day that is well suited to canyoneers of most levels who have a good understanding of evaluating and rigging natural anchors. Our group ran the canyon by setting up a shuttle, leaving one vehicle at the call of the canyon parking area and using a second to haul the group up top. The dirt road to the top of the canyon is variable in condition throughout the year and in my experience high clearance vehicles are most likely your best bet to ensuring a good day. Rain and traffic can quickly turn the area into a rutted, sticky mess. From the upper vehicle parking spot, entry is straight forward as you work your way downhill towards the first rappel. As the brush and trees give way, you are offered an amazing view of the surrounding area and canyon walls that you are able to enjoy throughout the entire trip. Arriving at the first rappel, you will see on canyon left the large Hammer Hoodoo in which the canyon was named towering into the sky. From the Hammer Hoodoo rappel down to the creek you will encounter roughly 9-11 rappels depending on group preference, all off natural anchors. It is advisable to ensure you see the large Hammer Hoodoo prior to descending as the surrounding canyons have much larger mandatory drops up to 300' that could leave you stranded if accidentally entered by mistake. Our group completed this as an exploratory and quickly got short on webbing so you may find two or three drops without anchors, please rig them (if memory serves, these anchors will be around trees).
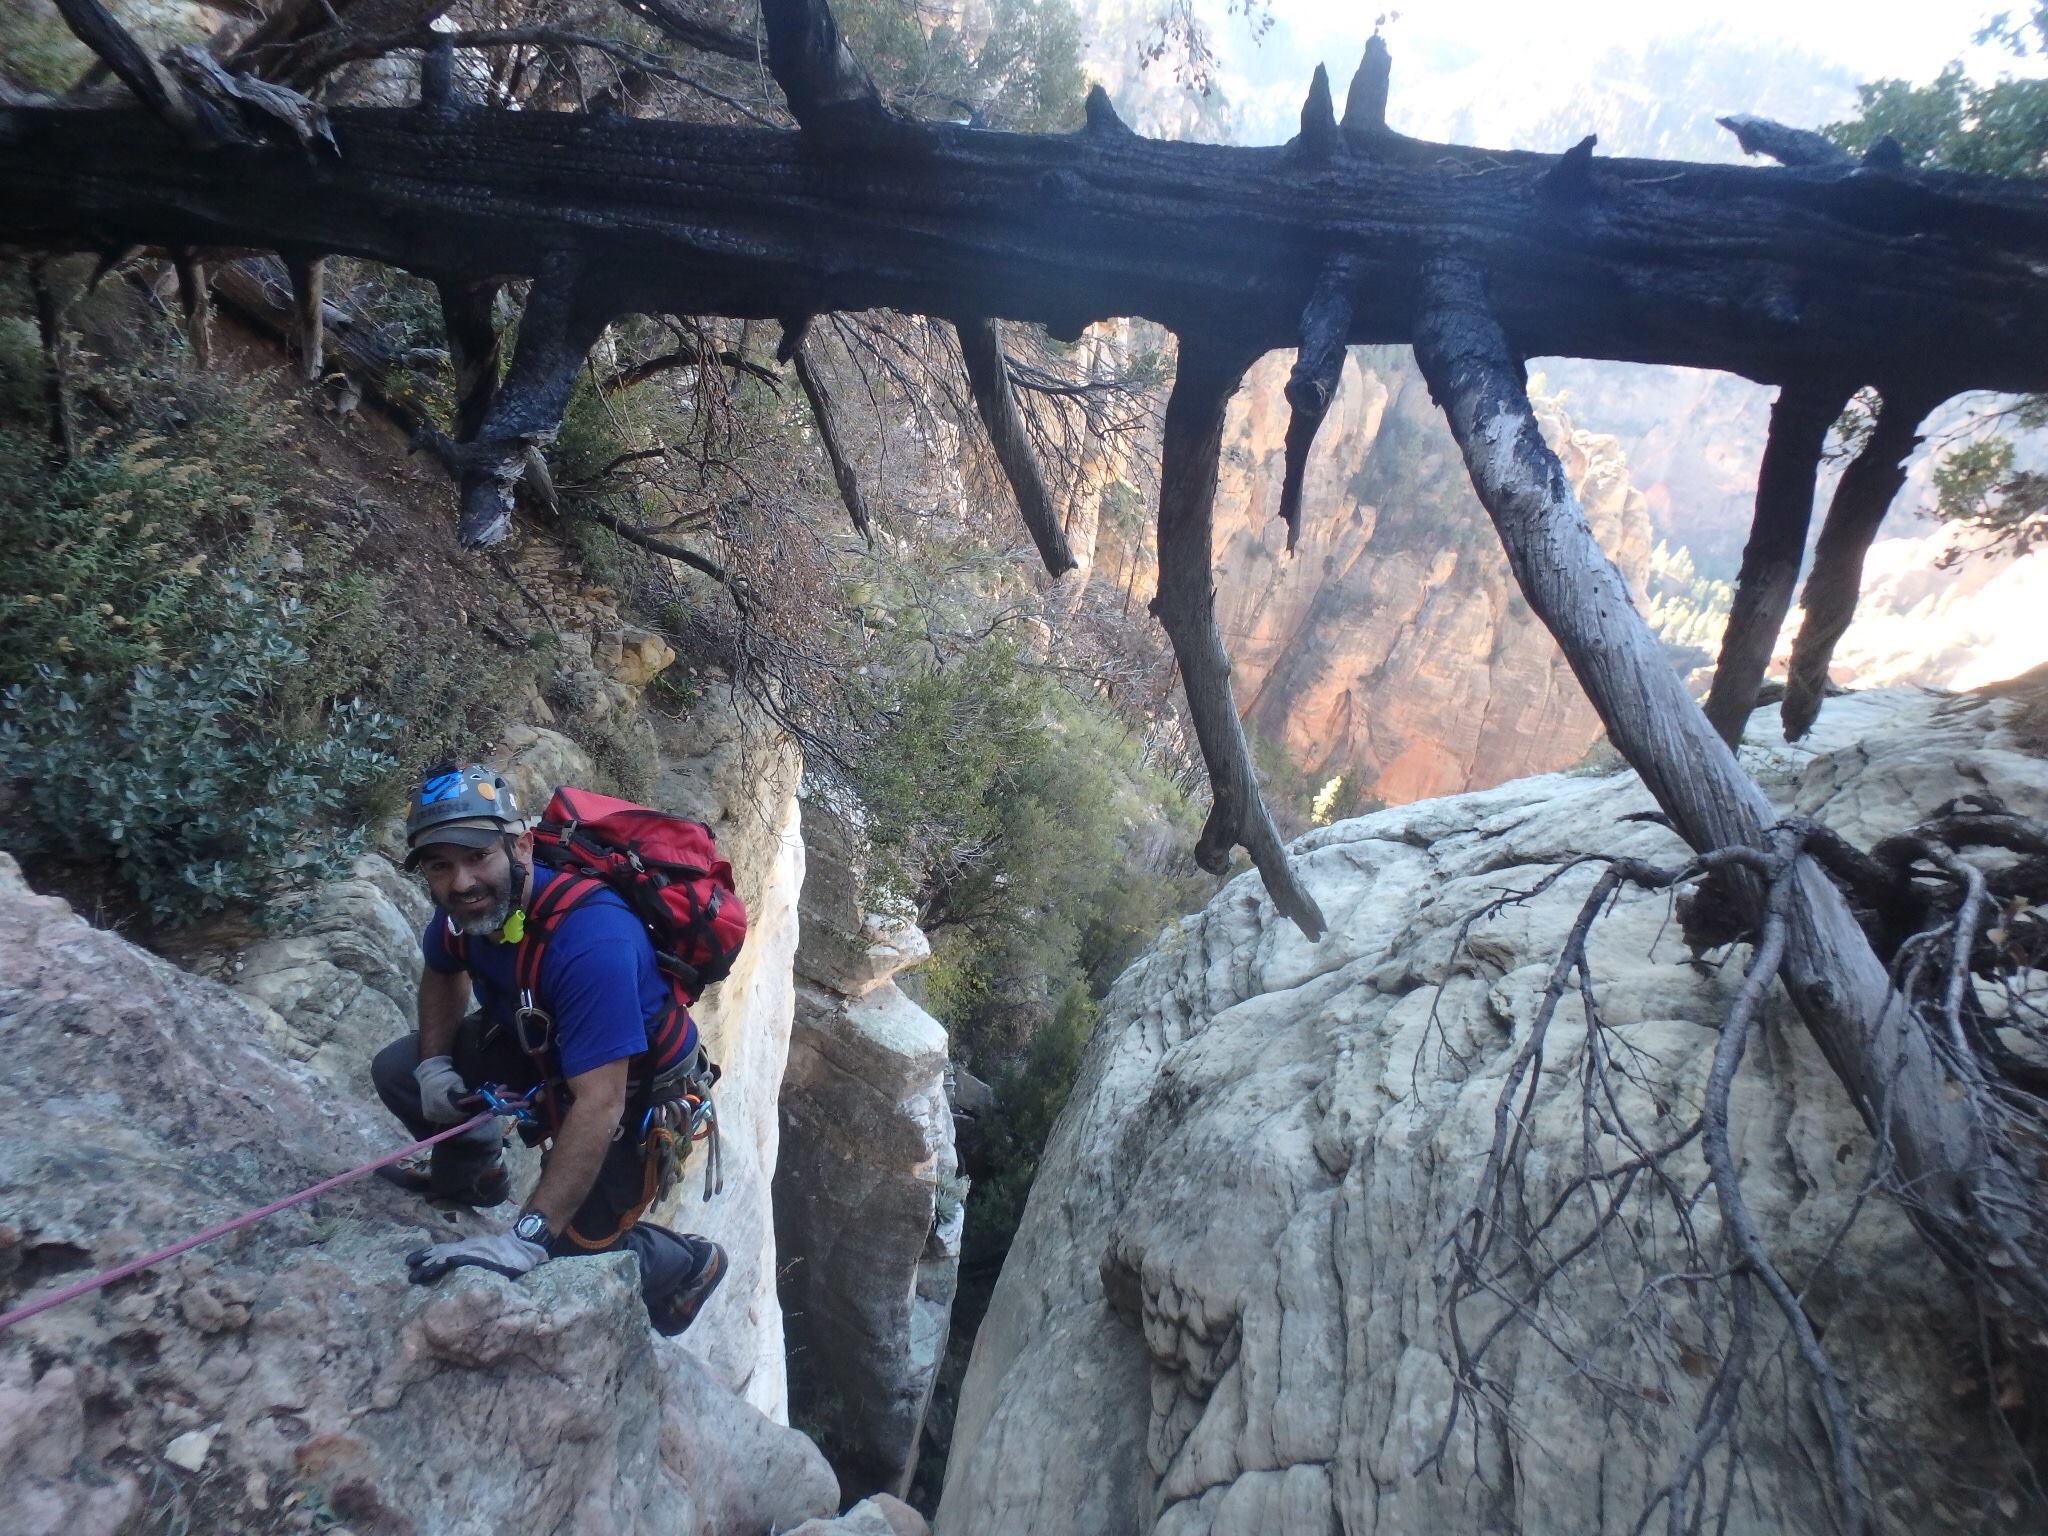
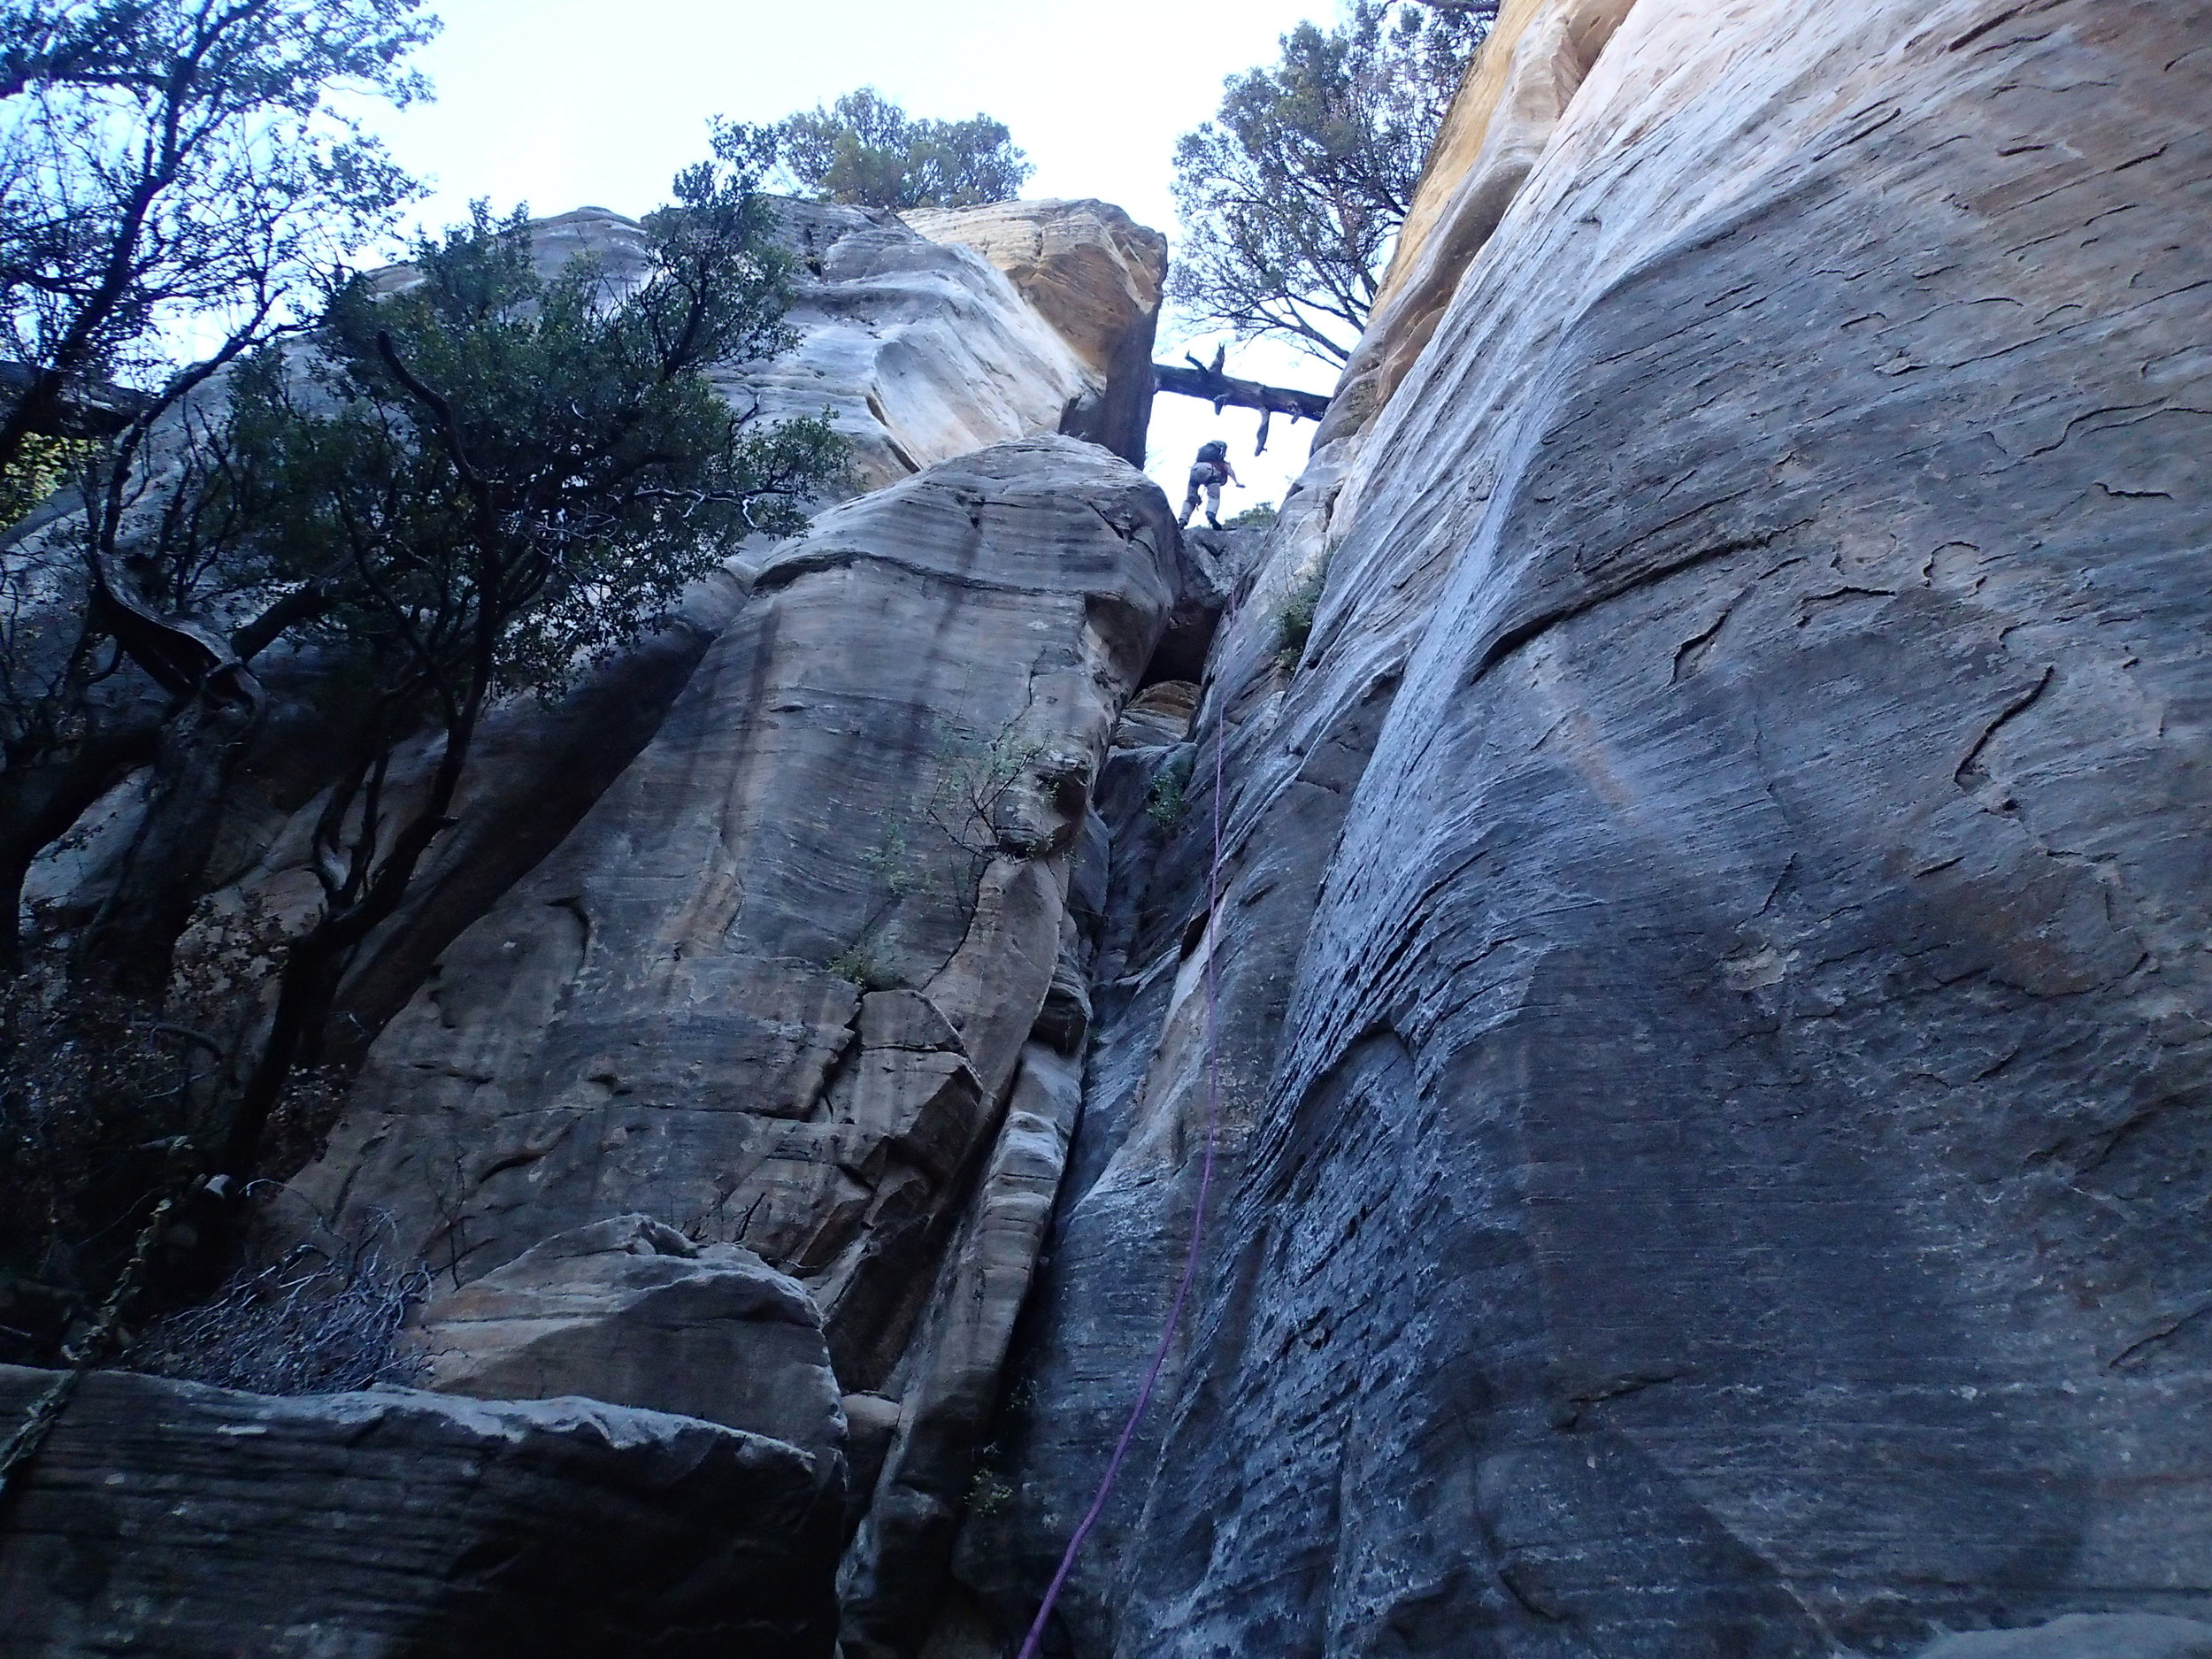
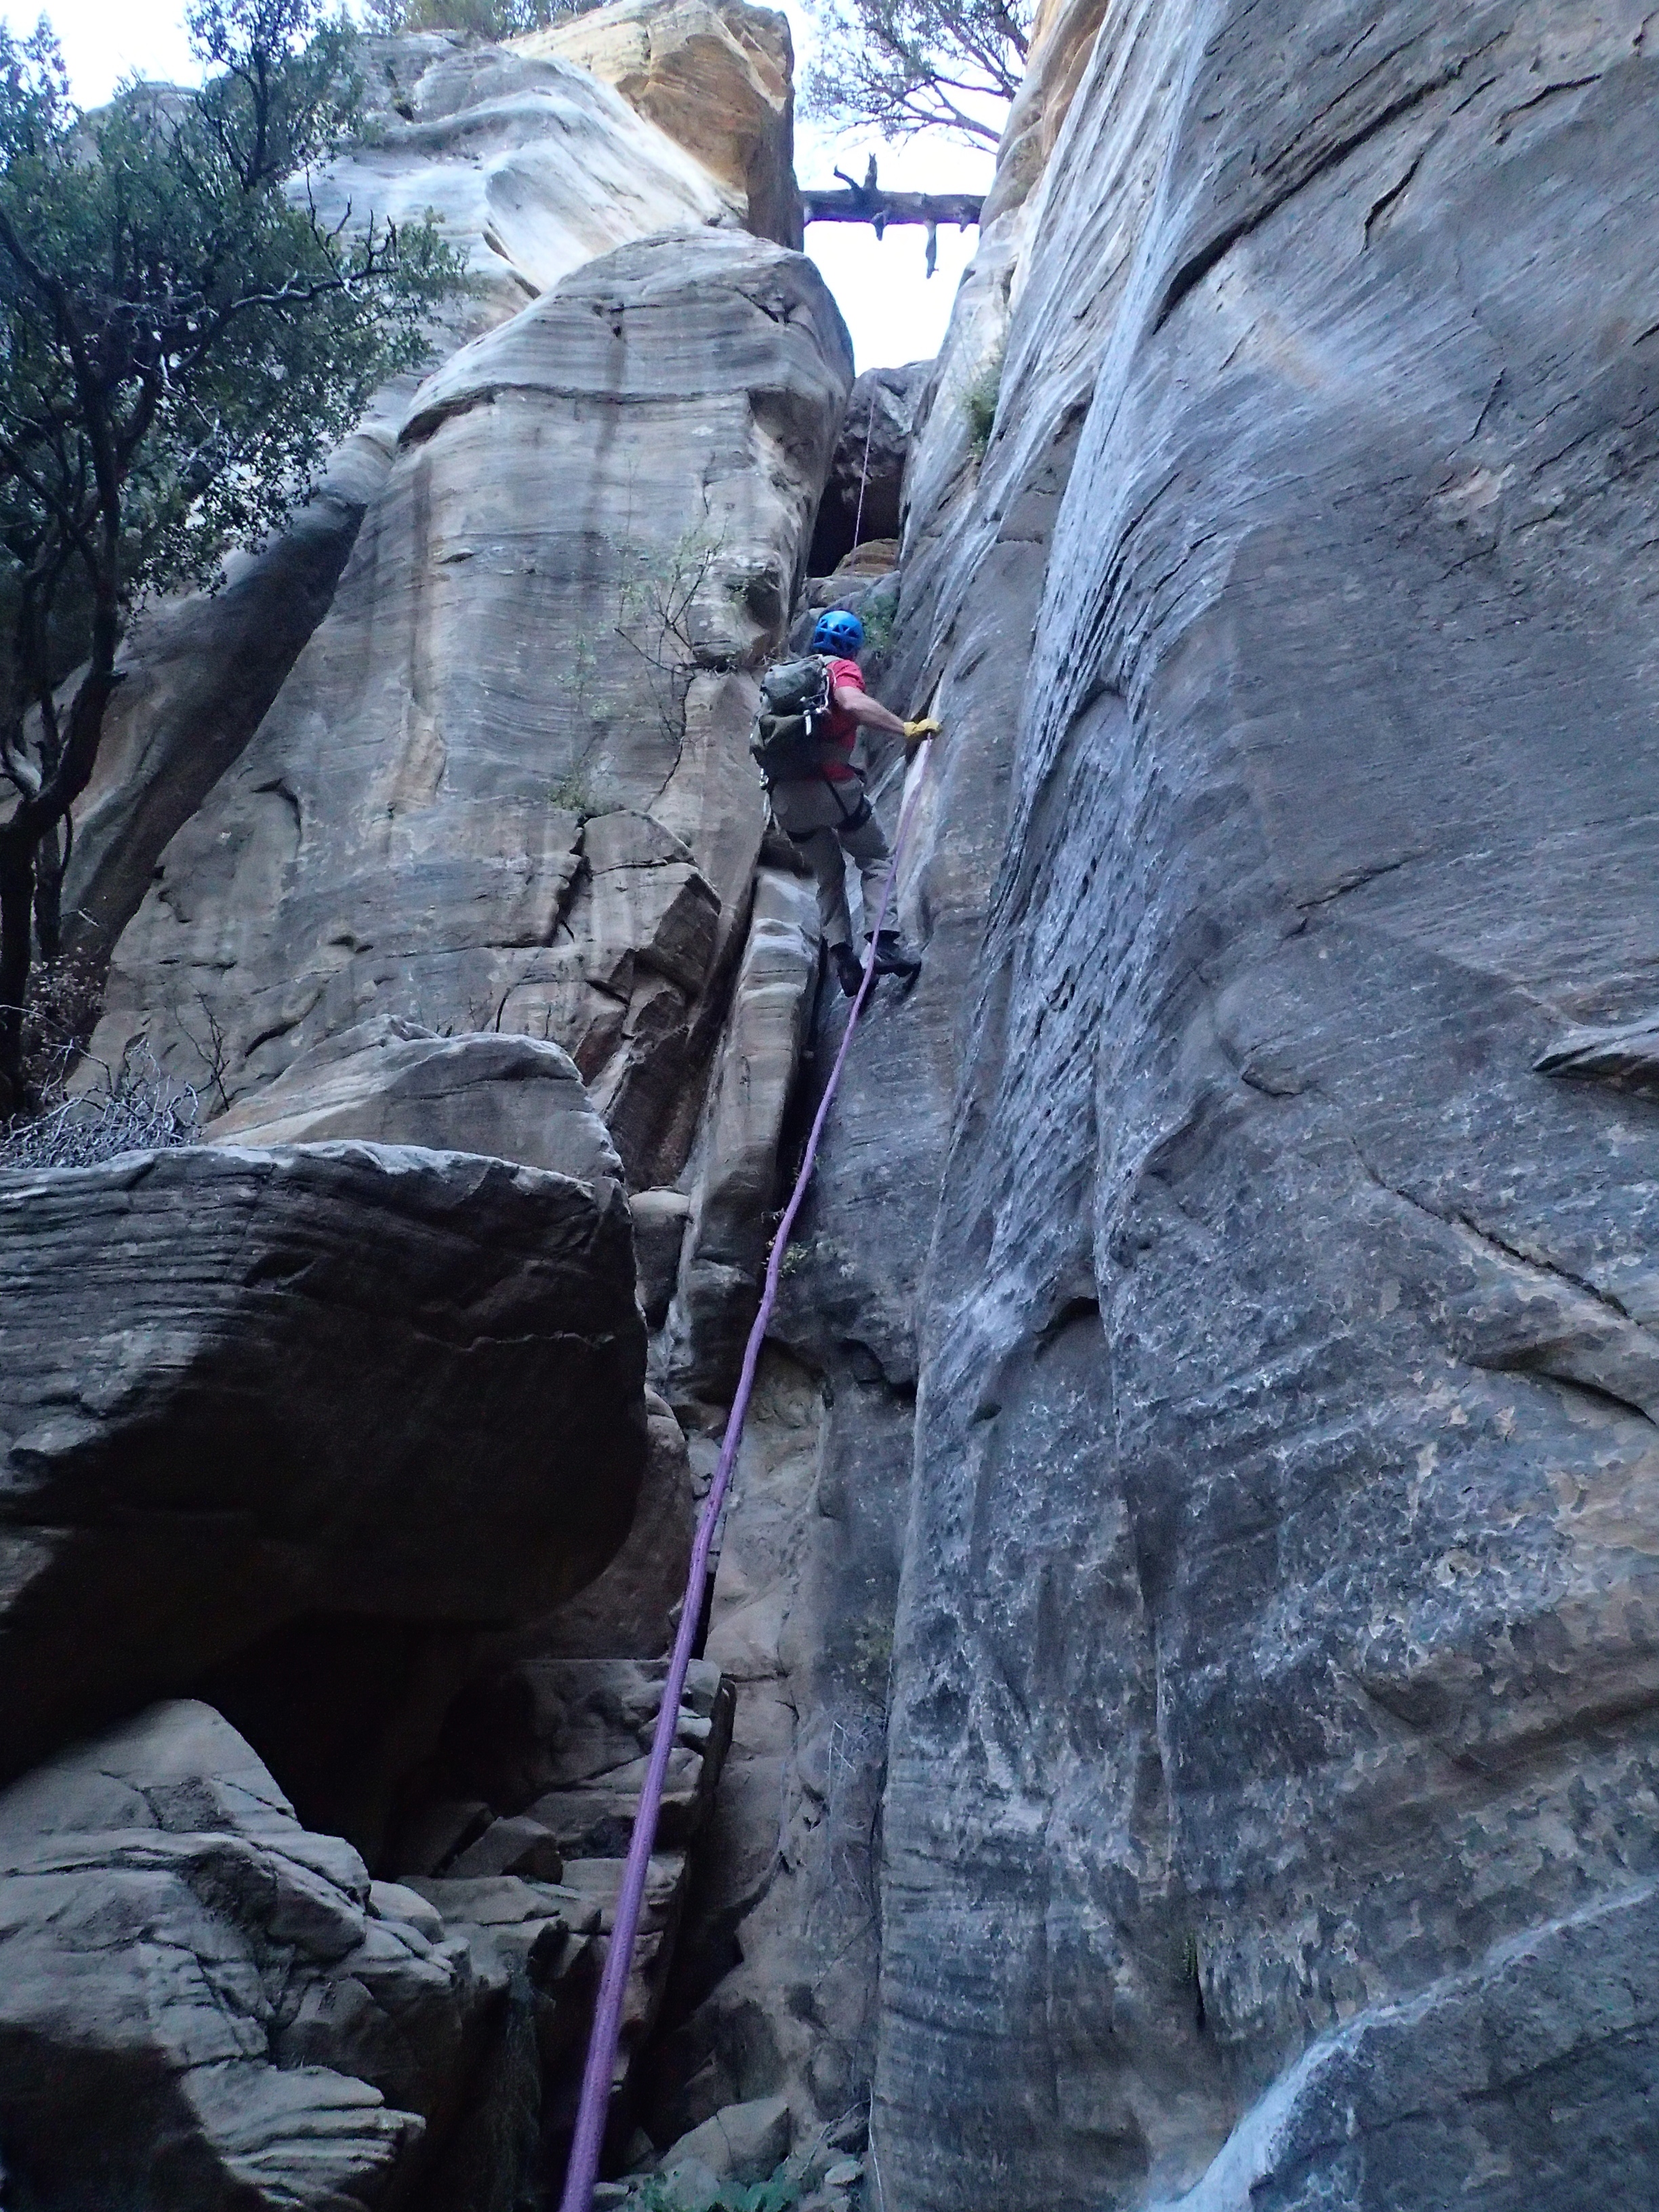
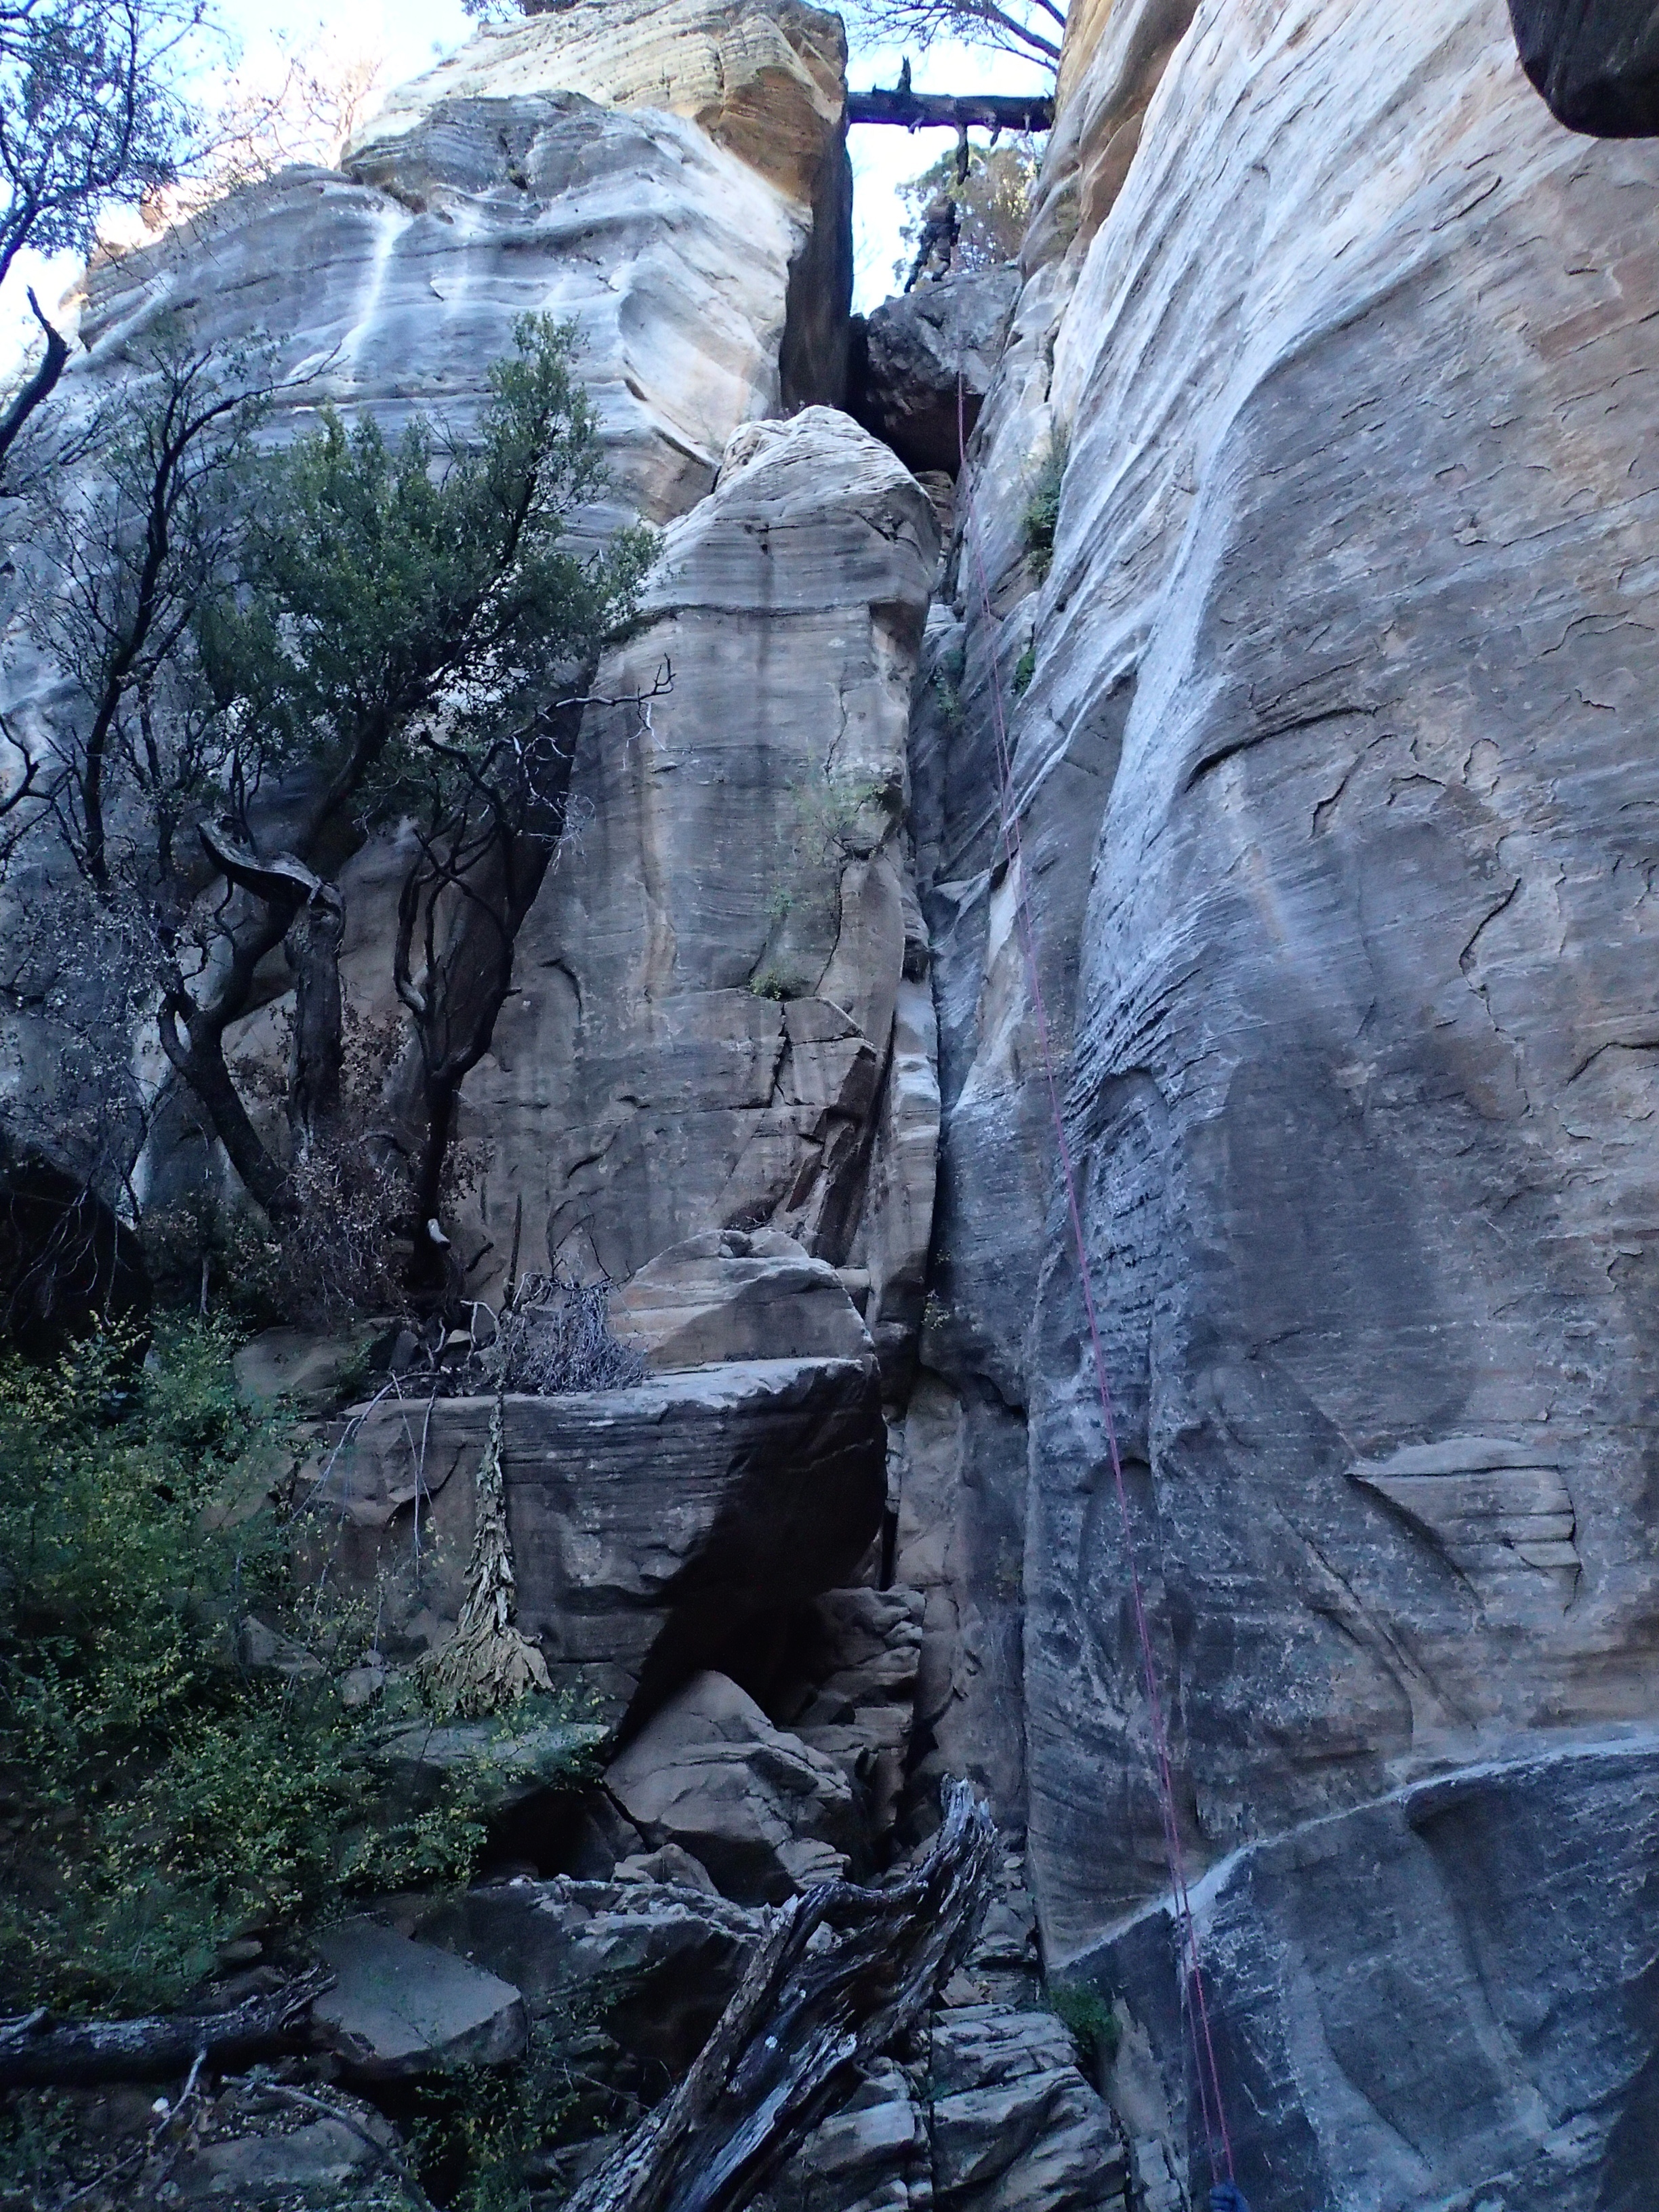
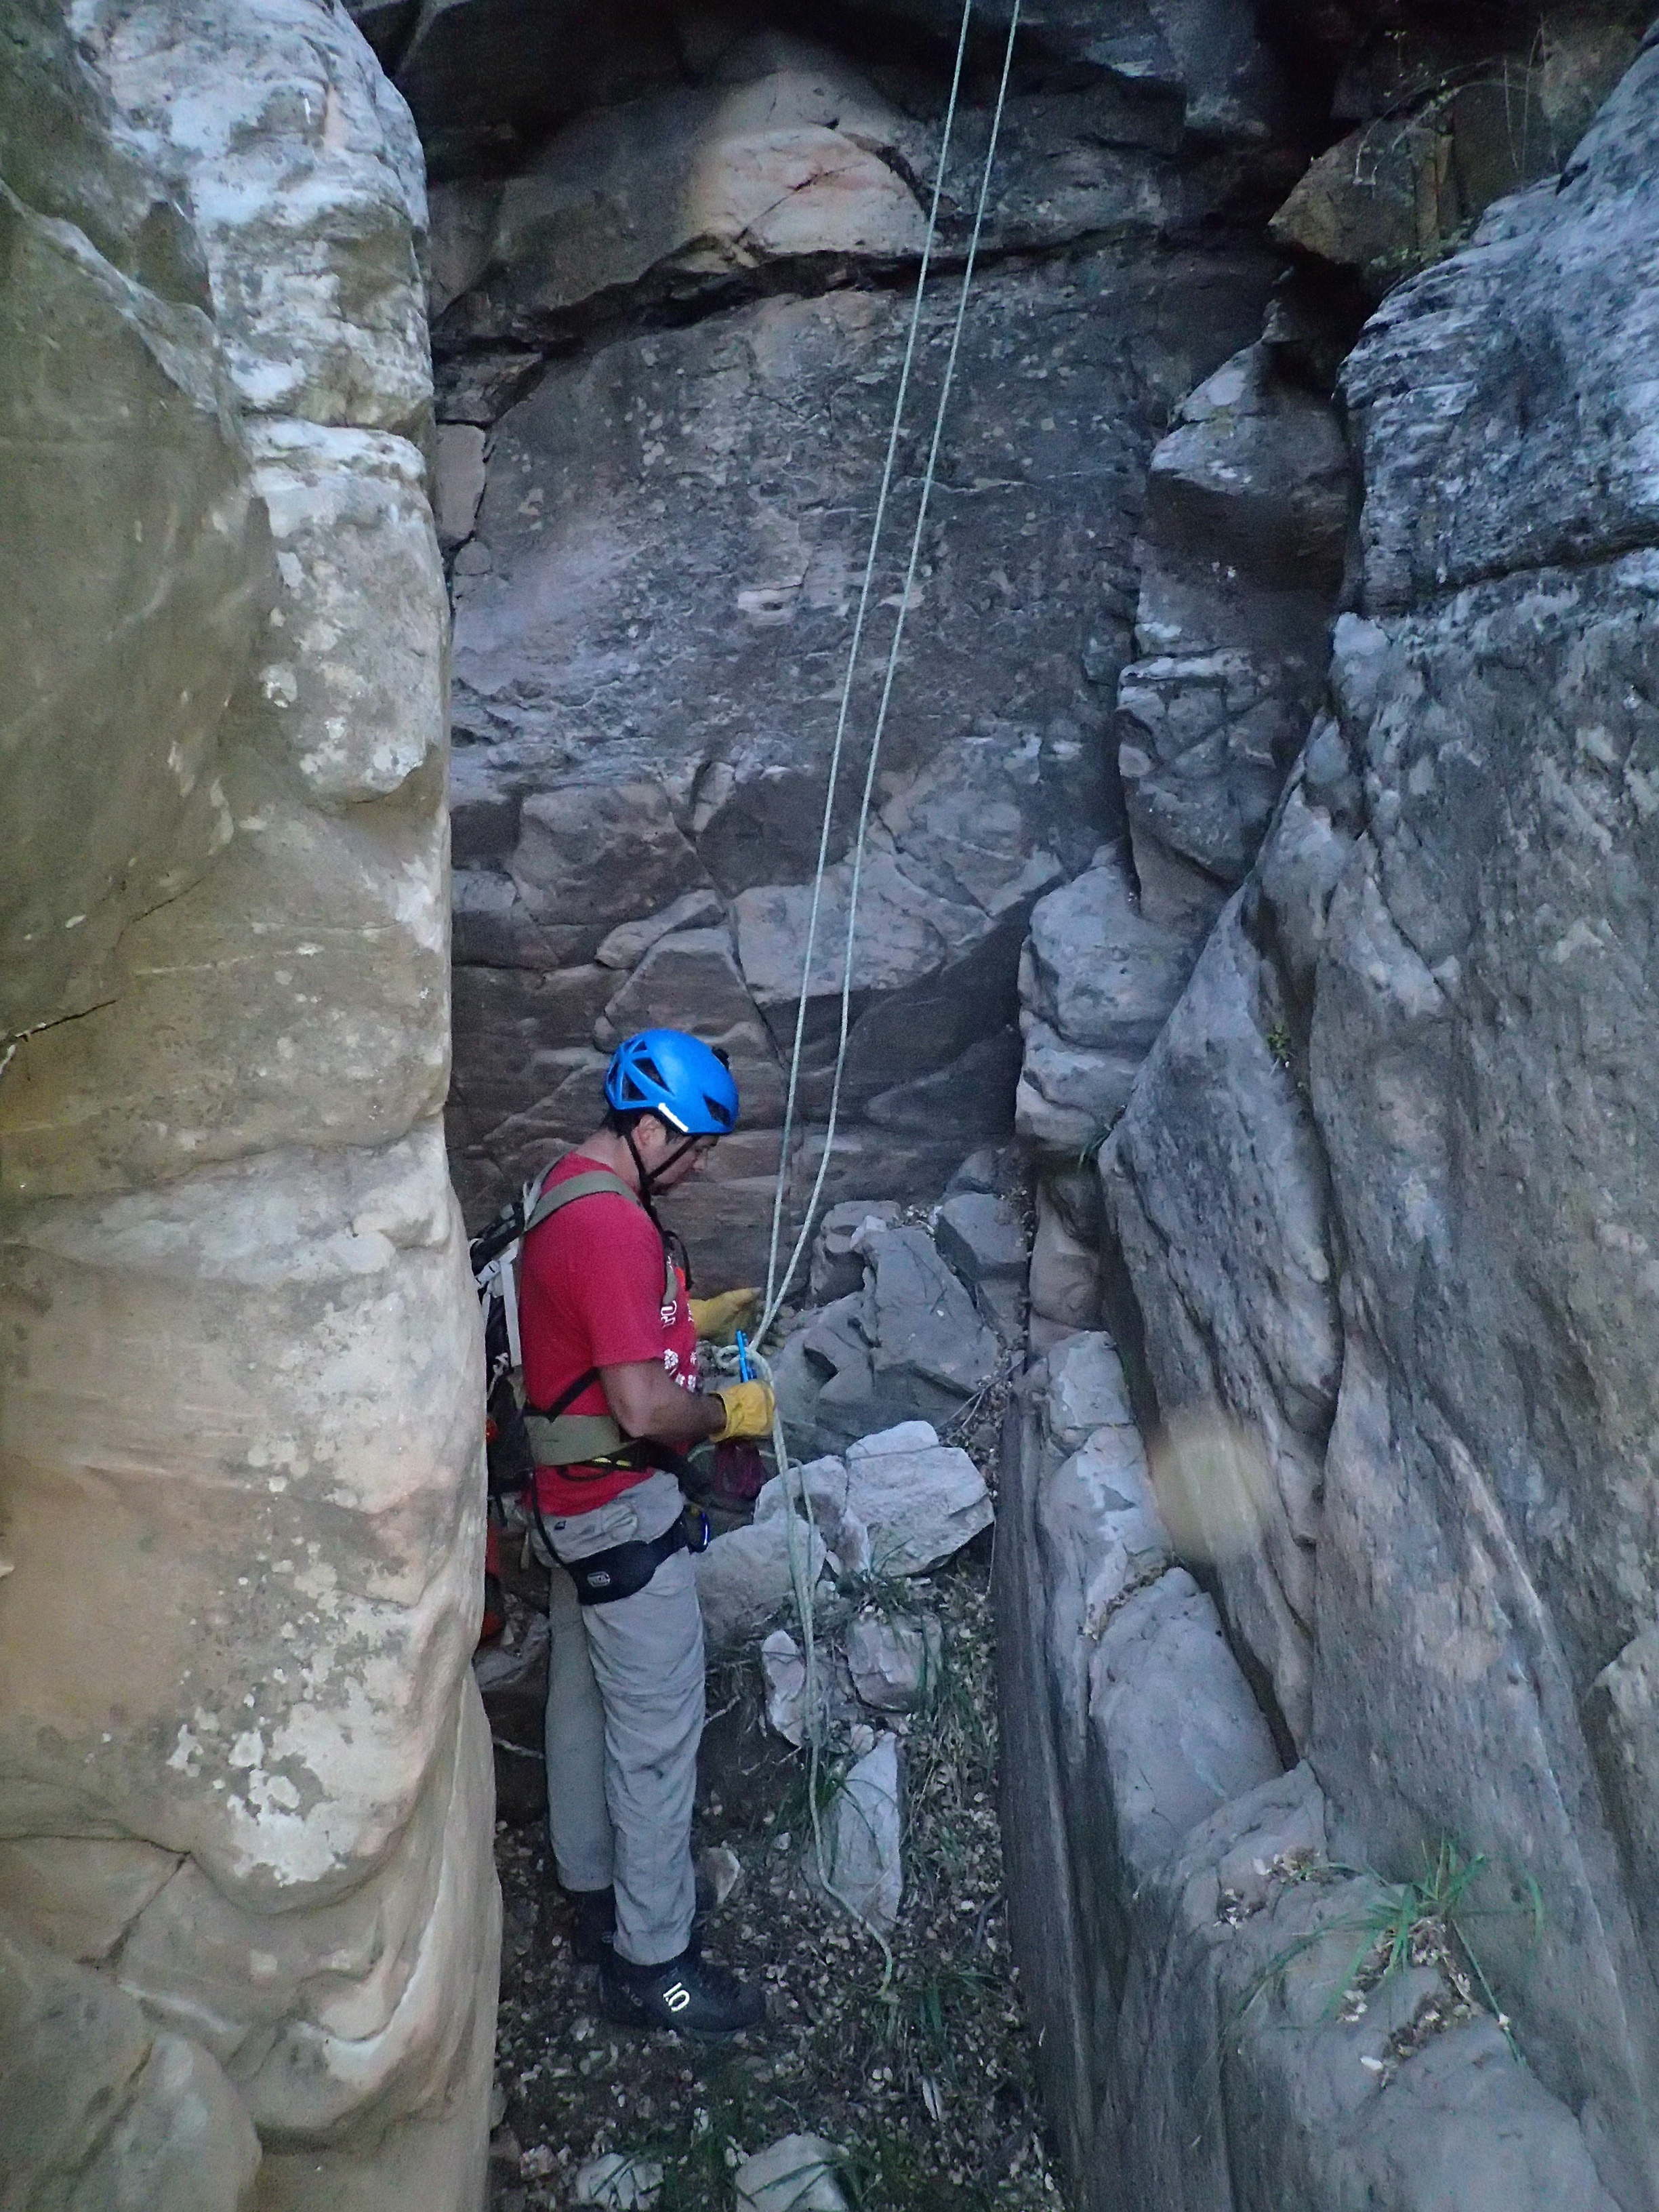
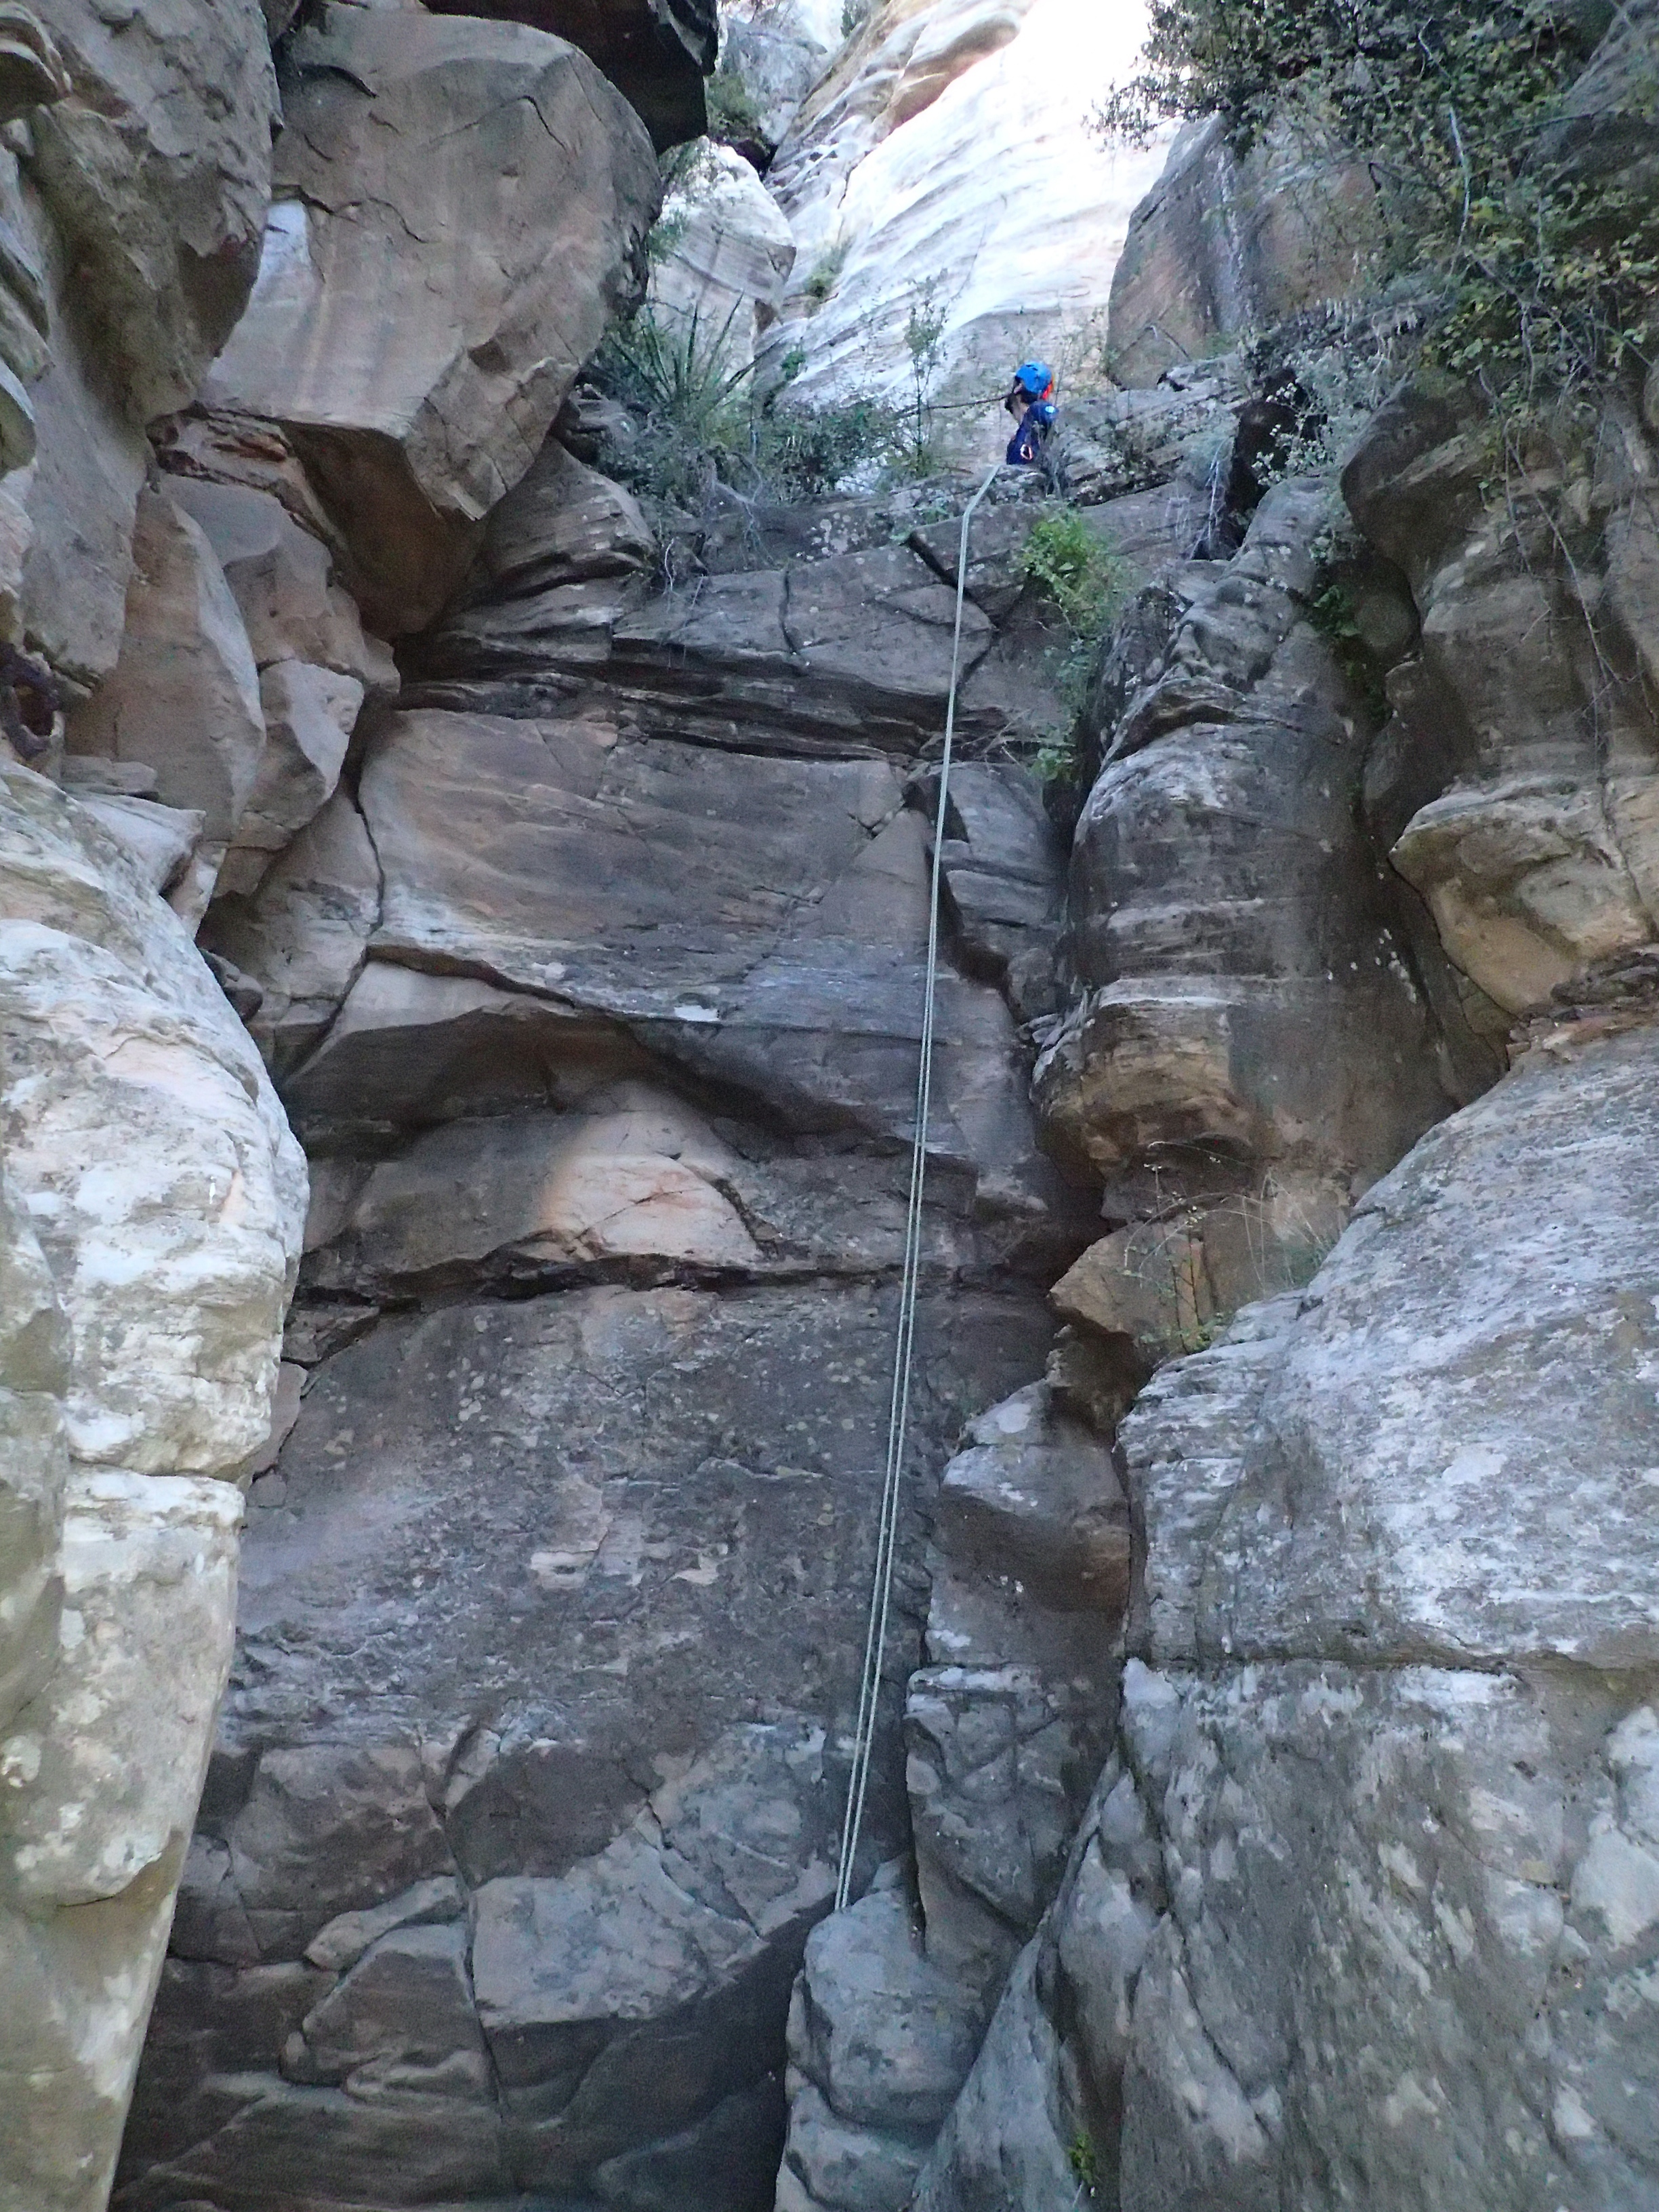
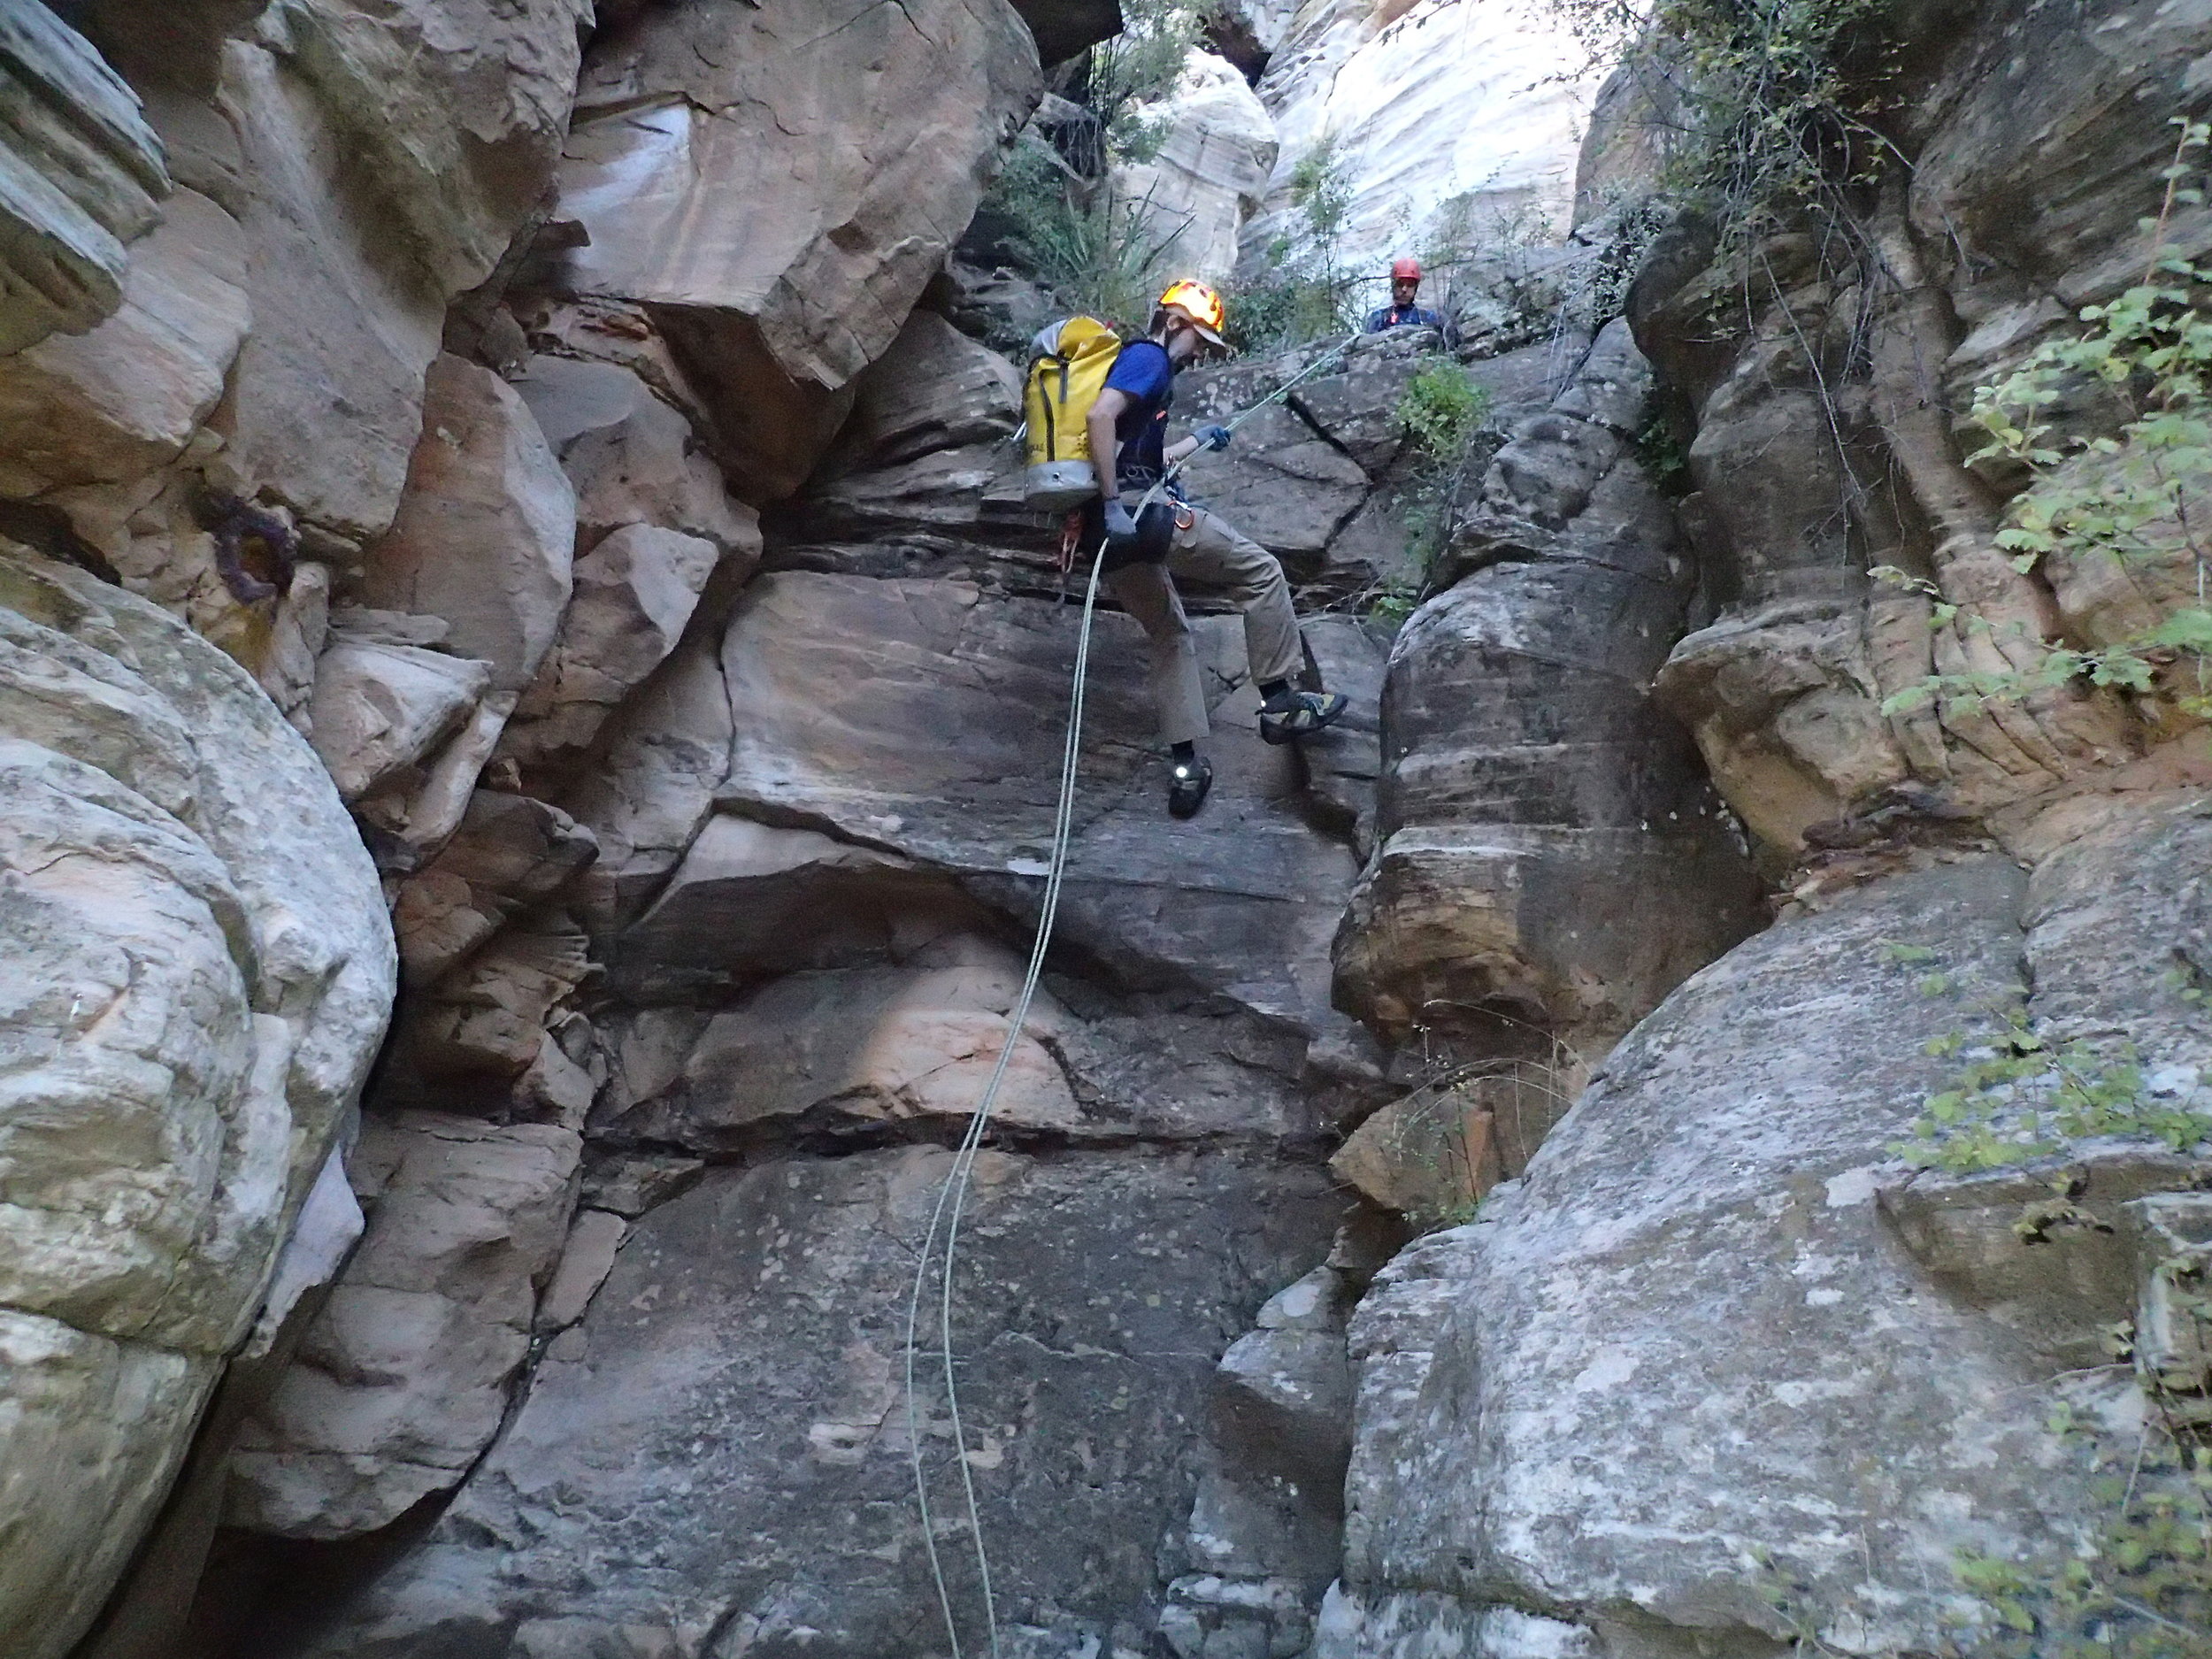
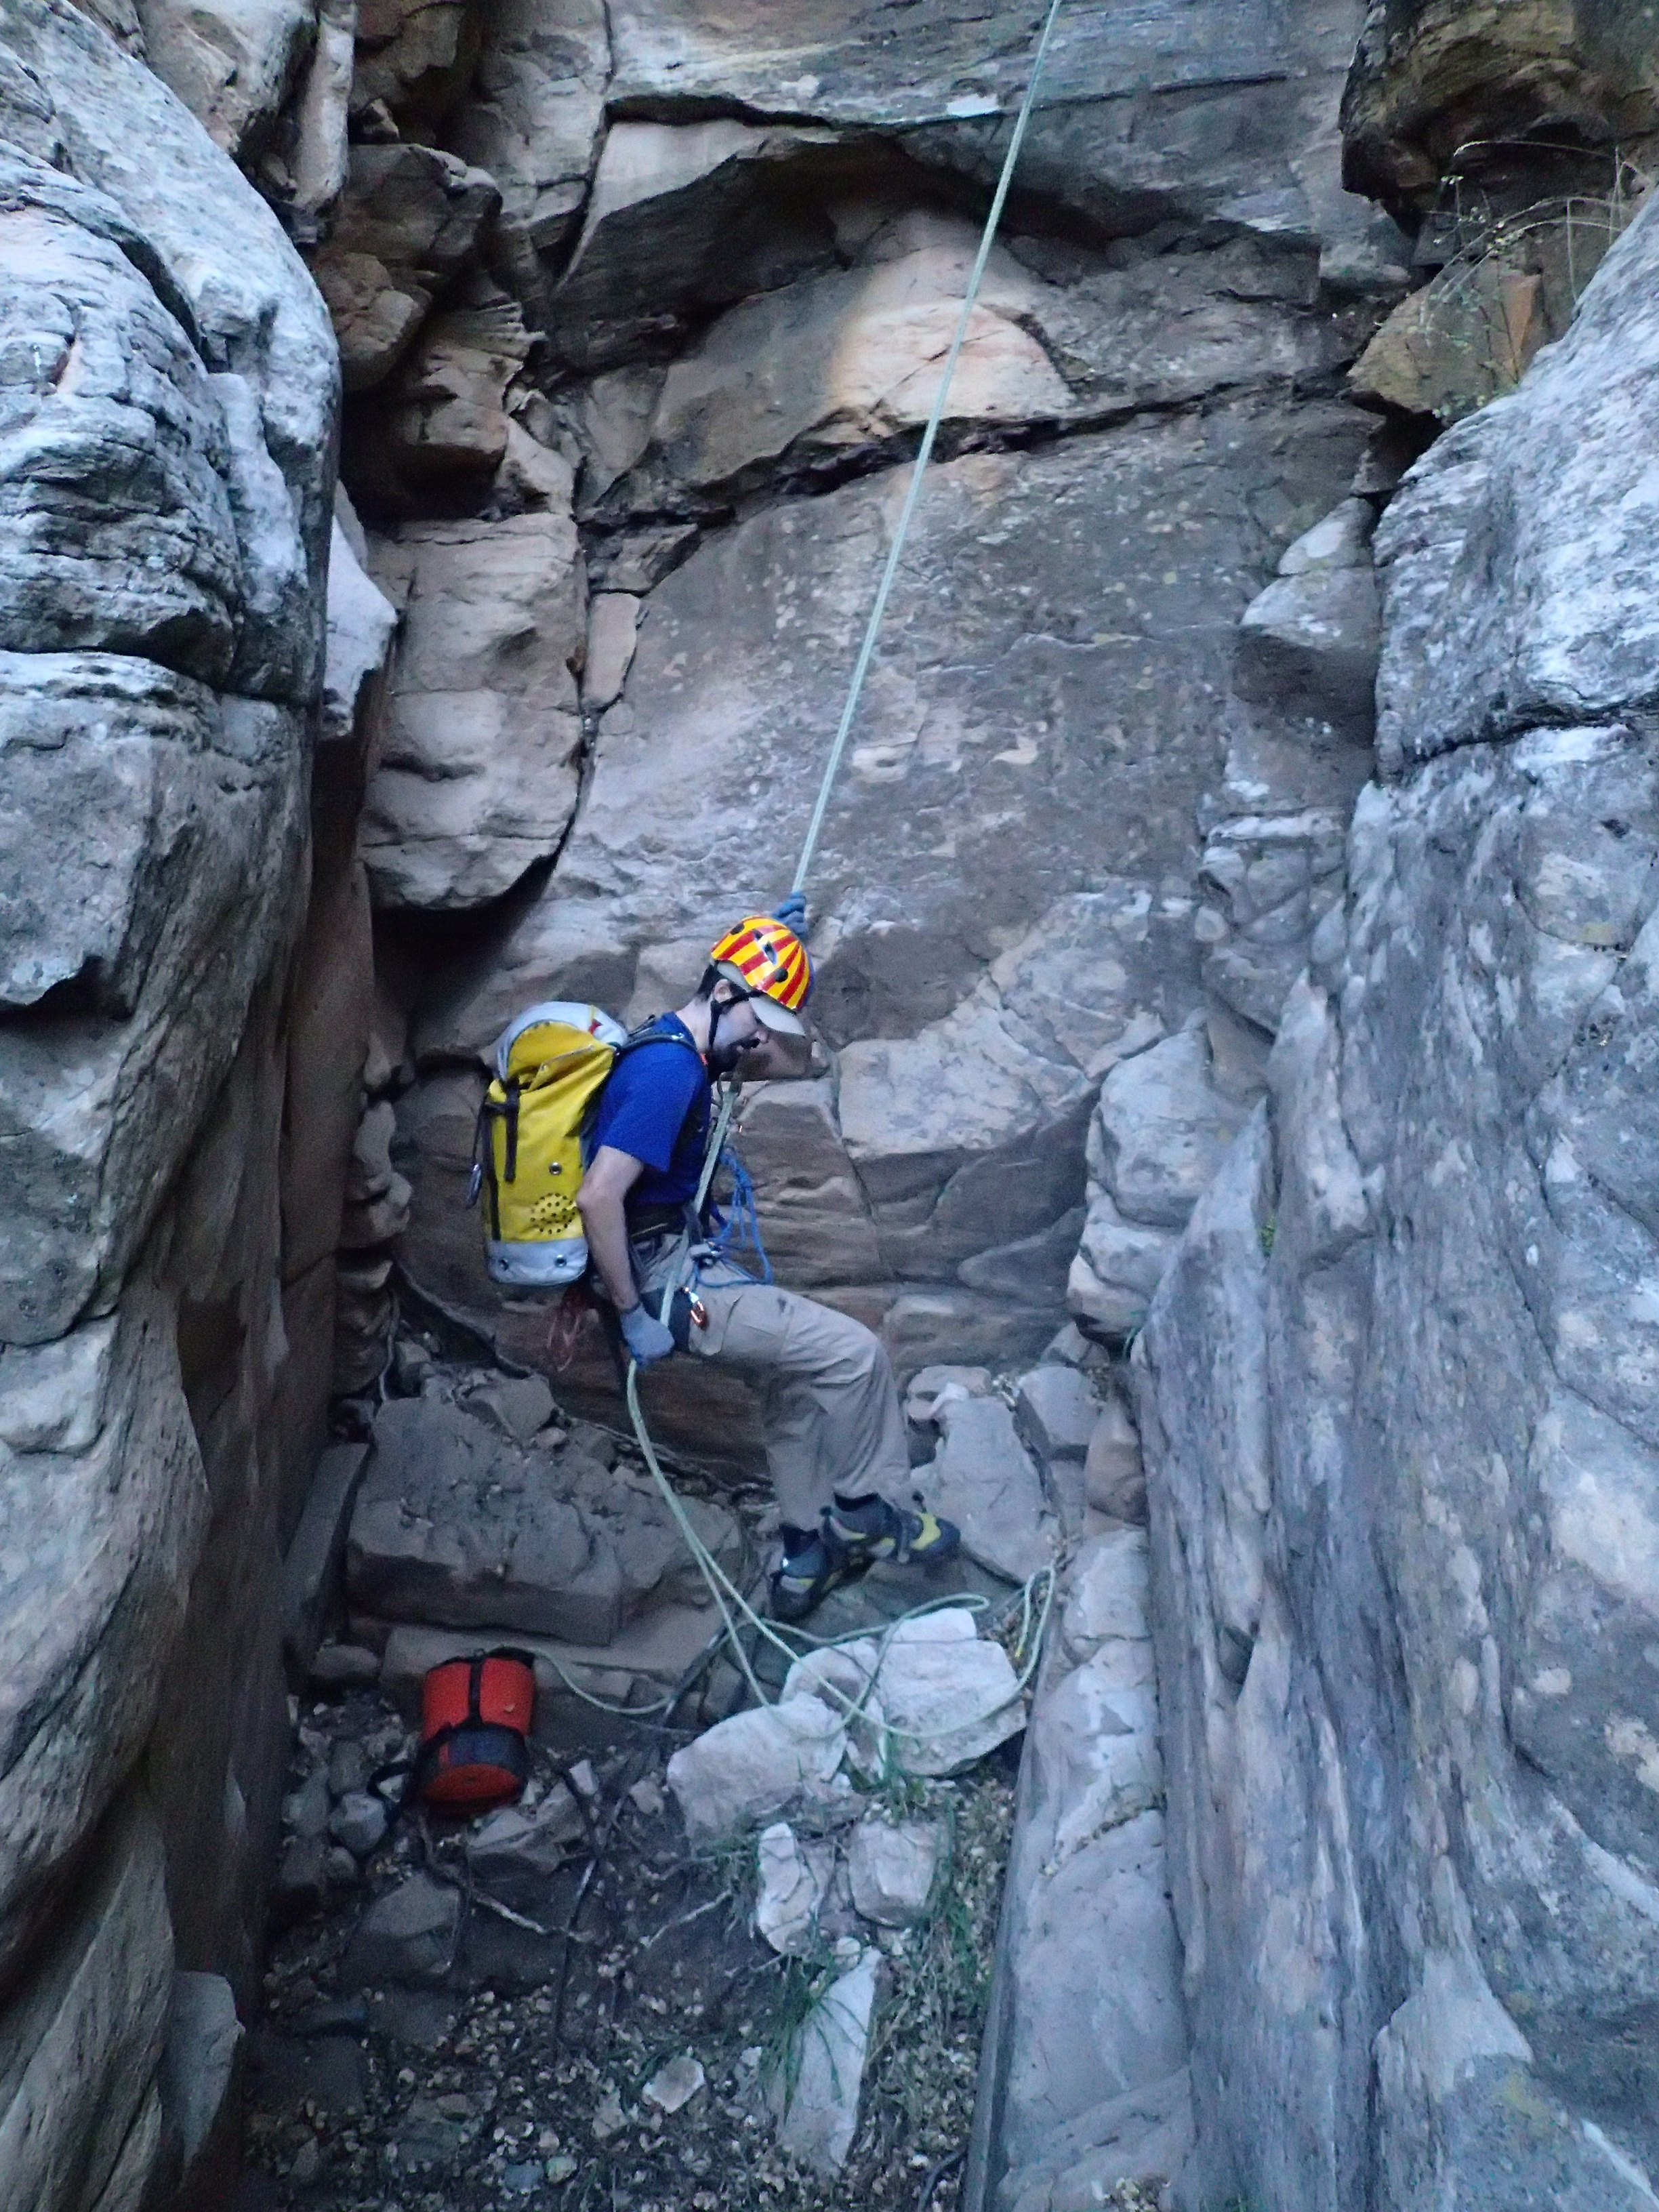
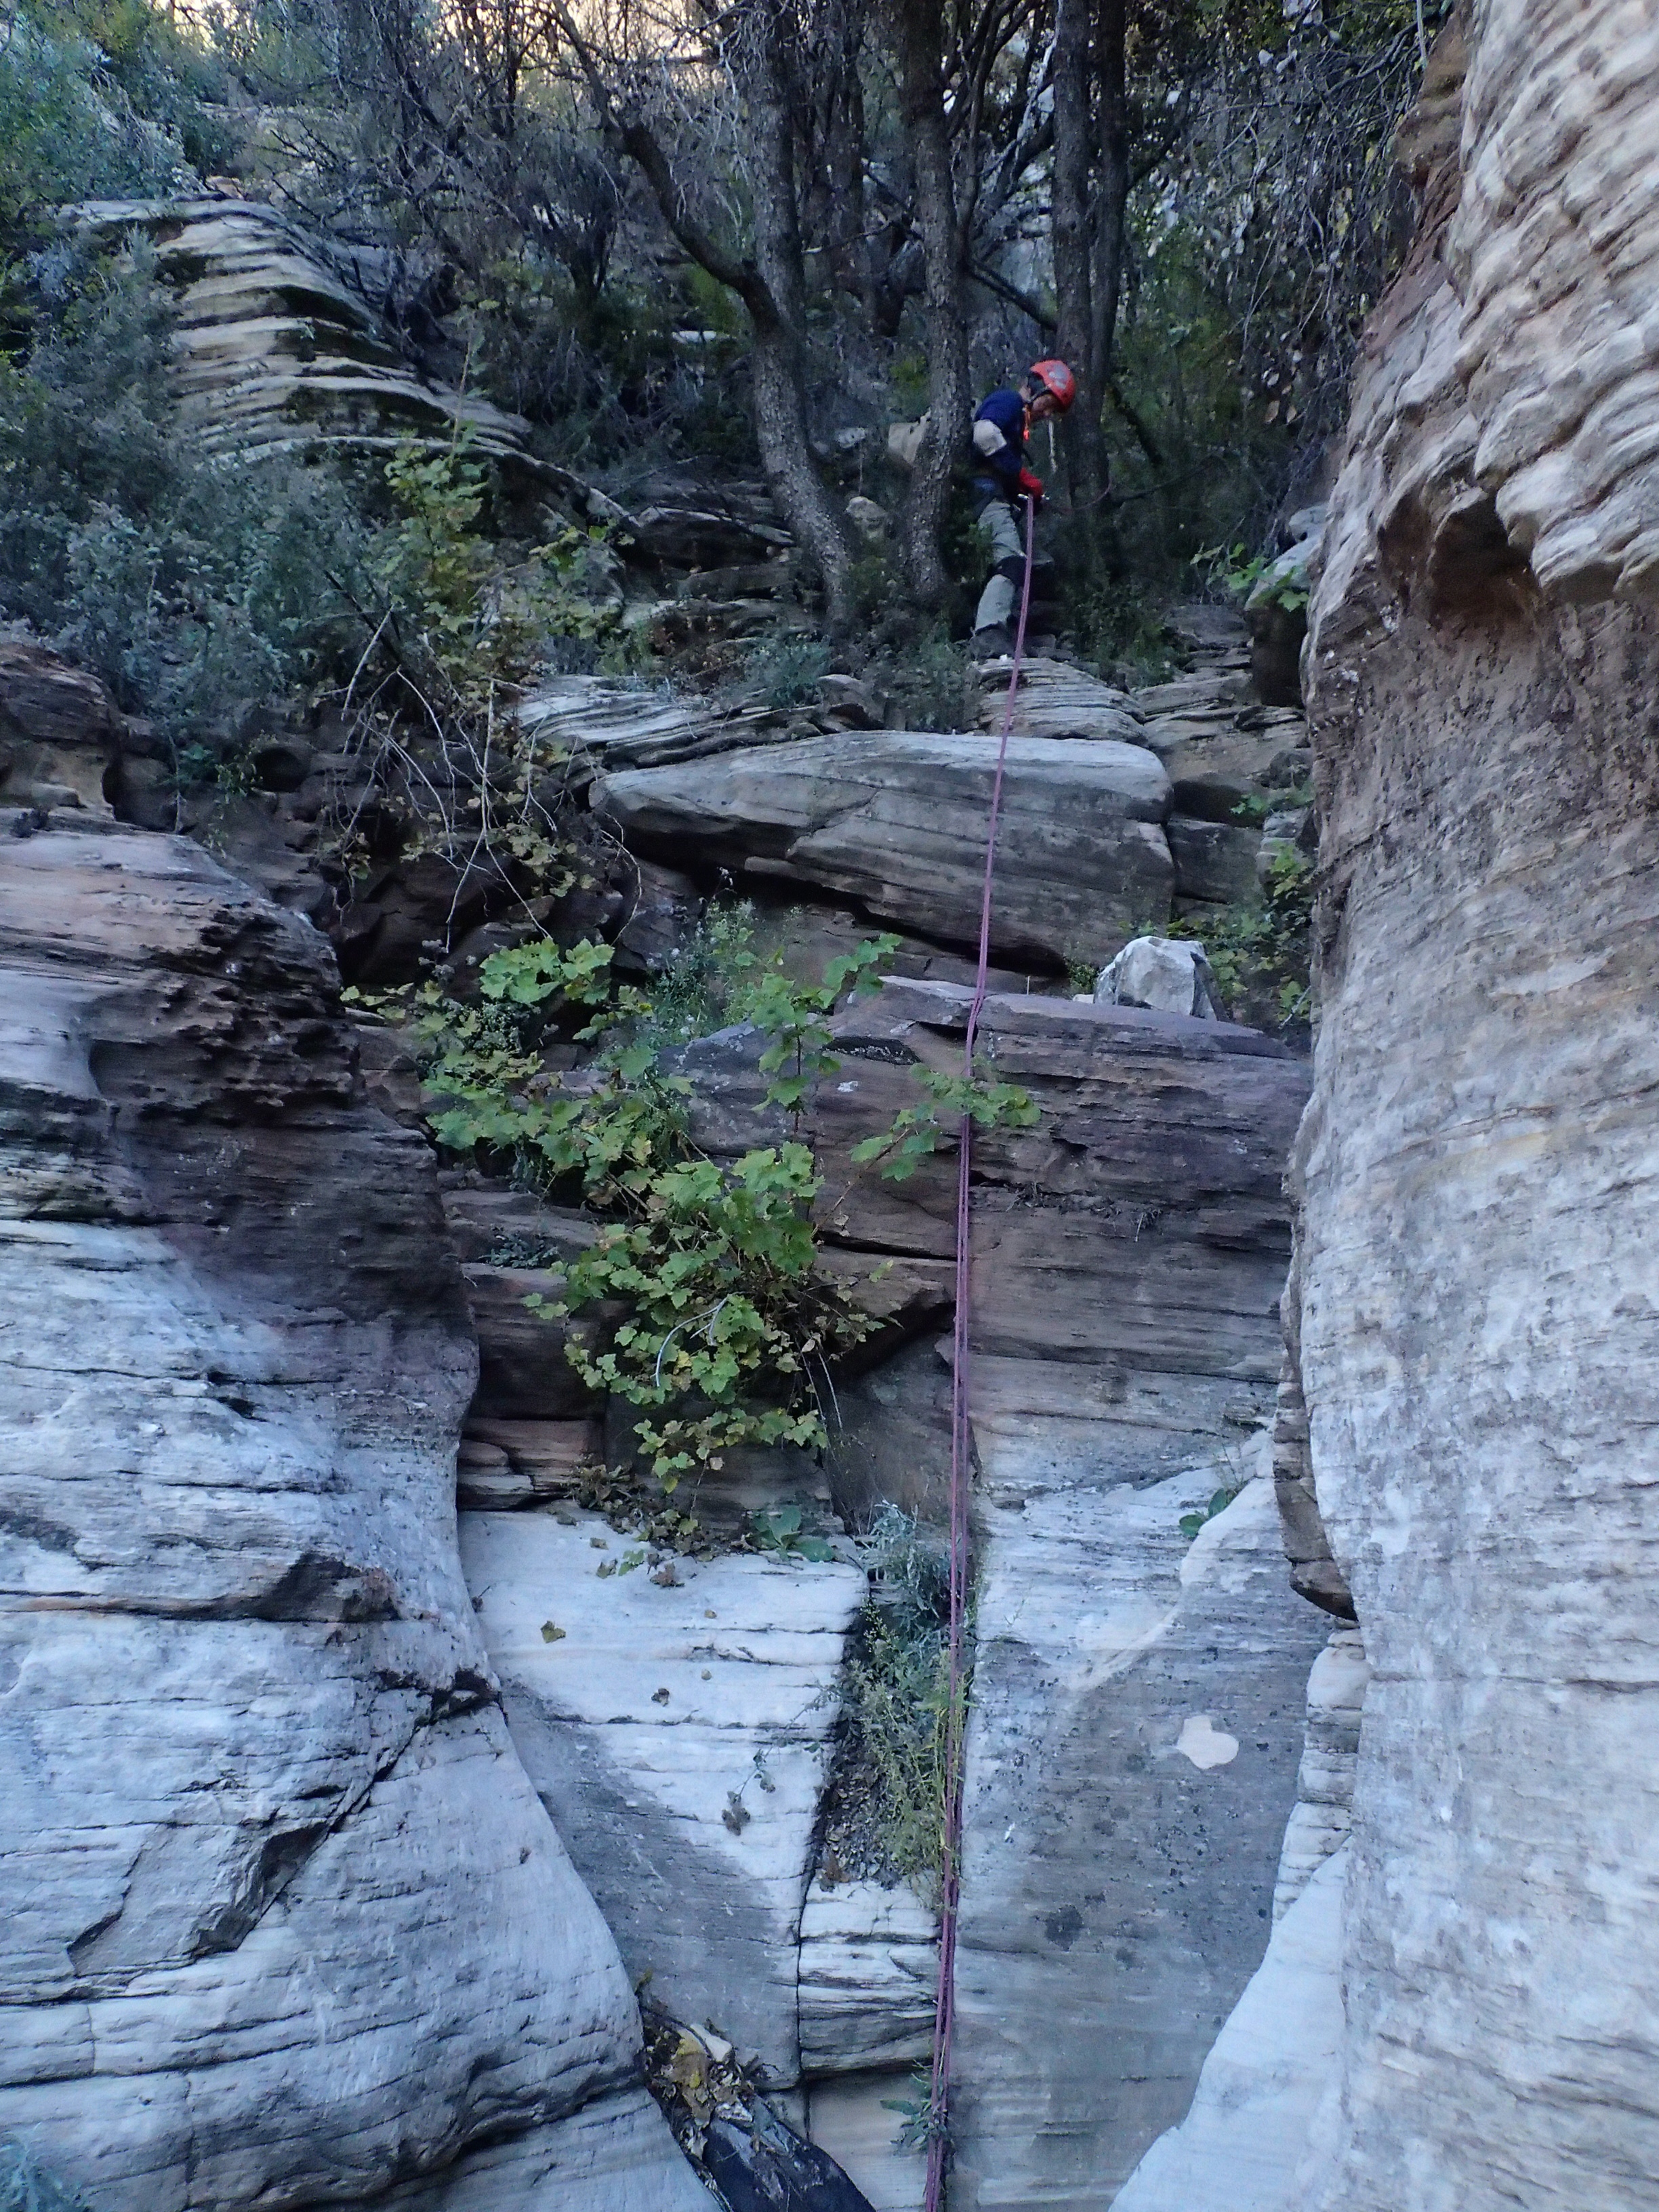
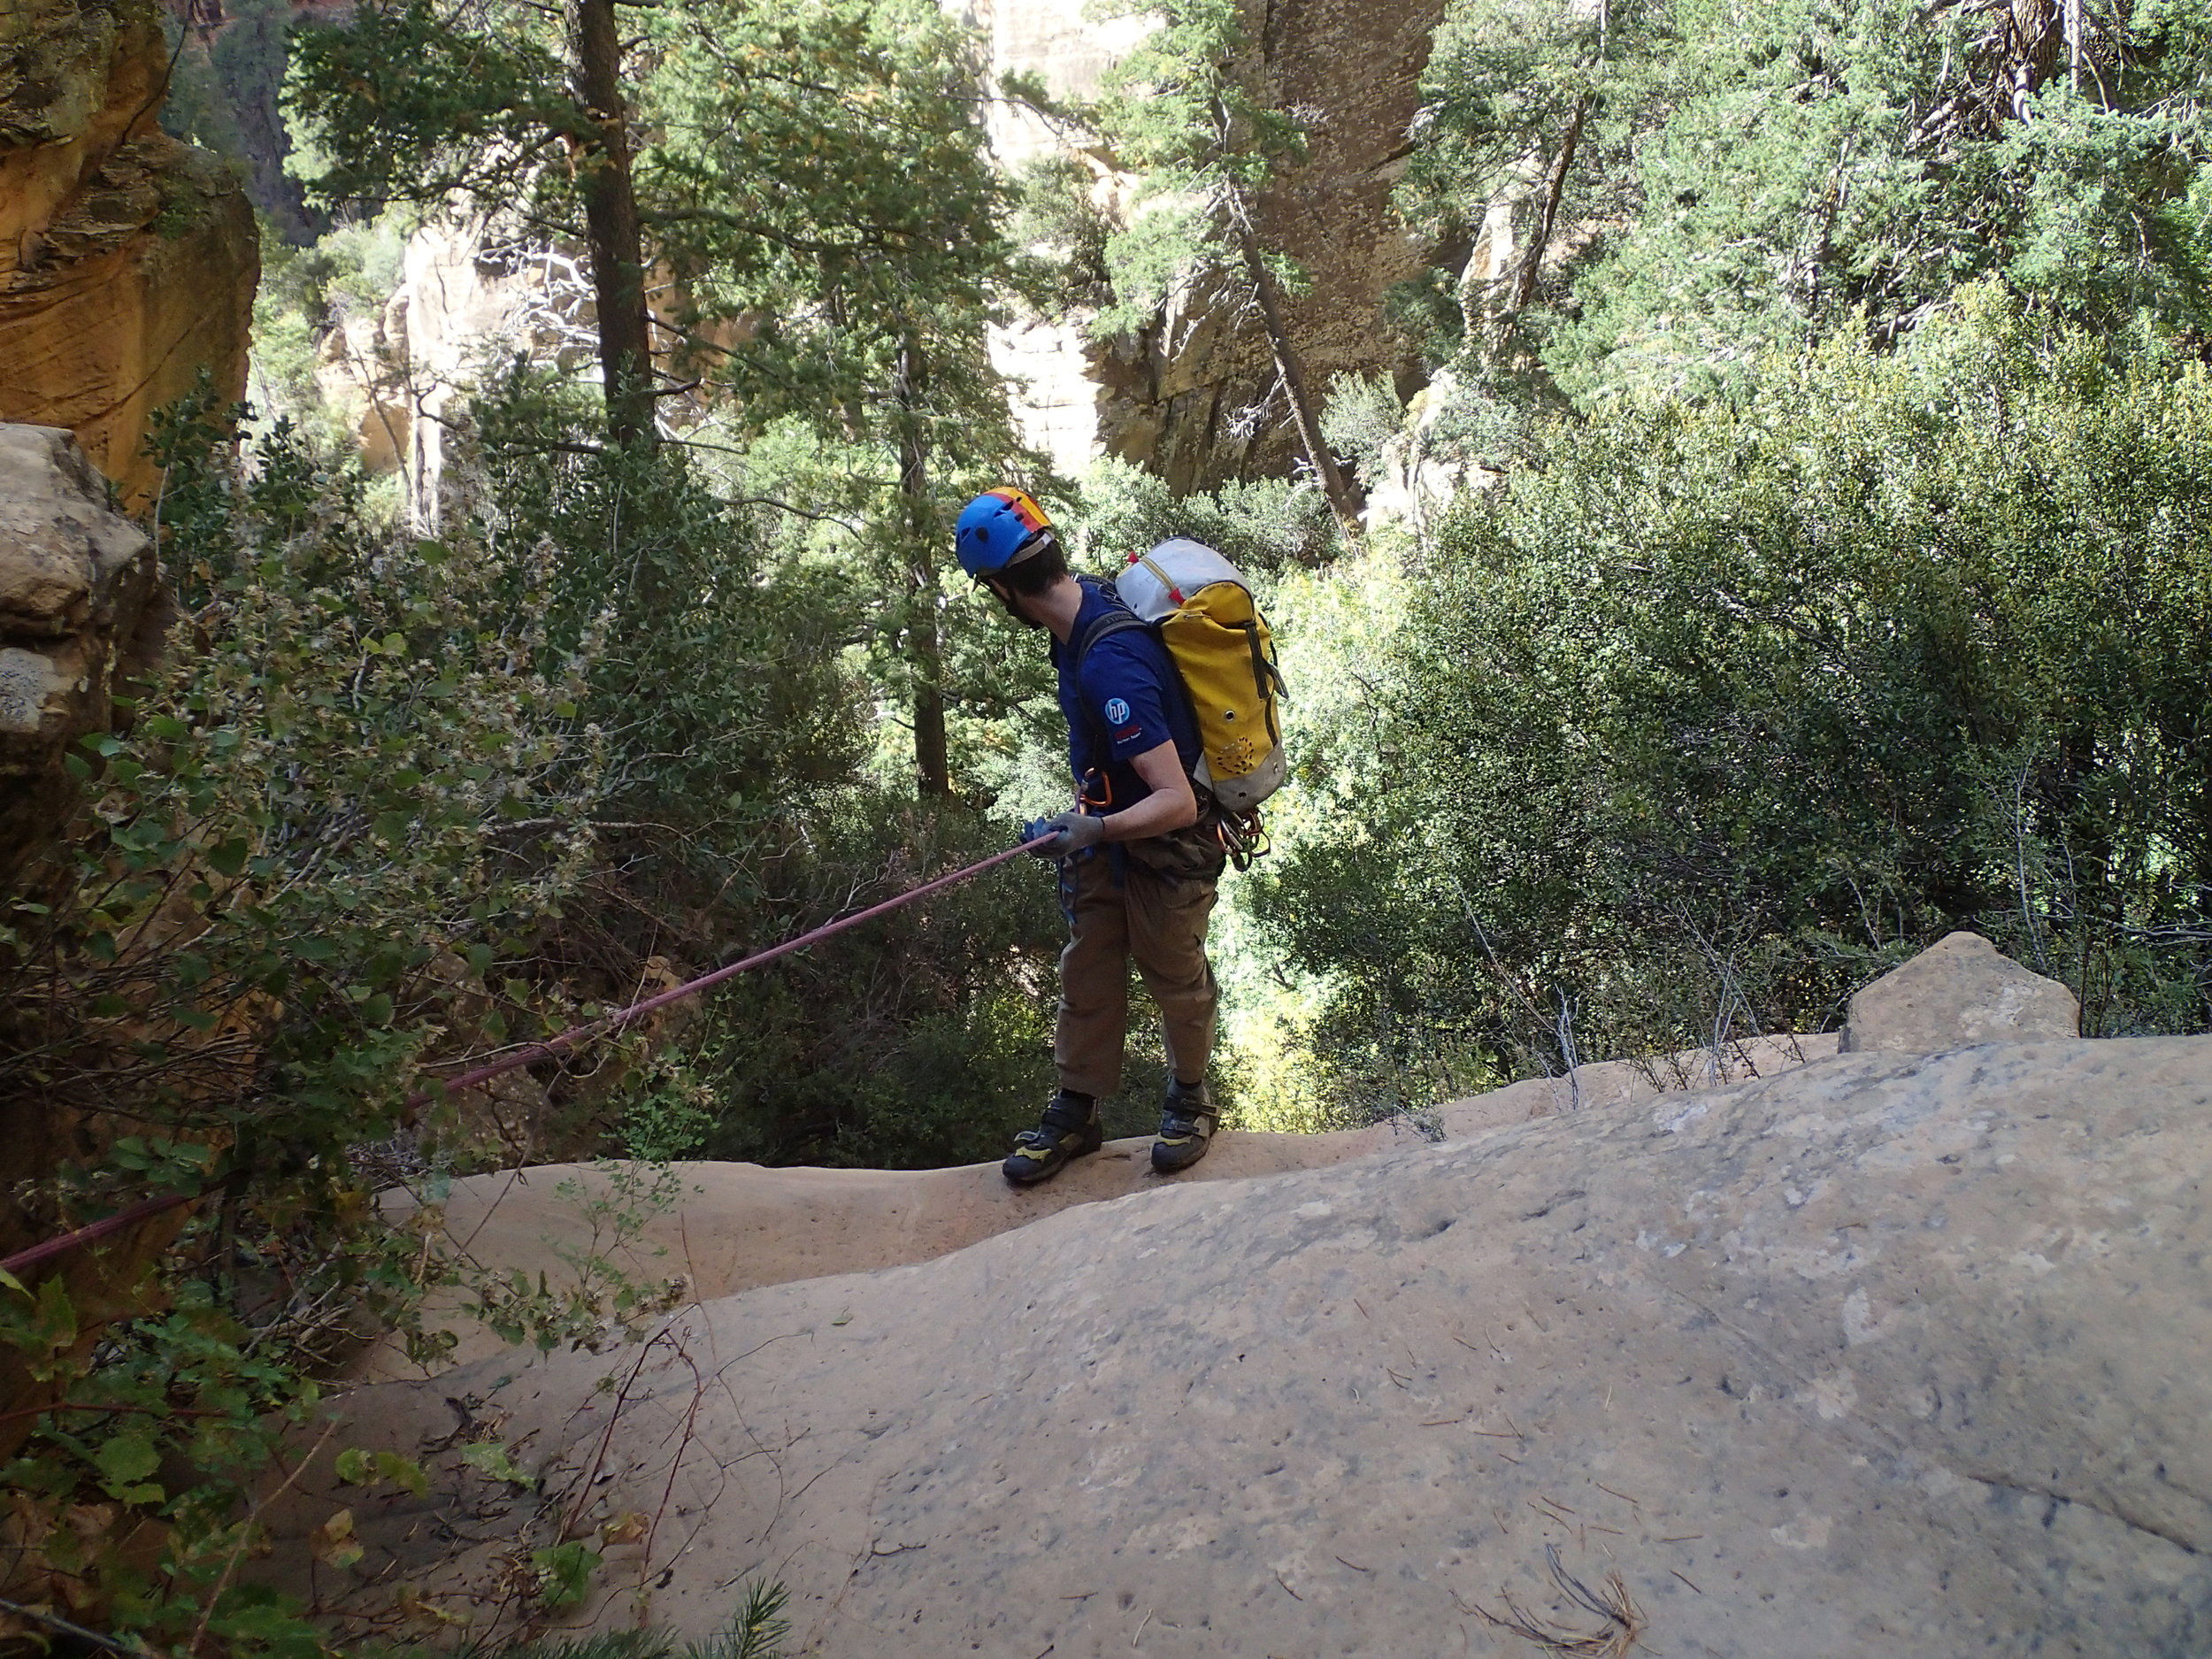
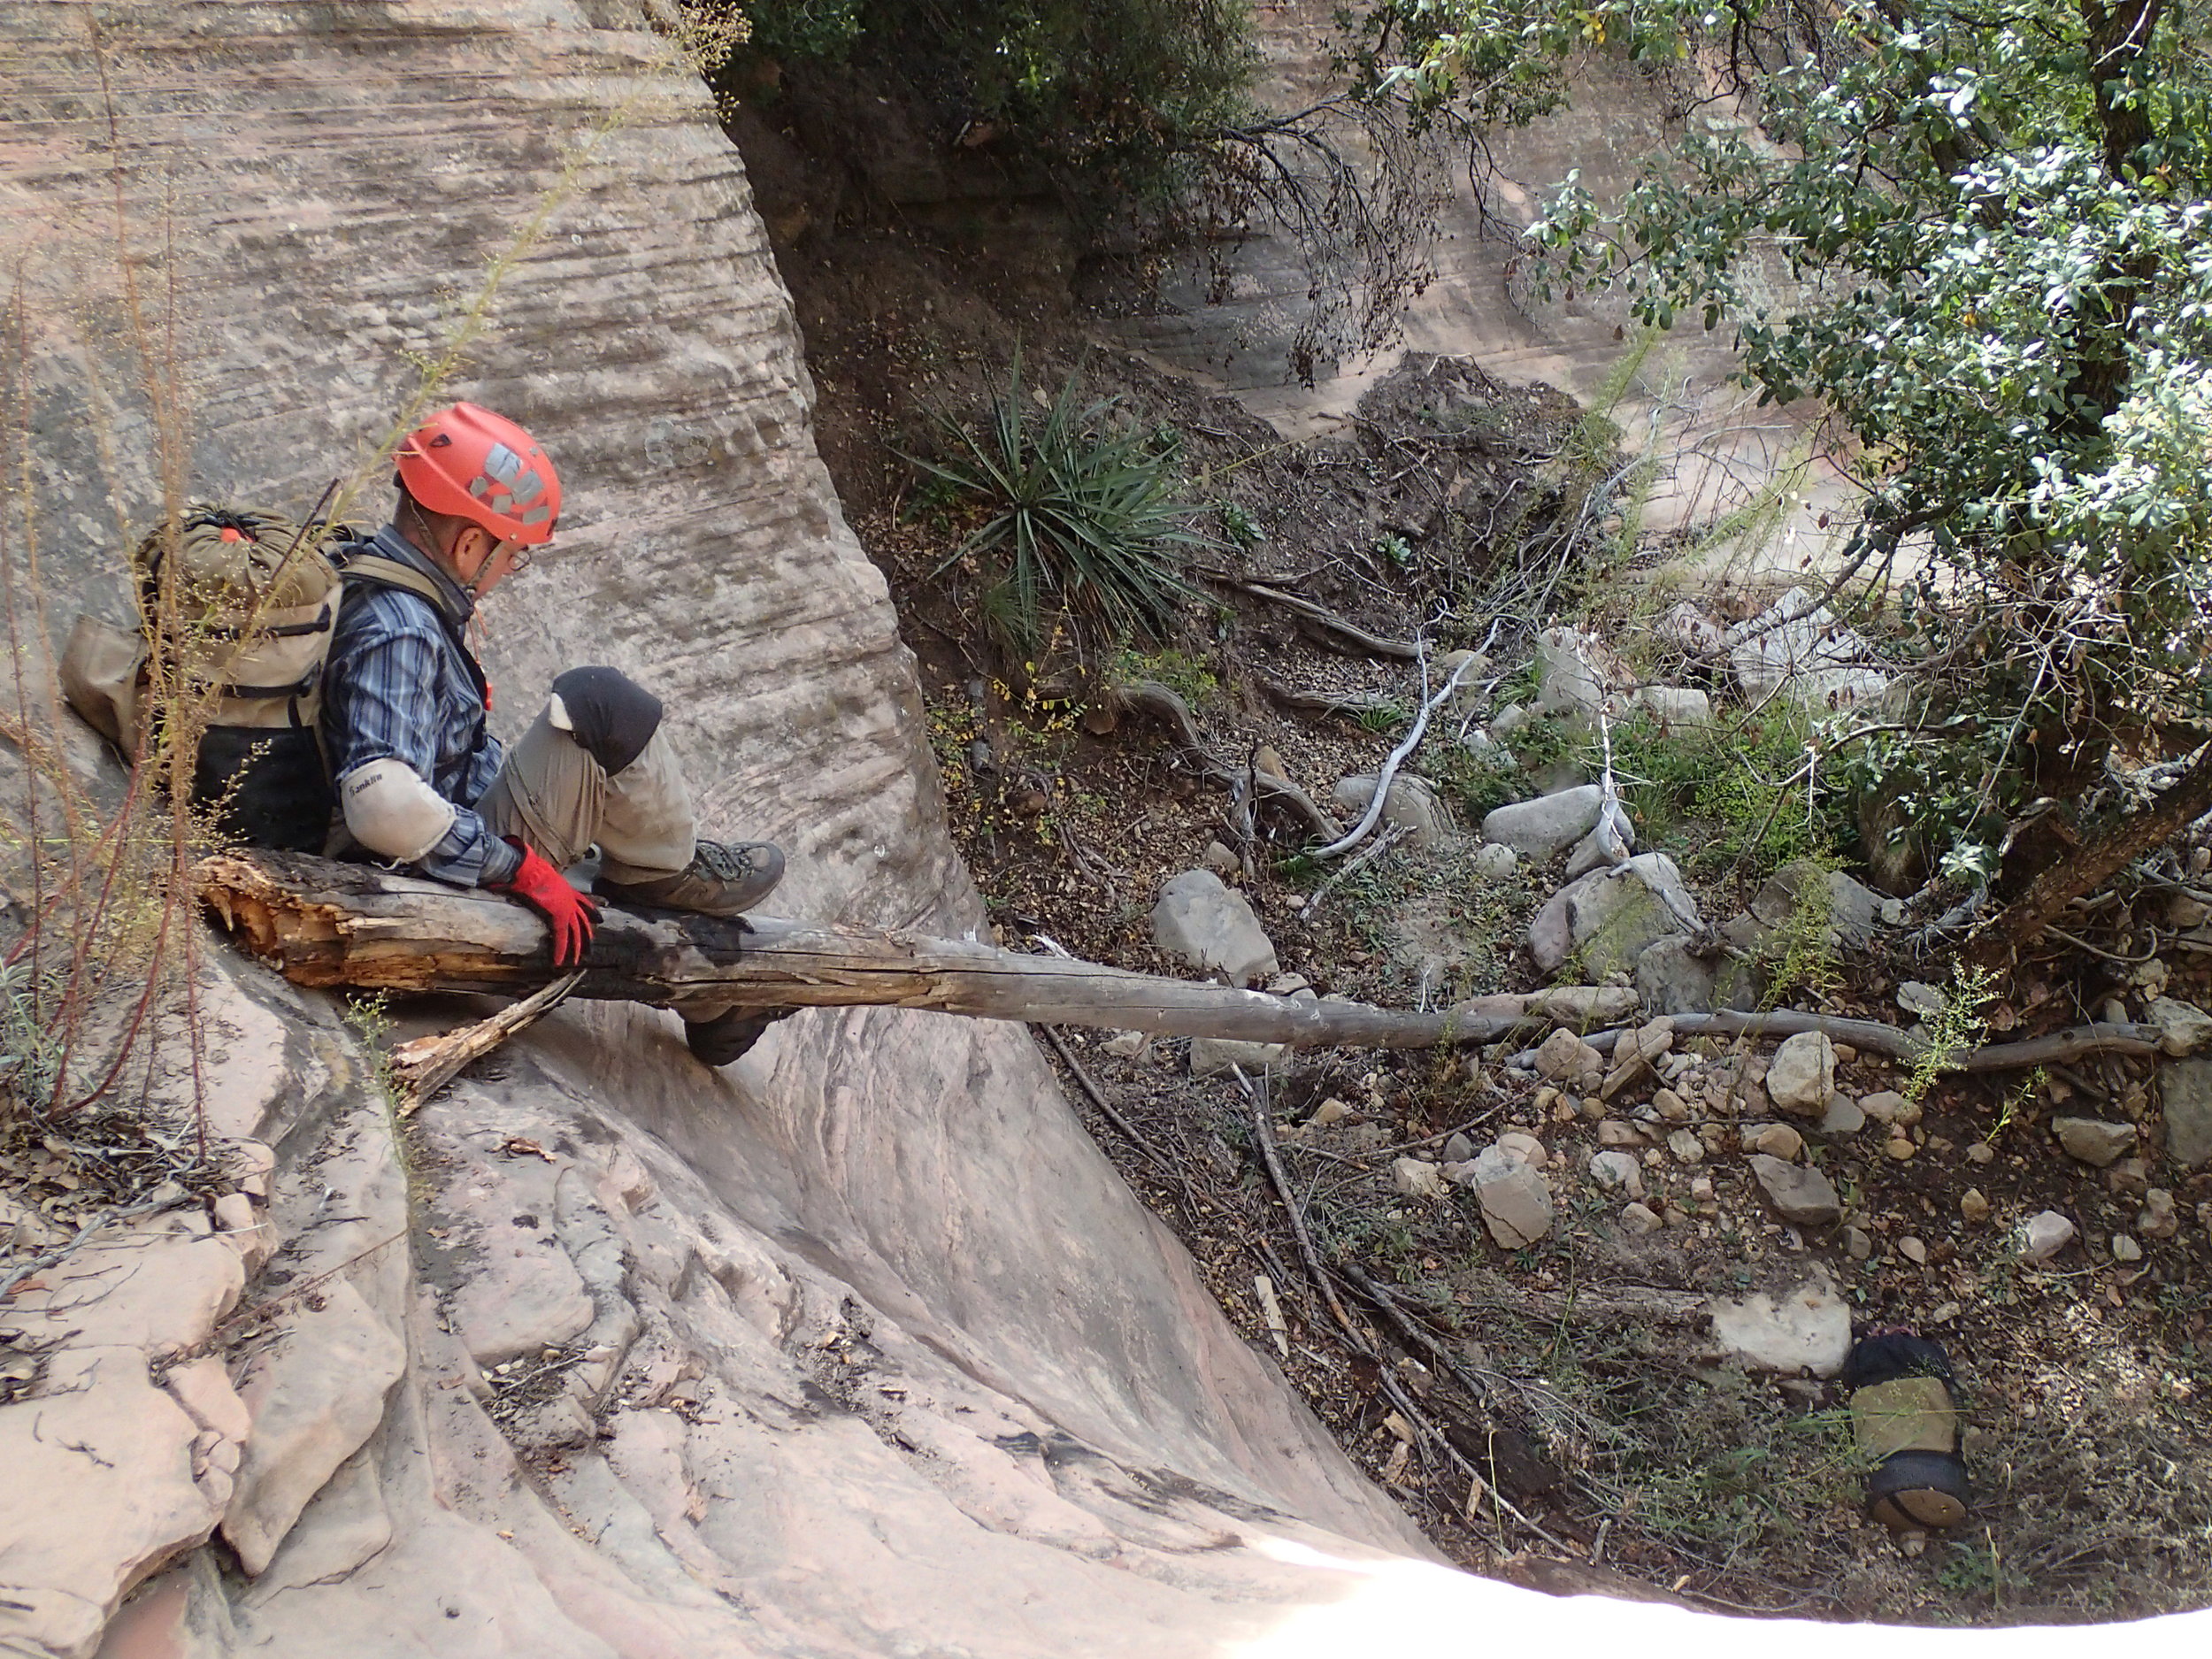
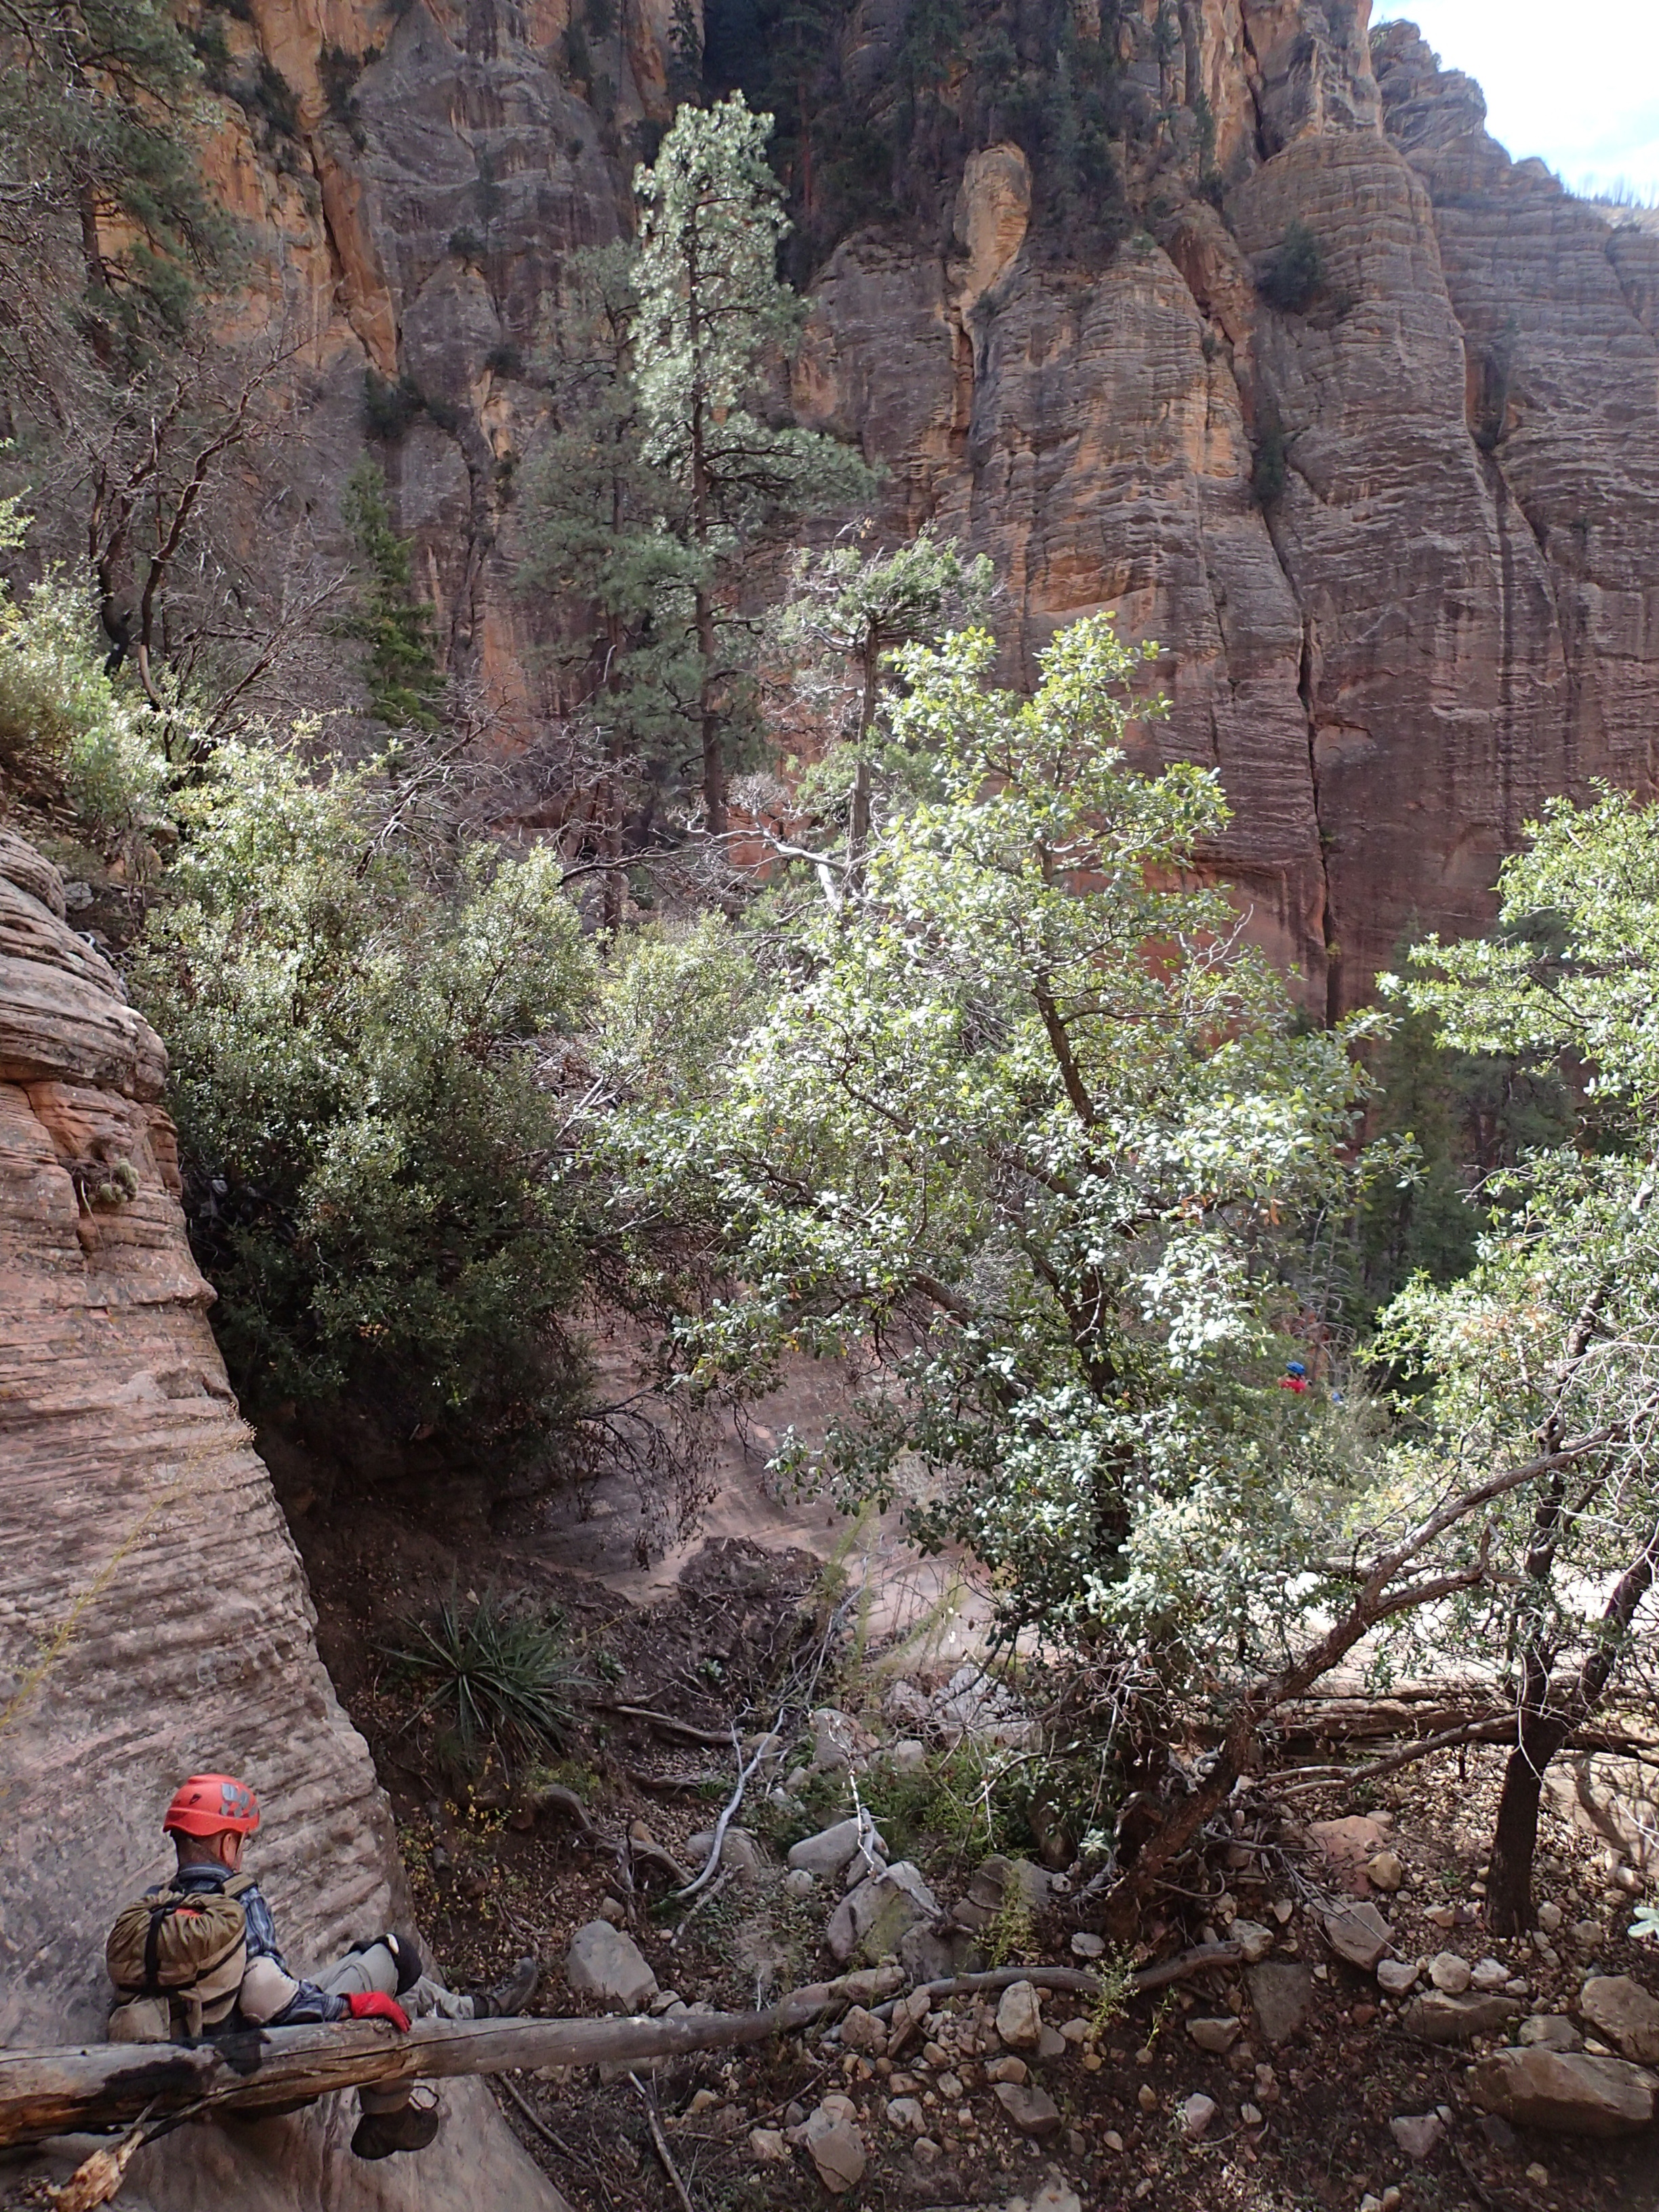
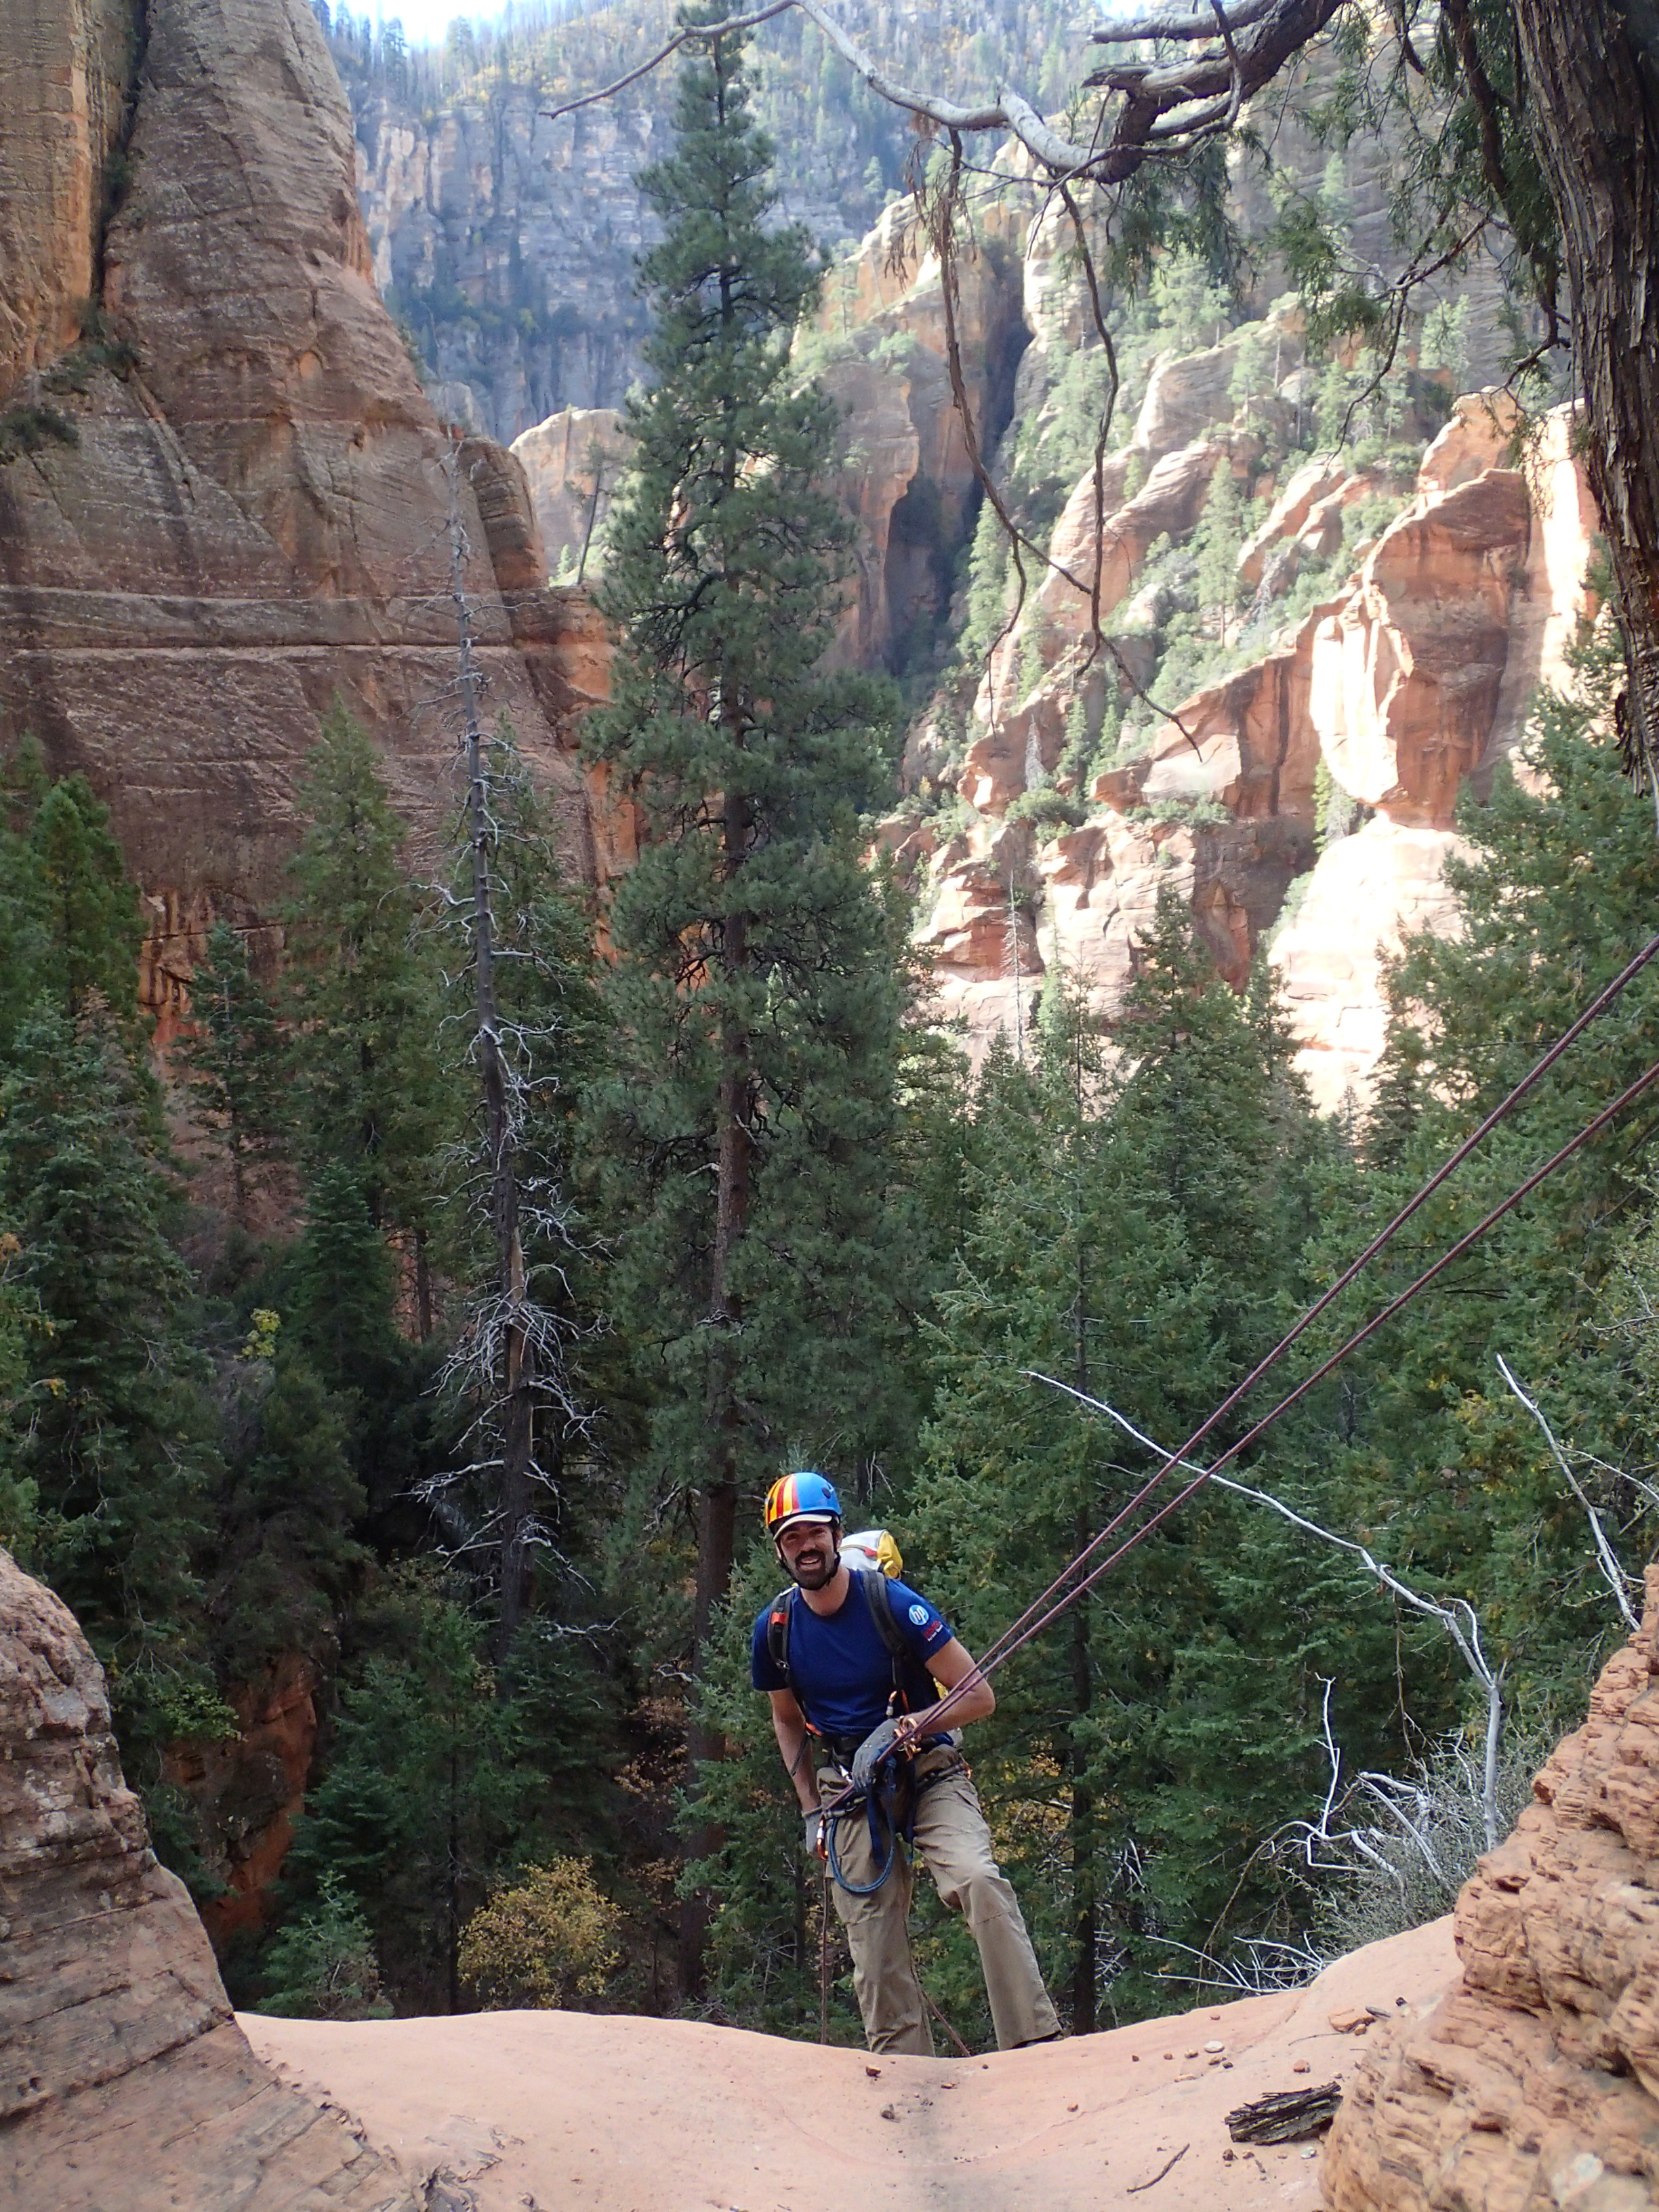
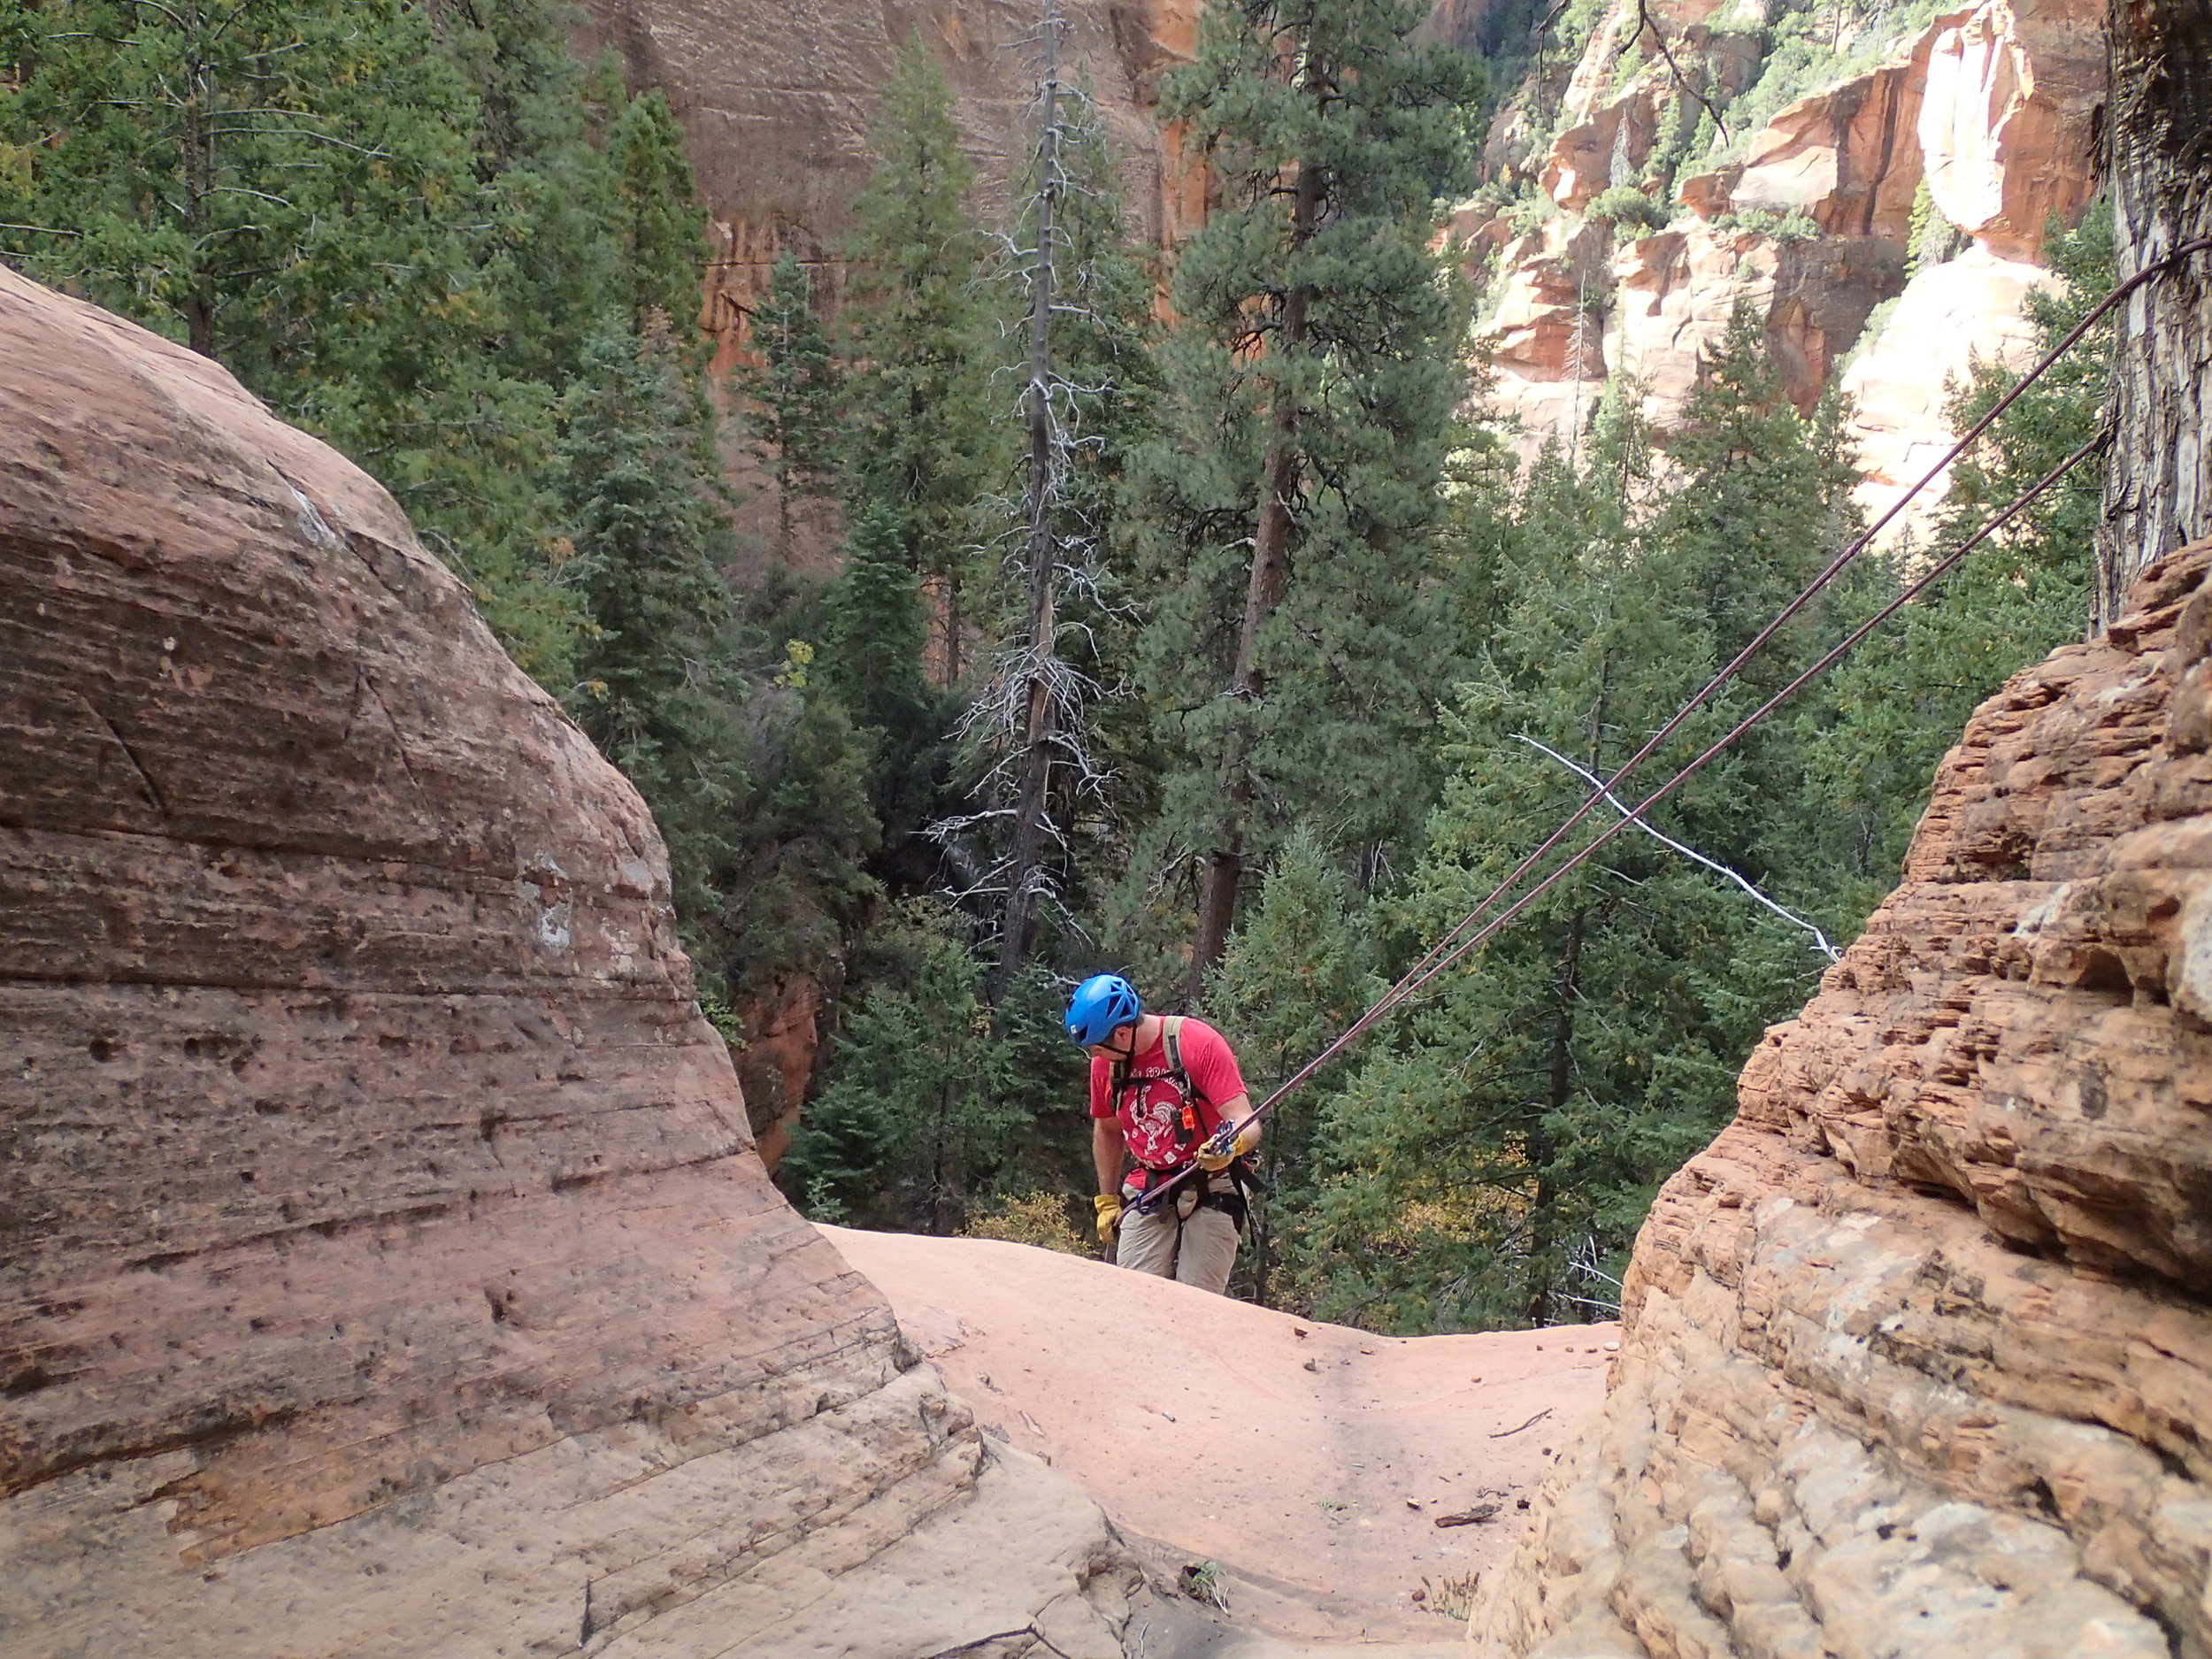
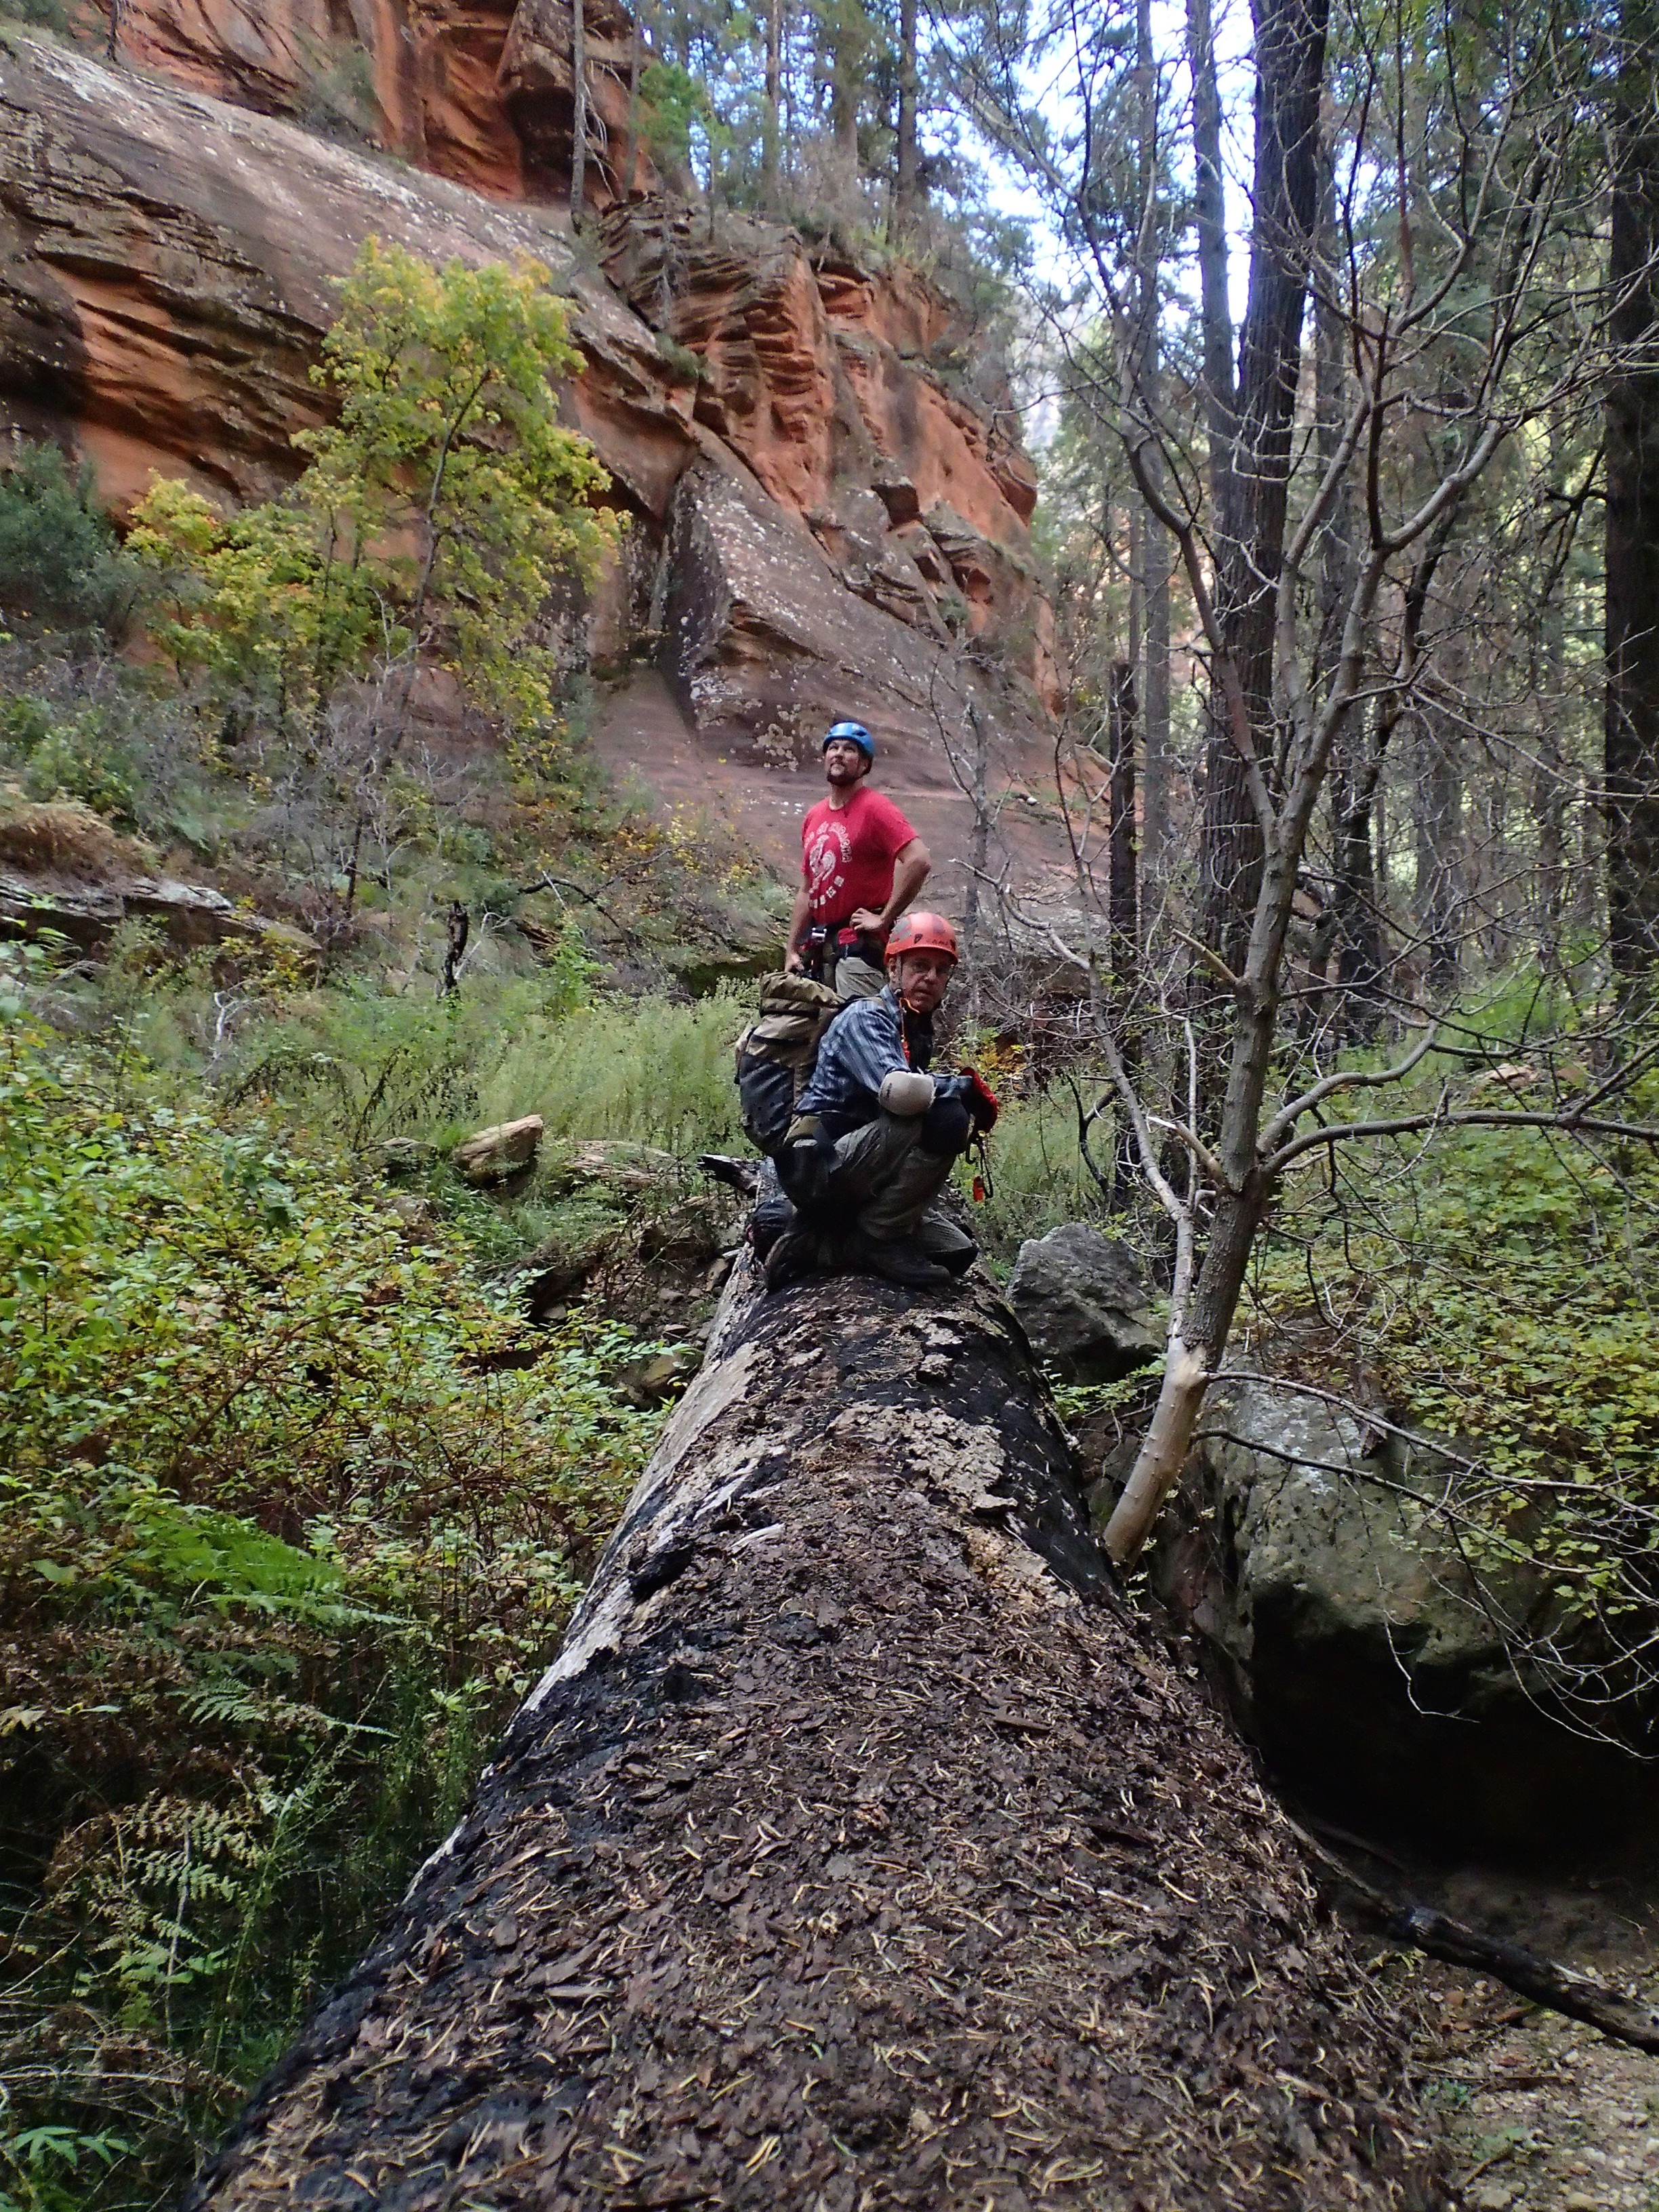
The first rappel was completed as a multi-tier drop of about 80' in total to a nice noticeable landing area below. Rigging the first drop with the rappel ring extended over the edge made our start somewhat challenging, but we did not want to risk a stuck rope. The second drop is just after the first and was rigged around a tree and extended out over the face of a large boulder that made for a good place to start as you work a 120' drop down a crack section of rock. Only a few steps away, you will come across a quick and easy drop that lands you in a very short hallway and keeps you moving down canyon. The next few rappels were completed from small trees on the edge of the drops, one of which had a rather loose approach and could knock rocks/dirt forward on anyone on rope or in the landing zone. Soon you will find yourself on top of a 150' rappel that is nice and easy offering some shelves in a few sections along the way down that make for a good place to stop and snap a few pics or manage any rope that didn't quite make it to the base. Another down-climb/rappel later and you will start to run into the red layer of the canyon and soon find yourself at the top of the last 135' rappel. This drop had a nice sized tree located on the edge to rig up and is a low key sloped rappel that provides one more great place to take in an elevated view of the canyon below. Shortly after getting off rope you scramble down a somewhat loose section and head towards oak creek where you will notice a large downed tree trunk to walk across that helps to keep out of the brush. Very quickly you will find yourself standing creek side on the popular west fork trail. From here, its a nice stroll down oak creek back to the call of the canyon to retrieve some vehicles and call it a day.
Trip Photos
Interactive Topographical Map

GPS Download

Printable Map

Weather Report