
red breaks Canyon, UT
Location: Utah, Grand Staircase-Escalante National Monument
Rating: 3A-II
Longest Rappel: ≈ 75'
This is a short and scenic canyon requiring lots of downclimbing in narrow slots. Everyone in your group should be comfortable with basic bouldering skills as some of the down climbs are down a slot barely wider than your hips that are upwards of 20 ft above the ground. A group of two completed this route in 3.5hrs car to car carrying a 50 meter rope, and a 45 meter rope for backup. This route requires some navigation as there is no trail for an approach and exit. You start off from the car navigating across the sand dunes aiming for a break in the sandstone wall ahead and to the right of you (annotated in a picture). Once on top, you navigate back through the desert to the start of the canyon. You’ll start by scrambling down on the right side of the mouth of the canyon. You’ll continue to scramble down several times as the canyon gets narrower. The canyon briefly opens up and you’ll come to a drop that looks like it requires a rappel where you’ll see gear about 50ft below you, but you scramble down about 100ft to left to get to your first rappel. The first rappel is straightforward as it is on sandstone. Your next and final rappel is at the end of this route, so now is a good time to put away your harness. Continue through the canyon performing many downclimbs, some narrower than your hips with several having you chimney climb out over the ground before descending 20ft. Most of the time we tossed our packs down. Much of the canyon consists of this. Your last rappel is optional. You can choose to exit here, or perform the final rappel by rigging an anchor around the rock at the drop. This will add an additional 20min to your trip if you choose to do so. The track will reflect this addition. In order to exit here and skip the rappel, you simply climb up to the track provided at the bottom of this page and continue on. If you’ve chosen to set up the rappel, we left all our gear up top as you will return to this spot. After the rappel, we ties our harnesses to the end of the rope and retrieved them as we pulled up the rope. The exit is also straightforward since it is open desert. As you climb out, you’re looking for a dead tree to aim for in order to get the epic views from the rim. You can choose to create your own route that will be shorter if you need the time. You’ll follow the rim until you get to a white wall on your left that’ll make you think you’ll get cliffed out. Continue your traverse by hugging this wall until you are clear of it. Once you begin the descent to the car, you’ll come to a small chute to climb down as you get further down to sand level. There is a picture of this. Finally, you’ll navigate back to the car across the sand dunes once again.
Notes
R1: 60ft
Optional R2: 75ft
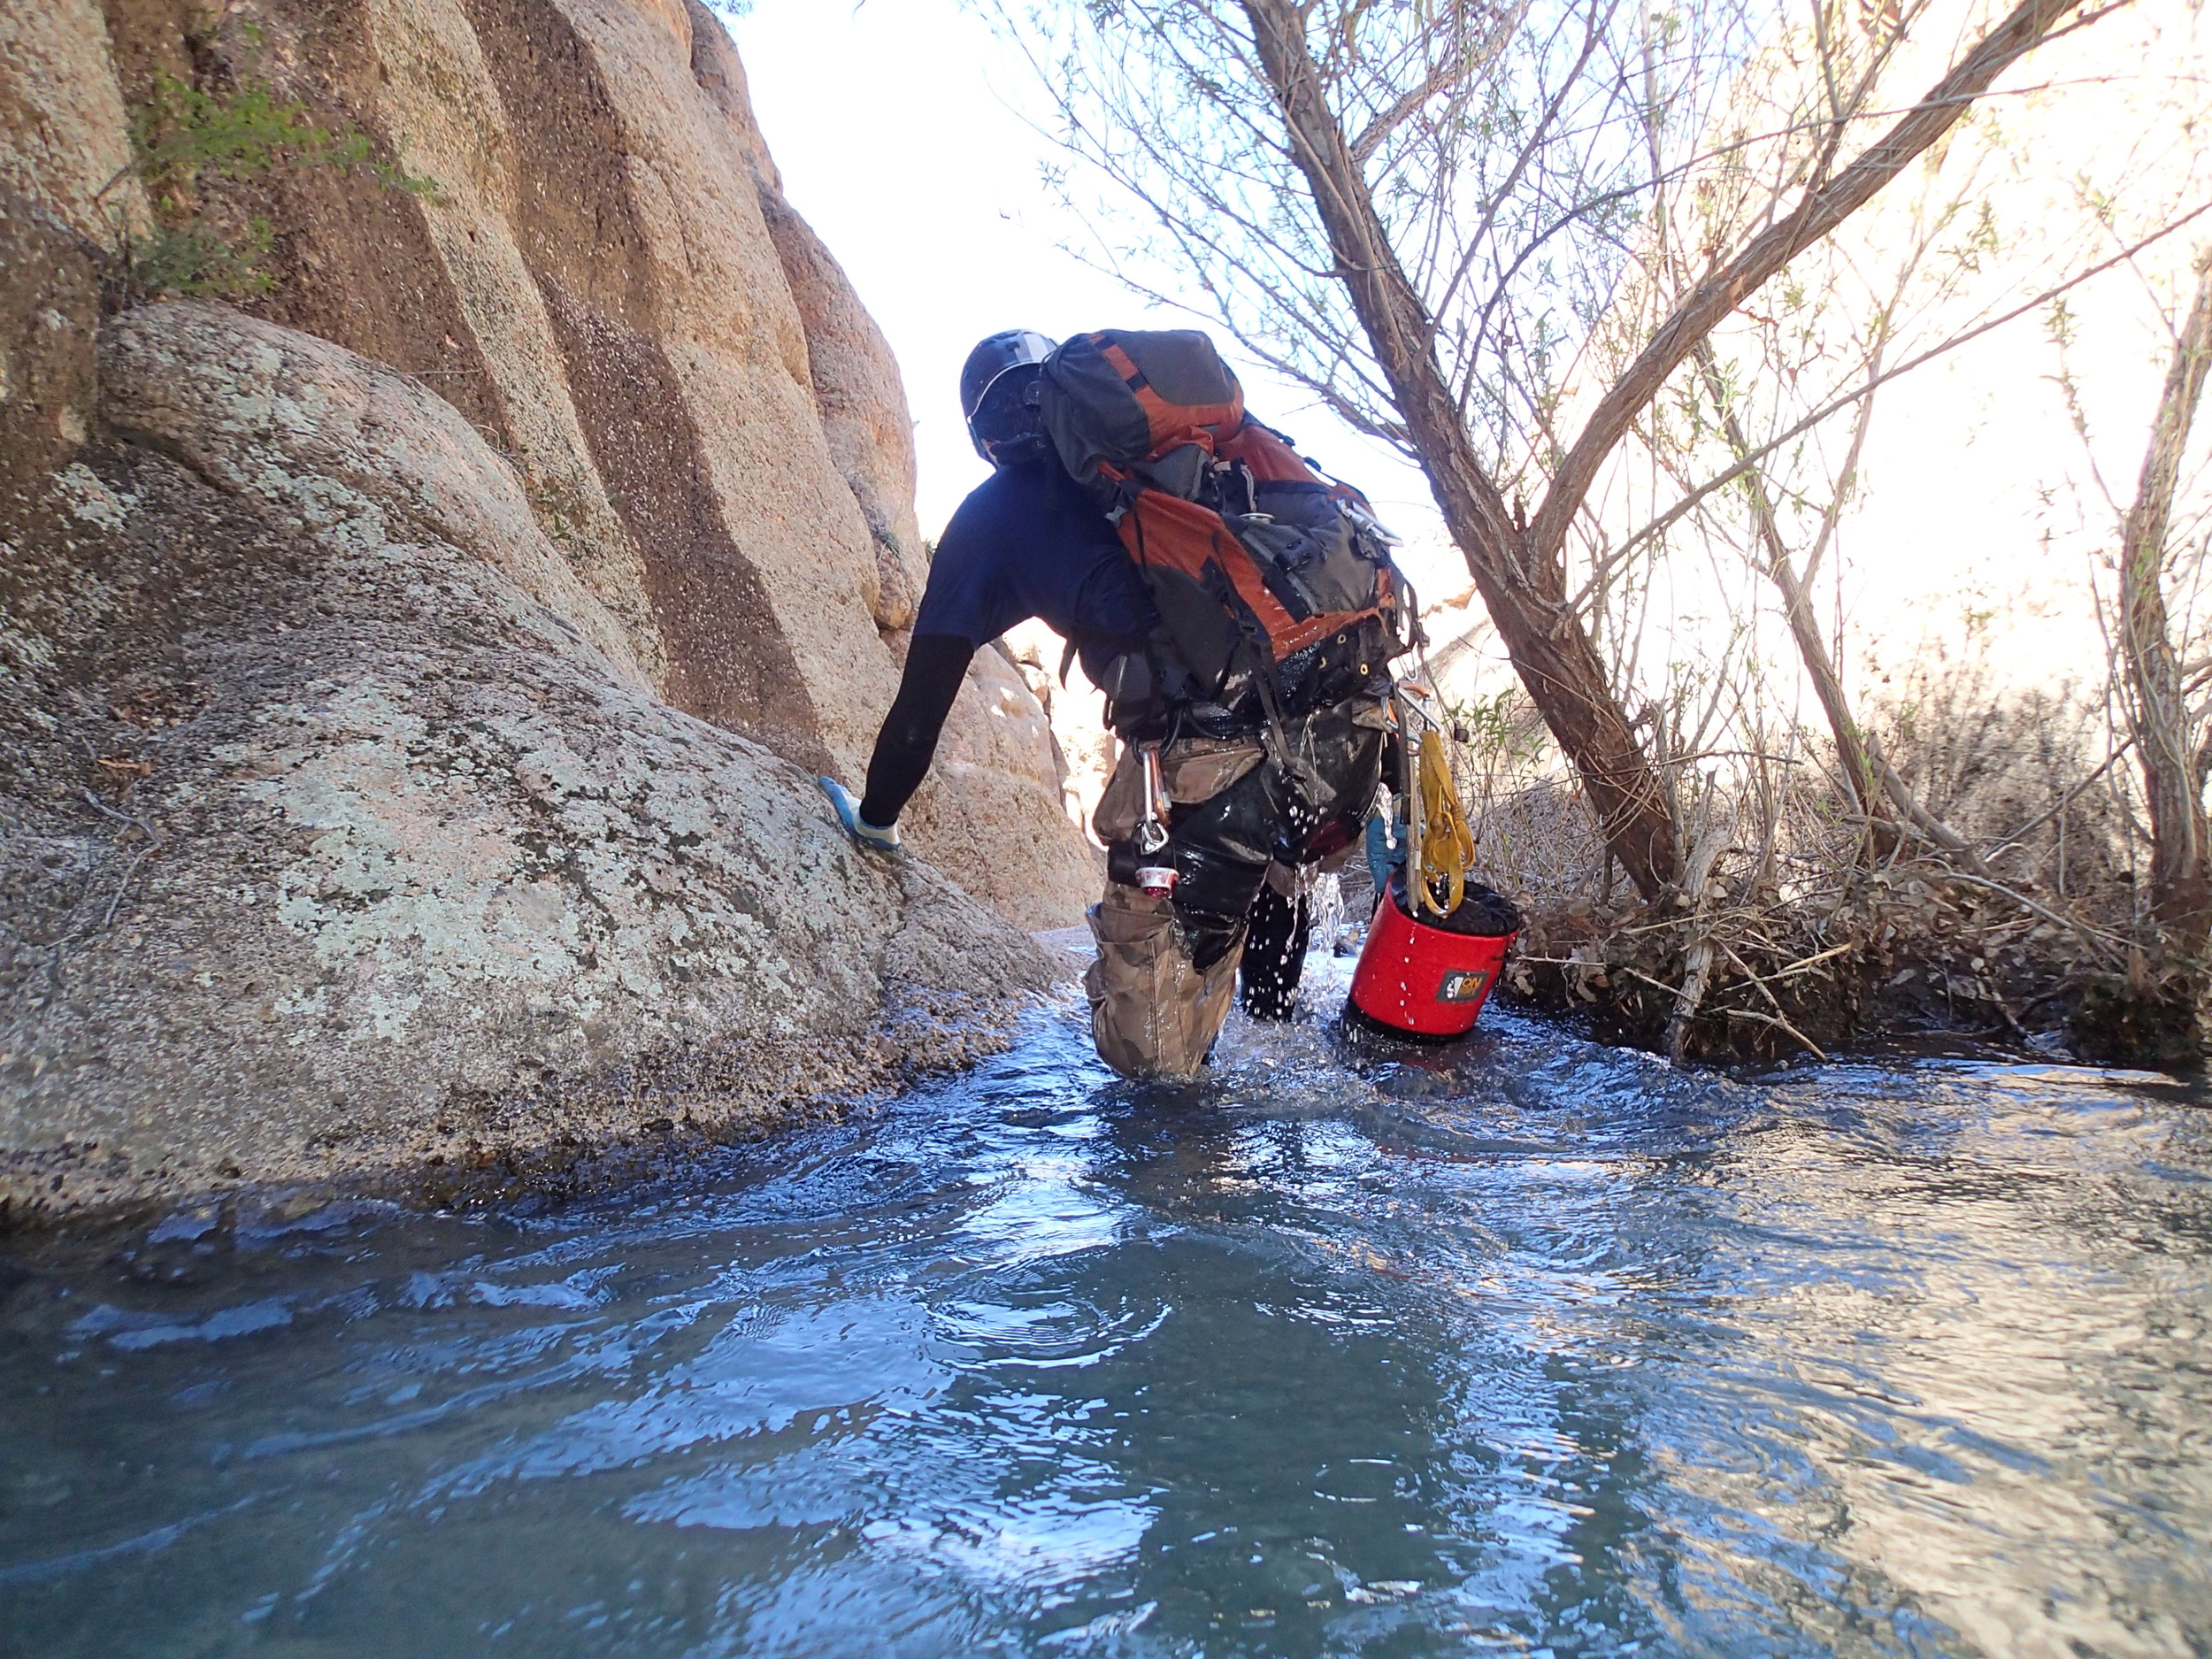
Trip Photos
Interactive Topographical Map

GPS Download

Gauge Data

Printable Map

Weather Report